
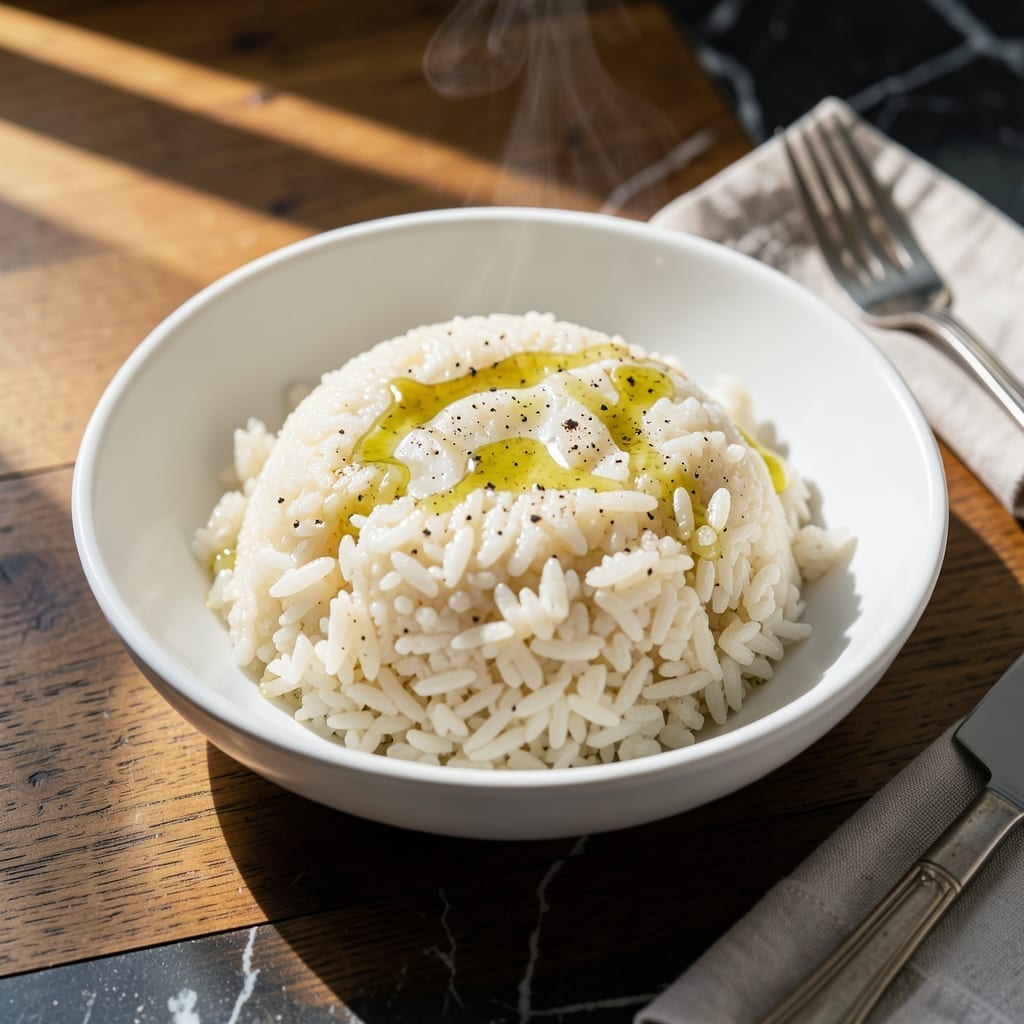
This method delivers perfectly sticky rice without the long soak most recipes demand. I developed it after countless tests in my tiny Boston kitchen, where space and time are always limited.
The secret is the right ratio of rice to water and a precise steaming technique. No special equipment is needed—just a pot with a tight lid and 15 minutes of hands-off cooking time.
What results is tender, slightly chewy rice with just the right stickiness to hold its shape. The grains cling together perfectly, making it ideal for accompanying stir-fries or enjoying on its own.
This approach works consistently, even in the most temperamental of kitchens. The process is straightforward and reliable, with results you can count on every time.
Ingredients for Quick Sticky Rice
Five ingredients. One pot. Perfectly sticky rice every single time.
| Ingredient | Amount | Notes |
|---|---|---|
| Jasmine Rice 🌾 | 2 cups | Rinsed until water runs clear |
| Water 💧 | 2 ½ cups | Filtered or distilled preferred |
| Vegetable Oil 🫒 | 1 tsp | Neutral flavor, or omit |
| Salt 🧂 | ½ tsp | Fine sea salt preferred |
| Rice Vinegar 🍚 | 1 tsp | Optional for brightness |
The rice is everything here. Jasmine gives that signature stickiness—short-grain works too but texture differs slightly. I grab mine from Trader Joe’s or the bulk bins at Whole Foods. Look for unbroken grains, no dust or debris. Rinsing is non-negotiable (removes excess starch so it doesn’t turn to mush). Takes 30 seconds, worth every one.
No jasmine? Sushi rice or calrose are your next best bets. Want more flavor? Swap water for vegetable broth. The oil can be skipped entirely—just prevents sticking if your pot isn’t great. Salt can be adjusted to taste, but don’t skip it. The vinegar? Totally optional, but that little hit of acid wakes everything up (rice can taste flat otherwise).
Uncooked rice keeps indefinitely in a cool, dark place—6-12 months easy. Cooked rice? 4-5 days in the fridge, 3 months frozen. Pro tip: spread it on a tray to cool before storing so grains don’t clump.
Why You’ll Love This Recipe
- 20-Minute Magic: I can start the rice and have it ready before the kids finish setting the table—no soaking, no fuss.
- Sweet-Sour Balance: That splash of rice vinegar gives it a subtle tang that makes me sneak bites straight from the pot.
- Meets Everything: Honestly, it’s my blank canvas for stir-fries, grilled meats, or just a fried egg on top.
- Pennywise Staple: Jasmine rice plus pantry basics stretch a dollar further than any side I know.
Step-by-Step Instructions for Sticky Rice
Here’s the method. Simple, fast, and it delivers perfect texture every time.
Step 1: Rinse the Jasmine Rice Thoroughly
Place the 2 cups Jasmine Rice in a fine-mesh strainer and rinse under cold running water. I agitate it with my hand constantly, breaking up any clumps. You’ll see the water start milky white—keep rinsing until it runs completely clear.
This step removes excess starch from the surface, which is crucial. Without rinsing, you’ll end up with gummy rice instead of those separate, sticky grains we’re after. I’ve found this takes about 2-3 minutes of continuous rinsing. Shake off as much water as possible when finished.
Step 2: Prepare the Rice Cooker or Pot
Add the rinsed 2 cups Jasmine Rice to your rice cooker or heavy-bottomed pot. Then add the 2.5 cups Water, 1 tsp Vegetable Oil, and 0.5 tsp Salt. The oil adds a subtle richness and helps prevent sticking, while the salt enhances the rice’s natural sweetness.
If you’re using the 1 tsp Rice Vinegar, add it now too. It’s optional but I recommend it—it brightens the flavor without making the rice taste vinegary. Give everything a gentle stir to distribute the ingredients evenly.
Step 3: Cook Until Water Absorbs Completely
If using a rice cooker, simply press start. For stovetop cooking, bring the mixture to a full boil over high heat, then immediately reduce to low heat, cover with a tight-fitting lid, and let it simmer undisturbed for 15 minutes.
Resist the urge to peek or stir during cooking. You’ll know it’s working when you hear a gentle simmer and see steam escaping from the lid. After 15 minutes, turn off the heat but keep the lid on—this allows the rice to steam in its own moisture for another 5 minutes.
Step 4: Steam and Fluff for Perfect Texture
Let the rice sit covered for that full 5 minutes after cooking. This steaming period is what transforms good rice into perfect sticky rice. The residual heat continues to soften the grains while the steam helps them absorb any remaining moisture.
After steaming, use a rice paddle or fork to gently fluff the rice from the bottom up. I start at the edges and work my way inward, breaking up any clumps. The rice should be tender with a slight chew, and the grains should cling together when pressed but separate easily.
Pro Tips For Making Quick Sticky Rice
- Rinse the Rice: Soak jasmine rice in cold water for 10 minutes, then rinse until the water runs clear—this removes excess starch so the grains stick just right, not like glue.
- Use Less Water: Cut the water by 10-15% compared to regular rice; sticky rice needs less to steam properly and avoid mush.
- Cover Tightly: Seal the pot with a lid and don’t peek for at least 15 minutes—trapped steam is what makes it tender and stick together.
- Add Vinegar Last: Stir in the rice vinegar after cooking, not before—it brightens the flavor without turning the rice to paste.
Troubleshooting This Recipe
Rice Too Dry
If your rice feels dry or undercooked, it likely needs more moisture. Add 2-3 tbsp of hot water, cover immediately, and let it steam for an additional 5 minutes. I’ve rescued many batches this way in my tiny Boston kitchen. 💡
Mushy or Gummy
Mushy rice usually means too much water or insufficient rinsing. Next time, rinse until the water runs completely clear to remove excess starch. If it’s already mushy, spread it on a tray to dry slightly before serving.
Uneven Cooking
If some grains are hard while others are soft, your heat might be uneven. Use a heavy-bottomed pot and ensure the lid fits tightly. For stovetop, keep the heat at a steady low simmer—no peeking!
Sticking to Pot
Sticking often happens with older or thin pots. A thin layer of vegetable oil before cooking helps, or use a non-stick pot. Let the rice sit for 5 minutes after cooking to release naturally.
Not Sticky Enough
For stickier results, try reducing the water slightly to 2.25 cups instead of 2.5 cups. Also, let it steam covered for the full 5 minutes after cooking—this is when the magic happens. 🌟
Burnt Bottom
If you see a burnt layer, your heat was too high. Always bring to a boil first, then reduce to low heat immediately. A heavy pot distributes heat more evenly, preventing hot spots.
Nutrition Facts
Frequently Asked Questions
Can I use a different type of rice?
Jasmine works best, but sushi or calrose rice will also give good results. Avoid long-grain varieties as they stay separate when cooked.
Do I need to soak the rice first?
No soaking required for this method! The rinsing step removes excess starch while keeping the process quick. This saves 30+ minutes compared to traditional methods.
What if I don’t have a rice cooker?
A heavy pot with a tight lid works perfectly. Just maintain steady low heat and resist peeking during cooking. The timing remains the same.
How do I store leftovers?
Cool completely, then store in an airtight container in the fridge for up to 5 days. For longer storage, freeze for up to 3 months.

- Jollof Rice Sauce Recipe: West African Tomato and Spice Infusion - September 25, 2026
- Japanese Rice Soup Recipe: Umami-Rich Comfort in a Bowl - September 25, 2026
- Homemade Cream Of Rice Recipe: Silk-Smooth Breakfast in Minutes - September 25, 2026