
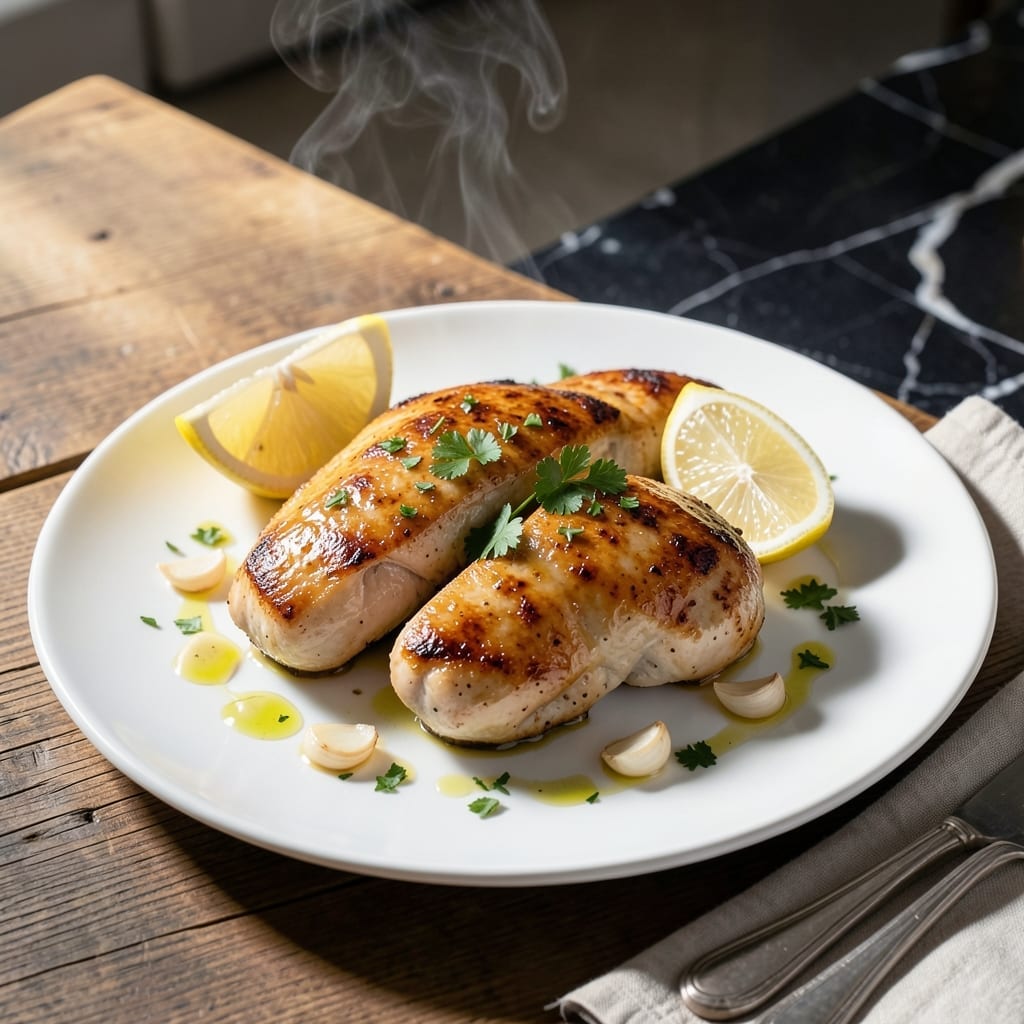
This one-pan creation brings Italian restaurant quality to your home kitchen with minimal effort. The bright lemon sauce transforms simple chicken into something extraordinary.
I developed this method after testing countless variations, focusing on achieving the perfect balance of tender chicken and zesty citrus without overwhelming the dish. The pan sauce comes together in minutes while the chicken rests.
What emerges is juicy chicken with a glossy, aromatic sauce that clings to every bite. The technique ensures the meat stays moist while developing a light golden crust.
Serve with crusty bread to soak up every drop of sauce or pair with roasted vegetables for a complete meal. The flavors only improve if made ahead.
Ingredients for Raos Lemon Chicken
Twelve ingredients deliver restaurant-worthy Italian elegance with bright citrus notes.
| Ingredient | Amount | Notes |
|---|---|---|
| Boneless Skinless Chicken Breasts 🍗 | 1 ½ lb | Pounded to even thickness |
| All-Purpose Flour 🌾 | ½ cup | For dredging chicken |
| Kosher Salt 🧂 | 1 ½ tsp | Divided for seasoning |
| Freshly Ground Black Pepper 🌶️ | 1 tsp | Divided for seasoning |
| Extra-Virgin Olive Oil 🫒 | 3 tbsp | Divided for cooking |
| Unsalted Butter 🧈 | 2 tbsp | For pan sauce |
| Garlic Cloves 🧄 | 4 cloves | Minced finely |
| Fresh Lemon Juice 🍋 | ½ cup | About 3-4 lemons |
| Lemon Zest 🍋 | 1 tbsp | Finely grated |
| Chicken Broth 💧 | ½ cup | Low-sodium preferred |
| Dry White Wine 🍷 | ½ cup | Sauvignon Blanc or Pinot Grigio |
| Heavy Cream 🥛 | ¼ cup | For sauce richness |
| Fresh Flat-Leaf Parsley 🌿 | ¼ cup | Chopped, for garnish |
| Capers 🫒 | 2 tbsp | Drained, rinsed |
The chicken quality is non-negotiable here. Opt for air-chilled boneless, skinless breasts from Whole Foods or a trusted butcher—they retain moisture better than standard varieties. Pounding to even thickness ensures uniform cooking and prevents dryness. For the wine, any dry white works, but Sauvignon Blanc offers the crisp acidity this dish demands.
No white wine? Substitute additional chicken broth with a splash of lemon juice. Heavy cream can be replaced with half-and-half for a lighter finish, though the sauce will be less rich. Capers add briny depth—chopped green olives work in a pinch but adjust salt accordingly. Fresh parsley is ideal, but dried at one-third the amount saves a grocery run.
The dish reheats well—store in an airtight container for up to 3 days. The sauce thickens as it cools, so thin with a splash of broth when reheating. For best flavor, serve immediately, but leftovers still shine with crusty bread or roasted vegetables.
Why You’ll Love This Recipe
- Weeknight Hero: I can get this from prep to plate faster than my kids can argue over who gets the last chicken breast.
- Zesty Perfection: That tangy Rao’s sauce with the crispy flour-dredged chicken? Honestly, it’s the only way I want lemon chicken now.
- Feeds the Crew: One batch serves my family of four with leftovers for lunch—between us, the cold leftovers might be even better.
- Pantry Staples: All-purpose flour, olive oil, and Rao’s sauce are already in my kitchen, so dinner’s basically free.
Step-by-Step Instructions for Lemon Chicken
Master this one-pan technique for a bright, restaurant-quality dish with minimal cleanup.
Step 1: Prep and Dredge the Chicken
Place the boneless skinless chicken breasts between sheets of plastic wrap and pound to an even ½-inch thickness using a meat mallet. This ensures uniform cooking and prevents dry spots. Season both sides with 1 tsp kosher salt and ½ tsp freshly ground black pepper.
Dredge each piece in the 0.5 cup all-purpose flour, shaking off any excess. The flour creates a light crust that helps the sauce cling to the chicken. Let the dredged cutlets rest for 5 minutes while you heat the pan—this helps the coating adhere during cooking.
Step 2: Sear the Chicken to Golden Perfection
Heat 2 tbsp extra-virgin olive oil in a large skillet over medium-high heat until shimmering. Add the chicken and cook for 4-5 minutes per side until golden brown and cooked through. You’ll know it’s ready to flip when the edges release easily from the pan.
Transfer the seared chicken to a plate and tent with foil to keep warm. Don’t wipe the skillet clean—those browned bits are packed with flavor and will enhance the sauce.
Step 3: Build the Lemon Garlic Pan Sauce
In the same skillet, reduce heat to medium and add the 2 tbsp unsalted butter. Once melted, add the 4 cloves minced garlic cloves and sauté for 30 seconds until fragrant. Pour in the 0.5 cup dry white wine and 0.5 cup fresh lemon juice, scraping up the browned bits with a wooden spoon.
Simmer for 2-3 minutes until the liquid reduces by half. Stir in the 0.5 cup chicken broth, 1 tbsp lemon zest, and 2 tbsp capers. Let the sauce simmer for another 3 minutes to meld the flavors. Finish by stirring in the 0.25 cup heavy cream until smooth.
Step 4: Finish and Garnish
Return the chicken to the skillet, spooning the sauce over each piece. Simmer for 1-2 minutes to heat through and allow the flavors to penetrate. Taste the sauce and adjust seasoning with the remaining ½ tsp kosher salt and ½ tsp freshly ground black pepper as needed.
Transfer the chicken to a serving platter, drizzle with the pan sauce, and garnish with the 0.25 cup chopped fresh flat-leaf parsley. Serve immediately over pasta or with crusty bread to soak up the vibrant lemon sauce.
Pro Tips For Making Raos Lemon Chicken
- Pound the Breasts: Use a rolling pin or meat mallet to even out the chicken breasts to ½-inch thickness—this guarantees they cook through at the same rate without drying out the thinner parts.
- Heat the Oil First: Get the olive oil shimmering hot in the pan before adding the floured chicken; I learned this the hard way after serving pale, greasy pieces that refused to crisp.
- Season the Flour: Mix a teaspoon each of kosher salt and black pepper directly into the flour before dredging—it sticks better than seasoning the raw chicken and gives every bite consistent flavor.
- Rest Before Serving: Let the cooked chicken rest 5 minutes on a plate before adding Rao’s lemon sauce; skipping this makes the juices run out, turning your golden crust soggy.
Storing and Reheating Leftovers
Refrigerator Storage
Let this dish cool for no more than 2 hours before transferring to an airtight container. It will keep beautifully in the fridge at 40°F or below for up to 3 days. The flavors actually deepen overnight as the lemon and garlic meld together. ❄️
Freezer Storage
For longer storage, freeze in a single layer first to prevent sticking, then transfer to a gallon freezer bag. It maintains quality for up to 2 months. I recommend portioning into individual servings for easy thawing.
Stovetop Reheating
My preferred method: warm in a skillet over medium-low heat with a splash of chicken broth to restore the sauce’s silky texture. Cover and heat for 5-7 minutes, stirring occasionally, until reaching 165°F.
Microwave Reheating
For quick meals, microwave individual portions covered with a damp paper towel. Use 50% power for 2-3 minutes, stir, then continue in 30-second intervals until heated through. Add a splash of water if the sauce looks thick. 🔥
Sauce Revival Tip
If the sauce separates or thickens when reheating, simply whisk in 1-2 tbsp warm water or broth. This brings back that glossy, restaurant-quality consistency. The acidity from the lemon keeps it from breaking.
Nutrition Facts
Frequently Asked Questions
Can I use chicken thighs instead of breasts?
Yes! Use bone-in, skin-on thighs for extra flavor and juiciness. Sear for 6-7 minutes per side and adjust cooking time as needed.
Why is my sauce too thin?
Simmer uncovered for 2-3 extra minutes until it coats the back of a spoon. If still thin, mix 1 tsp cornstarch with water and stir in.
Can I make this ahead?
Cook and store in an airtight container for up to 3 days. Reheat gently on the stovetop with a splash of broth.
What if I don’t have white wine?
Substitute 0.5 cup chicken broth with 1 tbsp lemon juice. The acidity will still brighten the dish beautifully.

- Jollof Rice Sauce Recipe: West African Tomato and Spice Infusion - September 25, 2026
- Japanese Rice Soup Recipe: Umami-Rich Comfort in a Bowl - September 25, 2026
- Homemade Cream Of Rice Recipe: Silk-Smooth Breakfast in Minutes - September 25, 2026