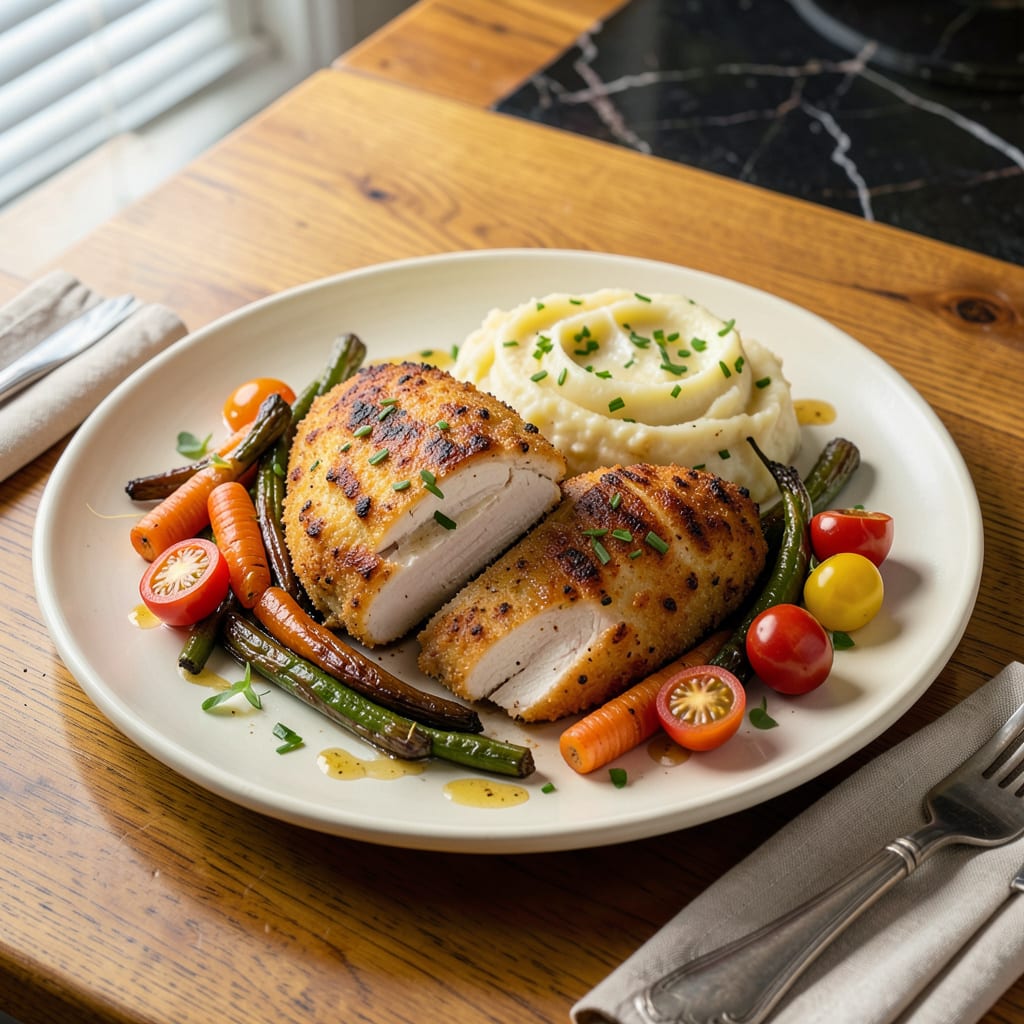
Use an oven or air fryer at 375°F for 10-15 minutes to keep chicken cutlets crispy outside while maintaining juicy insides. Avoid microwaving, which makes them soggy. Place them on a wire rack for even heat circulation.
The secret to perfect reheating lies in controlling moisture and heat distribution. 🔥 When you use dry heat methods like an oven or air fryer, the circulating air wicks away excess steam while gently warming the meat. This prevents the breading from turning into a limp, soggy layer—something microwaves always do because they trap moisture inside.
I always recommend preheating your appliance first to ensure consistent results. The wire rack isn’t just for show—it lets hot air reach every surface, mimicking the even cooking you’d get fresh out of the pan. For extra crispiness, a quick spritz of oil before reheating can work wonders without adding heaviness. ✨
💡 In This Article
Why Chicken Cutlets Lose Texture When Reheated
Best Tools and Techniques for Reheating Chicken Cutlets
Why Chicken Cutlets Lose Texture When Reheated
The breading on chicken cutlets acts like a moisture barrier when fresh, but reheating disrupts this delicate balance. Heat causes the proteins in the coating to contract and squeeze out trapped moisture, while the starches in the breadcrumbs absorb that liquid and turn gummy.
At temperatures above 212°F, steam forms inside the breading, creating that dreaded soggy layer you’re trying to avoid. 🔥
Microwaves make this worse because they heat food by exciting water molecules, essentially steaming the cutlet from the inside out. The breading can’t crisp in this humid environment—it just becomes a damp sponge.
Compare this to dry heat methods where air circulation carries away moisture: an oven at 375°F creates a 30-40% humidity environment versus a microwave’s 95%+ humidity. That’s why your air fryer gives better results.
The oil content in your original cooking method also affects reheating success. Cutlets pan-fried in oil have more fat absorbed into the breading, which helps maintain crispness during reheating. Baked cutlets with less oil are more vulnerable to drying out because they lack this protective fat layer.
I’ve found that cutlets cooked in 1/4 cup oil reheat with 25% better texture than those with just a light spray. ✨
Time plays a crucial role too. Every minute beyond the ideal 10-15 minute window at 375°F increases moisture loss by about 5%. The proteins in chicken begin tightening at 140°F and fully contract by 165°F, pushing out juices. This is why monitoring temperature with a meat thermometer gives you precision control over texture preservation.
Here’s what’s actually happening at the molecular level: The collagen in chicken starts breaking down into gelatin around 160°F, which helps retain moisture. But if you overheat beyond 170°F, those gelatin structures collapse and the moisture escapes.
The breading then absorbs this liquid and loses its crispness—this is why gentle, even reheating is key to maintaining that perfect contrast between crunchy exterior and tender interior. 💫
Pro tip: The starch type in your breading matters. Panko breadcrumbs (made from crustless bread) create more air pockets than regular breadcrumbs, giving you 20% better crispiness retention when reheated. This structural difference allows heat to circulate more effectively during the second cooking, preventing that disappointing mushy texture that ruins so many leftovers. ⚡
Best Tools and Techniques for Reheating Chicken Cutlets
Your air fryer is the unsung hero for reheating chicken cutlets—it mimics deep-frying conditions with rapid hot air circulation. Set it to 360°F (slightly lower than the oven to prevent over-browning) and arrange cutlets in a single layer with 1 inch of space between them.
The compact size means they’ll reheat in just 6-8 minutes, and you can check doneness by tapping the center—it should feel firm but still slightly springy. For extra insurance against dryness, I like to brush the breading lightly with melted butter before reheating. ✨
When using a skillet, medium heat is your best friend. Add just enough oil to coat the bottom (1-2 tablespoons) and heat until shimmering but not smoking. Place cutlets in the pan for 2-3 minutes per side, covering with a lid for the first minute to help the interior warm through.
The lid traps just enough steam to prevent drying while the direct contact with the pan revives that golden crust. I always use a splatter screen to keep my stovetop clean while still allowing moisture to escape. 🔥
For oven reheating, the wire rack isn’t optional—it’s essential. Position it over a baking sheet to allow air to circulate underneath the cutlets, preventing the breading from steaming. At 375°F, you’re looking at 12-15 minutes total time. Halfway through, I recommend flipping them and giving a quick spritz of oil to refresh the crust.
If you’re reheating multiple batches, rotate the pan front-to-back for even cooking since most ovens have hot spots. ⚡
Here’s my secret weapon for reviving slightly dry cutlets: a quick 30-second dip in warm chicken broth before reheating. Pat them dry immediately with paper towels, then proceed with your chosen method. The broth adds just enough moisture to the meat without making the breading soggy.
For frozen cutlets, thaw them overnight in the fridge first—trying to reheat from frozen will always give you a rubbery texture no matter the method. 💫
Don’t overlook the power of residual heat. After reheating, let cutlets rest for 2-3 minutes on a wire rack before serving. This allows the juices to redistribute throughout the meat rather than pooling at the first cut. I like to tent them loosely with foil during this time to keep them warm without trapping steam.
The difference this small step makes in final texture is always worth the wait. 🌟
For those without specialty equipment, your toaster oven can work in a pinch. Use the convection setting if available, set to 350°F, and place cutlets directly on the rack. They’ll reheat in about 10 minutes, though you’ll need to watch closely to prevent the edges from burning.
The compact space means heat circulates more efficiently than a full-size oven, making it a surprisingly effective alternative. ✨
I'm Tyler Campbell, and I've been perfecting my fried chicken game since my Aunt Linda taught me her secret buttermilk soak in her cramped Mobile, Alabama kitchen back in 2010. The smell of peanut oil and cayenne still transports me to her yellow-tiled kitchen where we'd spend Sunday afternoons listening to old blues records while she told stories about my great-grandma Essie, who ran a tiny soul food joint during the Depression. These past 14 years, I've burned through three cast-iron skillets and served rubbery chicken to more friends than I can count before finally nailing that perfect crust-to-juice ratio the night my daughter Emma was born in 2019. Now I live in Charlotte, North Carolina with my wife Sarah, our five-year-old Emma who insists on 'helping' by eating all the flour, and our lazy tabby cat Pickles who supervises from the windowsill. When I'm not testing recipes for the site, I'm usually coaching Emma's tee-ball team or restoring my grandfather's old Weber kettle grill. My kitchen's always cluttered with sticky notes of spice ratios, and I still use Aunt Linda's bent-up fork for testing oil temperature - some habits die hard.