
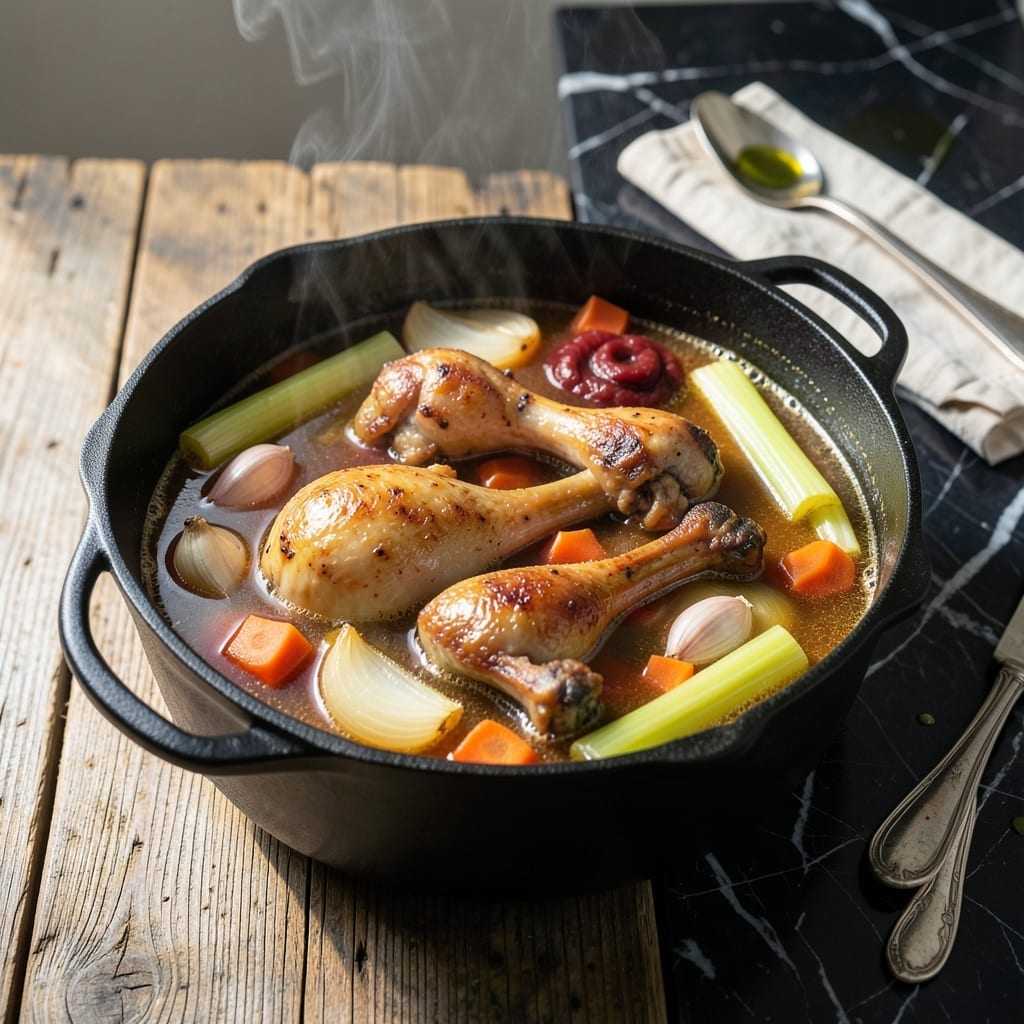
Homemade chicken stock transforms kitchen scraps into liquid gold. This proven method extracts maximum flavor from bones and vegetables through careful roasting and gentle simmering.
The process begins with roasting chicken bones and aromatic vegetables until deeply browned. This step develops complex, caramelized flavors that form the foundation of a rich, golden stock.
Simmering for 4-6 hours allows the collagen in bones to break down, creating a velvety texture and full-bodied taste. The result is a versatile base for soups, sauces, and braises.
Strain and store for up to a week in the refrigerator or freeze for future use. This technique ensures consistent, professional-quality results every time.
Ingredients for Roasted Chicken Stock
Transform kitchen scraps into rich, golden stock with these essential ingredients for depth and flavor.
| Ingredient | Amount | Notes |
|---|---|---|
| Chicken Bones 🍗 | 3 lb | Carcasses, necks, or backs preferred |
| Yellow Onions 🧅 | 2 whole | Quartered, skin on for color |
| Carrots 🥕 | 3 whole | Cut into large chunks |
| Celery Stalks 🌿 | 3 whole | Including leafy tops |
| Garlic Cloves 🧄 | 6 cloves | Unpeeled, smashed |
| Tomato Paste 🍅 | 2 tbsp | For depth and color |
| Bay Leaves 🍃 | 2 pieces | Dried, whole |
| Black Peppercorns 🌶️ | 1 tsp | Whole, not pre-ground |
| Fresh Thyme Sprigs 🌿 | 4 pieces | Or 1 tsp dried thyme |
| Fresh Parsley Stems 🌿 | 1 cup | Save the leaves for garnish |
| Cold Water 💧 | 4 cups | To cover all ingredients |
The chicken bones are critical here. Source from a trusted butcher or save carcasses from roasted chickens—necks, backs, and wings add the most gelatin. Whole Foods or local farms often sell bones specifically for stock. Roast them deeply for caramelization; this builds the complex base. Look for bones with some meat still attached for better flavor extraction.
No chicken bones? Turkey bones work identically. Short on fresh herbs? Dried thyme at one-third the amount is an acceptable substitution. The tomato paste can be omitted, but it adds a rich, golden hue to the finished stock. If you lack celery, celery salt at 1 tsp can contribute similar notes, though fresh is always preferred.
Stock keeps 5 days refrigerated or 6 months frozen. Strain and cool quickly to preserve freshness. For best results, skim off any fat before storing. Use within the week for optimal flavor, or freeze in ice cube trays for convenient portions.
Why You’ll Love This Recipe
- Hands-Off Cooking: I just toss the bones and veggies on a tray and let the oven do the work—no stirring, no fuss.
- Rich, Deep Flavor: Roasting the onions, carrots, and garlic first gives the stock this incredible caramelized depth.
- Meal Prep MVP: I make a big batch on Sunday and use it for soups, risottos, and sauces all week long.
- Penny-Pincher Friendly: Those leftover chicken bones and wilting celery? Here’s what sold me—they turn into liquid gold for free.
Step-by-Step Instructions for Roasted Chicken Stock
This method transforms humble ingredients into a deeply flavorful stock with professional results.
Step 1: Roast the Chicken Bones for Maximum Depth
Preheat your oven to 450°F. Arrange the 3 lb Chicken Bones on a baking sheet in a single layer. I roast them until they develop a deep golden brown color, which takes about 20-25 minutes. This high-heat roasting caramelizes the natural sugars and proteins, creating the rich foundation for your stock.
The bones should be well-browned but not burnt—burnt bones will impart bitter flavors. Flip them halfway through the roasting time to ensure even browning on all sides. You’ll notice the aroma becomes intensely savory as the Maillard reaction works its magic.
Step 2: Prepare the Aromatic Vegetables
While the bones roast, quarter the 2 whole Yellow Onions (leave the skin on for color), cut the 3 whole Carrots into large chunks, and roughly chop the 3 whole Celery Stalks (including the leafy tops). Smash the 6 cloves Garlic Cloves lightly—no need to peel them, as the papery skins will add subtle earthiness.
These vegetables form the aromatic base that complements the roasted bones. The onion skins contribute a beautiful amber hue to the finished stock, while the carrot and celery provide natural sweetness and herbal notes. I keep the pieces large to prevent them from disintegrating during the long simmer.
Step 3: Combine and Simmer All Ingredients
Transfer the roasted chicken bones to a large stockpot. Add the prepared Yellow Onions, Carrots, Celery Stalks, Garlic Cloves, 2 tbsp Tomato Paste, 2 pieces Bay Leaves, 1 tsp Black Peppercorns, 4 pieces Fresh Thyme Sprigs, and 1 cup Fresh Parsley Stems.
Pour in the 4 cups Cold Water—just enough to cover all the ingredients. Bring to a boil over high heat, then immediately reduce to a gentle simmer. Skim off any foam that rises to the surface during the first 15 minutes of simmering for a clearer stock.
Step 4: Maintain a Gentle Simmer
Partially cover the pot and maintain a low simmer for 4-6 hours. You want to see small bubbles occasionally breaking the surface, not a rolling boil. A gentle simmer extracts the collagen from the bones and vegetables slowly, resulting in a stock with body and depth.
Occasionally skim the surface to remove any fat or impurities. The stock should develop a rich, golden color and an intoxicating aroma that fills your kitchen. The longer you simmer (within reason), the more concentrated the flavor becomes—just ensure the liquid doesn’t reduce below the level of the solids.
Step 5: Strain and Store the Finished Stock
After simmering, carefully strain the stock through a fine-mesh sieve into a clean bowl or pot. Press gently on the solids to extract as much liquid as possible, but don’t squeeze or you’ll end up with a cloudy stock from the starches in the vegetables.
Let the stock cool slightly, then refrigerate it overnight. The next day, skim off the solidified fat from the surface. Your stock is now ready to use in soups, sauces, or braises. It will keep in the refrigerator for up to 5 days or can be frozen for 3 months for future use.
Pro Tips For Making Roasted Chicken Stock
- Roast the Bones: Toss the chicken bones with a little oil and roast at 400°F for 20-25 minutes until deeply browned—this adds a rich, caramelized depth that raw bones just can’t deliver.
- Skip the Peeling: Leave the skins on the onions and garlic cloves when roasting; they’ll char nicely and add a sweet, smoky flavor to the stock, plus it saves you 10 minutes of tedious prep.
- Simmer, Don’t Boil: I learned this the hard way—keep the stock at a gentle simmer, not a rolling boil, or it’ll turn cloudy and the fat will emulsify into the liquid, making it greasy instead of clean and golden.
- Use Cold Water: Start the stock with cold water and the bones, then slowly bring it up to a simmer; this helps extract impurities gradually and makes skimming off the foam at the beginning much easier.
Make-Ahead Tips for This Recipe
Batch Prep Strategy
I always make a double batch of this stock—it’s just as easy and saves so much time. Use 6 lb Chicken Bones and double all other ingredients in a 12-quart stockpot. The process remains the same, just with larger quantities. 💡
Overnight Cooling
After straining, let the stock cool at room temperature for 30 minutes, then transfer to the refrigerator uncovered. This rapid cooling prevents bacterial growth. Once chilled, cover with a lid or plastic wrap.
Portioning for Freezing
I pour cooled stock into 1-quart freezer bags or mason jars, leaving 1-inch headspace for expansion. Label with the date—it keeps beautifully for 3 months. Silicon molds work great for 1-cup portions too.
Quick Thaw Method
To use frozen stock, place the sealed bag in a bowl of cold water. It thaws in about 30-45 minutes. For soups, I often add the frozen block directly to the pot—it melts quickly and infuses extra flavor. ❄️
Flavor Boost Tip
If your stock tastes weak after thawing, don’t worry. Simmer it with a splash of white wine or a pinch of salt to revive the depth. This happens sometimes with freezing, but it’s an easy fix.
Space-Saving Storage
Reduce the stock by half before freezing to create a concentrated base. This takes up less space and packs a punch of flavor. Just dilute with water when ready to use in recipes.
Nutrition Facts
Frequently Asked Questions
Can I use raw bones instead of roasted?
Yes, but roasting develops deeper flavor. Raw bones work in a pinch, yet skip the caramelization step. Expect a milder, less complex result.
Why does my stock turn cloudy?
Cloudiness comes from boiling too hard or squeezing solids when straining. Maintain a gentle simmer and press lightly to keep it clear.
How do I know when it’s done?
Simmer for 4-6 hours minimum. The stock should be rich, golden, and aromatic. Bones should crumble easily when pressed.
Can I make this in a slow cooker?
Yes! Roast bones first, then transfer to a slow cooker with all ingredients. Cook on low for 8-10 hours.

- Jollof Rice Sauce Recipe: West African Tomato and Spice Infusion - September 25, 2026
- Japanese Rice Soup Recipe: Umami-Rich Comfort in a Bowl - September 25, 2026
- Homemade Cream Of Rice Recipe: Silk-Smooth Breakfast in Minutes - September 25, 2026