
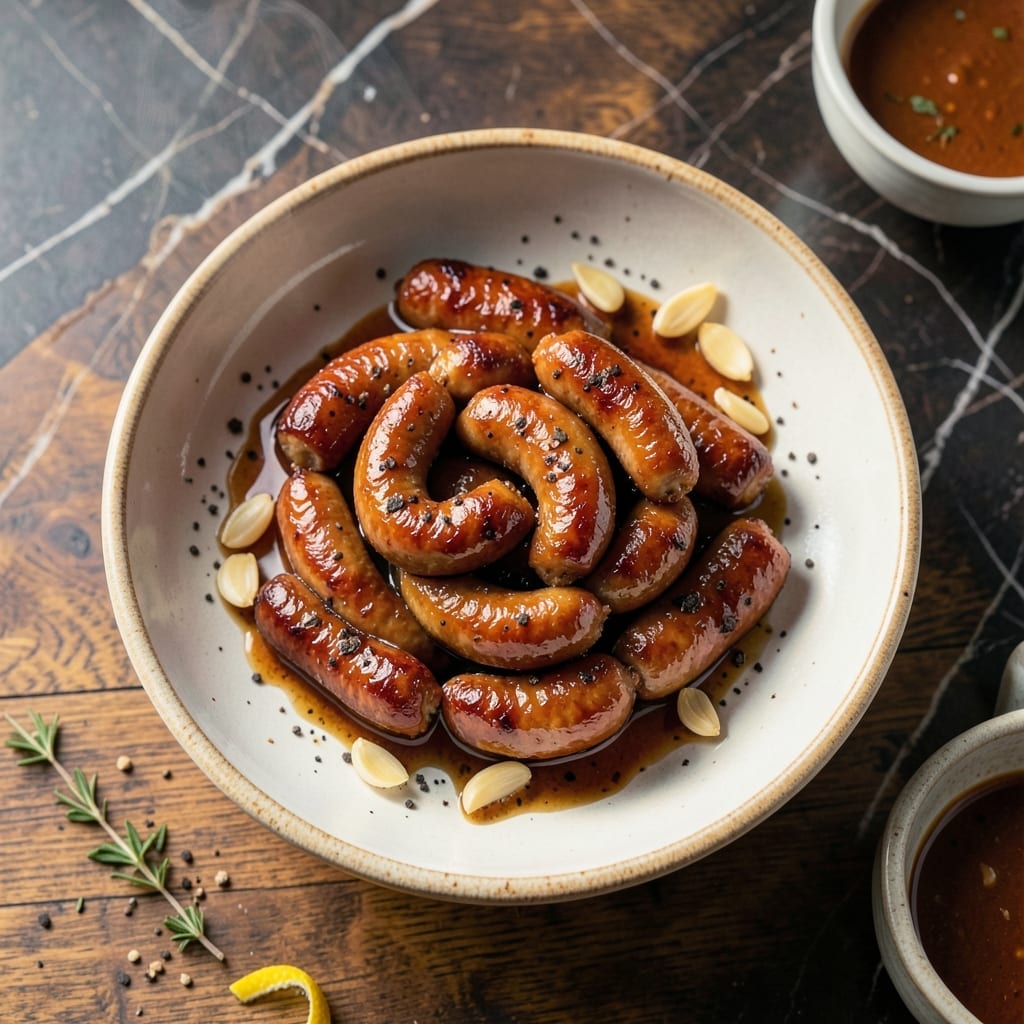
This Filipino breakfast sausage delivers a perfect sweet-savory balance that’s hard to resist. I’ve refined the recipe to ensure it stays juicy while capturing that authentic longganisa flavor.
The key is combining ground chicken with just the right amount of sugar and vinegar, then letting the mixture rest. This ensures the flavors meld beautifully before cooking.
You’ll get tender, slightly sweet sausages with a hint of tang—ideal for breakfast or any meal. The process is straightforward, with minimal prep and cooking time.
Serve with garlic rice and eggs for a traditional Filipino breakfast experience. Here’s how to make it.
Ingredients for Sweet Chicken Longganisa
Ground chicken, bold seasonings, and a touch of sweetness create this Filipino breakfast classic.
| Ingredient | Amount | Notes |
|---|---|---|
| Ground Chicken 🍗 | 1 ½ lb | Dark meat for juiciness preferred |
| Brown Sugar 🍚 | ¼ cup | Packed, for sweetness balance |
| White Vinegar 💧 | 3 tbsp | Or substitute apple cider vinegar |
| Garlic Cloves 🧄 | 6 cloves | Minced finely for even distribution |
| Soy Sauce 🫒 | 2 tbsp | Low-sodium preferred |
| Black Pepper 🌶️ | 1 tsp | Freshly ground for best flavor |
| Paprika 🌶️ | 1 tsp | Sweet or smoked variety |
| Salt 🧂 | 1 tsp | Adjust to taste after mixing |
| Onion Powder 🧅 | 1 tsp | For depth of savory flavor |
| Red Food Coloring 🎨 | ½ tsp | Optional for traditional color |
| Pork Sausage Casings 🌭 | 12 pieces | Or use natural hog casings |
| Cornstarch 🌾 | 2 tbsp | To bind mixture |
| Water 💧 | ¼ cup | For mixing with cornstarch |
For authentic flavor, ground chicken thigh is ideal—it stays juicier than breast meat. Look for fresh casings at Asian markets or specialty butcher shops. The red food coloring (available at baking supply stores) gives the traditional vibrant hue, but the sausage tastes great without it. I always use low-sodium soy sauce to control the salt level precisely.
No casings? Shape into small patties instead—still delicious. Coconut vinegar works as a great substitute for white vinegar. For a different twist, swap the brown sugar for pineapple jam (about one-third the amount). If you can’t find pork casings, collagen casings are a good alternative and easier to handle for beginners.
The uncooked sausage keeps in the fridge for up to 2 days or can be frozen for 3 months. Cook from frozen by simmering in water for 10 minutes before browning. Always let the mixture rest for at least 1 hour before cooking for best flavor development.
Why You’ll Love This Recipe
- One Bowl Mix: I just dump everything—ground chicken, brown sugar, vinegar, garlic, soy sauce—in a single bowl, mix, and it’s ready to cook.
- Sweet-Savory Balance: The brown sugar caramelizes while the soy sauce and vinegar add that tangy depth I can’t resist.
- Breakfast to Dinner: I serve these for breakfast with rice, but they’re just as good in a lunchbox or sliced into fried rice for dinner.
- Stretches Far: A pound of ground chicken makes a dozen sausages, and they freeze beautifully for last-minute meals.
Step-by-Step Instructions for Sweet Chicken Longganisa
This streamlined method delivers authentic flavor with efficient prep and cooking.
Step 1: Combine Dry Seasonings and Aromatics
In a large mixing bowl, whisk together the brown sugar, black pepper, paprika, salt, and onion powder until fully integrated. I always use freshly ground black pepper for its superior aroma and flavor complexity.
Next, add the 6 cloves garlic cloves, minced finely, to the dry mixture. The fine mince ensures even distribution throughout the sausage, preventing any single bite from being overly pungent. Stir to combine these base elements before adding wet ingredients.
Step 2: Incorporate Wet Ingredients with Ground Chicken
Pour the 3 tbsp white vinegar and 2 tbsp soy sauce into the bowl with the dry mixture. The vinegar provides the signature tang, while the soy sauce adds umami depth essential to this dish. Stir these liquids into the dry ingredients until a paste forms.
Add the 1.5 lb ground chicken to the bowl. Using your hands (the best tool for this job), mix thoroughly until the seasoning paste is evenly distributed throughout the meat. The mixture should appear uniformly seasoned with no dry spots visible.
Step 3: Add Color and Binder
In a small bowl, dissolve the 2 tbsp cornstarch in the 0.25 cup water to create a slurry. This will bind the mixture and improve texture. Pour the slurry into the seasoned chicken mixture.
Add the 0.5 tsp red food coloring if using for the traditional vibrant hue. Mix thoroughly until the color is evenly distributed and the mixture becomes slightly sticky from the cornstarch. The final product should hold together when pressed but remain pliable.
Step 4: Stuff Casings and Rest
Transfer the mixture to a sausage stuffer or piping bag fitted with a large star tip. Carefully fill the 12 pieces pork sausage casings, being mindful not to overfill. Twist into individual links about 4-5 inches long, leaving space between each for separation.
Place the stuffed sausages on a tray and refrigerate for at least 1 hour to allow the flavors to meld and the casings to firm up. This resting period is crucial for achieving the proper texture during cooking and prevents the sausages from bursting when cooked.
Pro Tips For Making Sweet Chicken Longganisa
- Chill Before Cooking: After mixing the ground chicken with brown sugar, vinegar, and soy sauce, refrigerate for at least 2 hours—I learned this the hard way when my first batch fell apart in the pan.
- Balance the Sweetness: Brown sugar can overpower, so start with 3 tablespoons per pound of chicken, then adjust after tasting the raw mix (yes, it’s safe with vinegar in there).
- Skip the Overcrowding: Cook the longganisa in batches with space between each piece—steam from crowding turns them pale and soggy instead of caramelized.
- Use Fresh Garlic: Pre-minced garlic lacks the punch you need; finely chop 4-5 fresh cloves per pound of chicken for that sharp, aromatic bite that defines the flavor.
Storing and Reheating This Recipe
Refrigerator Storage
Let your longganisa cool completely before storing. Place in airtight containers or zip-top bags, separating layers with parchment paper. They’ll keep in the fridge for up to 4 days—perfect for meal prep. ❄️
Freezer Storage
For longer storage, freeze uncooked sausages on a tray first, then transfer to freezer bags. They’ll stay fresh for 3 months. Label with the date—I always use quart-sized bags for portion control.
Thawing Safely
Thaw overnight in the fridge or use the cold water method. Never thaw at room temperature. For quick cooking, you can simmer frozen sausages directly in water for 10 minutes before browning.
Reheating Methods
Pan-fry thawed sausages over medium heat for 3-4 minutes per side until browned and heated through. For extra crispiness, finish with a splash of water and cover for 1 minute to steam. 🔥
Microwave Option
Place sausages on a microwave-safe plate with a damp paper towel. Heat on 70% power for 1-2 minutes, turning halfway. This works well for quick breakfasts.
Serving After Storage
Reheated longganisa tastes best with a sprinkle of fresh green onions or a side of sinangag (garlic rice). I always add a drizzle of calamansi for brightness.
Nutrition Facts
Frequently Asked Questions
Can I use ground turkey instead of chicken?
Yes, ground turkey works as a substitute. Use dark meat for best results, as it stays juicier. The flavor will be slightly milder but still delicious.
Why does the mixture need to rest before cooking?
Resting for 1 hour lets flavors meld and the cornstarch absorb moisture. This prevents bursting during cooking and ensures even seasoning.
What if I don’t have sausage casings?
Shape into small patties or rolls instead. They’ll cook just as well in a pan over medium heat for 3-4 minutes per side.
Can I adjust the sweetness level?
Reduce the brown sugar to 2 tablespoons for less sweetness or add up to 1/3 cup for a sweeter version.

- Jollof Rice Sauce Recipe: West African Tomato and Spice Infusion - September 25, 2026
- Japanese Rice Soup Recipe: Umami-Rich Comfort in a Bowl - September 25, 2026
- Homemade Cream Of Rice Recipe: Silk-Smooth Breakfast in Minutes - September 25, 2026