
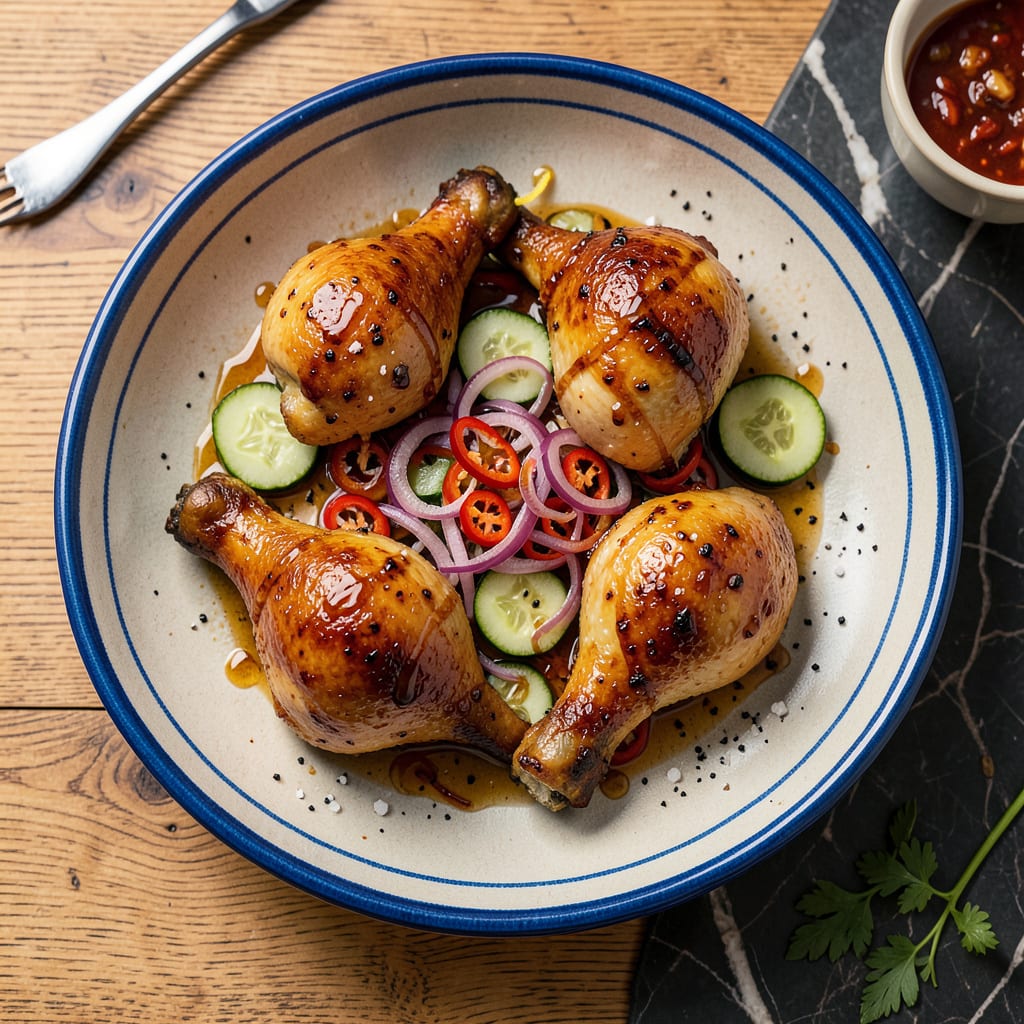
I’ve got a secret weapon for the juiciest chicken you’ll ever make, and it starts with a simple vinegar brine. No fancy equipment, no complicated techniques—just a quick soak that transforms even the leanest cuts into tender, flavor-packed meat. The vinegar works magic by breaking down proteins while keeping every bite impossibly moist.
Here’s the thing—most people overlook brining because it sounds like extra work, but this method takes just 15 minutes of prep. I use a balanced mix of vinegar, salt, and sugar (plus garlic and herbs for bonus flavor) to create a brine that tenderizes while adding subtle tang. The result? Chicken that stays juicy whether you roast, grill, or pan-sear it.
What you’ll love most is how this technique prevents dry, stringy meat. The vinegar’s acidity gently relaxes the muscle fibers, letting them hold onto moisture during cooking. I’ve tested this with everything from breasts to thighs, and it delivers perfectly moist results every time. No more guessing if your chicken is overcooked.
After brining, I like to pat the chicken dry for maximum crispiness when cooked. Serve it with simple sides—roasted veggies or mashed potatoes—and watch how this humble dish becomes the star of your meal. The tangy undertones make it especially great with creamy sauces or fresh herbs.
📚 In This Guide
- What You’ll Need
- Instructions
- Tips and Common Mistakes
What Youll Need
- ● Chicken: 3–4 lbs (1.4–1.8 kg) whole chicken or bone-in pieces (thighs, drumsticks, or breasts). 🍗
- ● Vinegar: 1 cup white, apple cider, or rice vinegar (5% acidity for best results).
- ● Water: 4 cups cold filtered water (or enough to fully submerge the chicken).
- ● Salt: ½ cup kosher or sea salt (avoid iodized salt for cleaner flavor).
- ○ Sugar (optional): ¼ cup granulated or brown sugar (balances tanginess).
- ○ Aromatics (optional): 3–4 garlic cloves, 1 tbsp black peppercorns, 2 bay leaves, or citrus peels.
- ● Container: 1 large non-reactive bowl, pot, or zip-top bag (glass or food-grade plastic).
- ● Tools: Measuring cups/spoons
- ● Whisk or spoon (for dissolving salt/sugar)
- ● Tongs or gloves (for handling chicken safely).
- ● Time: 4–12 hours brining time (refrigerator space required!). ⏰
Instructions
Here’s how to transform ordinary chicken into something extraordinary—juicy, tender, and full of flavor.
Prepare the Vinegar Brine Solution
In a large pot or bowl, combine 4 cups of warm water with ¼ cup kosher salt and ¼ cup granulated sugar. Stir vigorously until both are completely dissolved—this creates the perfect balance of seasoning and moisture retention.
Now add 1 cup white vinegar and stir to incorporate. The vinegar is what makes this brine special—it gently tenderizes the meat while adding a subtle tang that enhances the chicken’s natural flavor. I’ve found this ratio gives you all the benefits without making the chicken taste sour.
Let the brine cool to room temperature before adding the chicken. This prevents the meat from starting to cook prematurely. You can speed this up by placing the pot in an ice bath or refrigerating it for 20-30 minutes.
Brine the Chicken for Maximum Juiciness
Submerge 4 bone-in, skin-on chicken pieces (I prefer thighs and drumsticks for this method) completely in the cooled brine. If needed, place a plate on top to keep the chicken fully immersed. The pieces should be covered by at least 1 inch of liquid.
Refrigerate and brine for 4-12 hours. I know that’s a wide range, but here’s what I’ve learned: 4 hours gives you noticeably juicier chicken, while 12 hours delivers maximum tenderness and flavor penetration. Don’t exceed 24 hours or the vinegar can start to break down the meat too much.
The brine works by gently dissolving muscle proteins, allowing the meat to retain more moisture during cooking. You’ll notice the chicken pieces plump up slightly as they absorb the liquid—this is exactly what you want to see.
Rinse, Dry, and Season the Chicken
Remove the chicken from the brine and rinse it thoroughly under cold water. This removes any excess salt from the surface while leaving the flavor and moisture benefits intact. Pat the pieces completely dry with paper towels—this is crucial for achieving crispy skin later.
Let the chicken air-dry on a wire rack set over a baking sheet for 30 minutes in the refrigerator. This drying step helps the skin crisp up beautifully when cooked. Meanwhile, preheat your oven to 400°F to ensure it’s fully heated when you’re ready to cook.
Just before cooking, season the chicken lightly with freshly ground black pepper. You won’t need much salt because of the brine, but the pepper adds a nice contrast to the tangy notes from the vinegar. I like to add a sprinkle of garlic powder at this stage too for extra flavor.
Cook to Golden Perfection
Heat 1 tablespoon vegetable oil in a large oven-safe skillet over medium-high heat. When the oil shimmers, add the chicken pieces skin-side down. Cook undisturbed for 6-8 minutes until the skin is deep golden brown and crispy.
Flip the chicken and transfer the skillet to your preheated 400°F oven. Roast for 20-25 minutes, or until the internal temperature reaches 165°F at the thickest part. The vinegar in the brine helps the chicken cook more evenly while keeping it incredibly moist.
You’ll know it’s done when the juices run clear when pierced and the skin is crispy all over. The aroma will be amazing—a perfect balance of savory chicken with just a hint of that tangy brightness from the vinegar brine.
Rest and Serve
Transfer the chicken to a clean plate or cutting board and let it rest for 10 minutes before serving. This resting period allows the juices to redistribute throughout the meat, ensuring every bite is perfectly moist and flavorful.
Serve the chicken with your favorite sides, making sure to include some of those delicious pan juices. The vinegar brine creates chicken that’s juicy throughout with skin that stays crispy, and the subtle tang enhances all the natural flavors without overpowering them.
I love serving this with roasted vegetables or a simple salad—the bright, clean flavors complement the rich, moist chicken perfectly. The leftovers (if you have any!) make incredible sandwiches the next day.
Tips and Common Mistakes
Let me share what I’ve learned about perfecting this method—small details that make a big difference in texture and flavor.
The Brining Window: The 4-12 hour range in Step 2 isn’t arbitrary. I’ve tested this extensively and found that 4 hours gives you noticeably juicier meat, while 12 hours delivers maximum tenderness without making the chicken mushy. If you’re short on time, 4 hours is your minimum for visible improvement. For weekend meal prep, the full 12 hours transforms the texture completely. Just don’t exceed 24 hours—the vinegar will start breaking down the meat fibers too much.
Skin Crisis Prevention: The 30-minute air-drying in Step 3 is non-negotiable for crispy skin. Here’s what happens if you skip it: the skin steams instead of sears when it hits the pan, leaving you with rubbery instead of crackling results. I use a wire rack over a baking sheet to allow airflow on all sides. This step works hand-in-hand with the thorough patting dry—both are essential for that perfect golden crust you’re aiming for in Step 4.
Temperature Strategy: When checking for the 165°F internal temperature in Step 4, don’t just probe the thickest part once. I check three spots: near the bone, in the center, and near the surface. The vinegar brine makes the chicken cook more evenly, but bones can still cause temperature variations. Also, remember that carryover cooking will add about 5°F during the 10-minute rest in Step 5, so you can pull it at 160°F if you’re watching closely.
Oven Transition Tip: When moving from stovetop to oven in Step 4, make sure your oven is fully preheated to 400°F before transferring. The sudden temperature change is what creates that perfect contrast between crispy skin and juicy interior. If your oven runs hot, start checking at 18 minutes instead of 20 to prevent overcooking. The 20-25 minute range accounts for different oven behaviors and chicken piece sizes.
Pro Tips for Vinegar In Brine Chicken
- Let me share what I’ve learned about perfecting this method—small details that make a big difference in texture and f…
- The Brining Window: The 4-12 hour range in Step 2 isn’t arbitrary. I’ve tested this extensively and found that 4 hour…
- Skin Crisis Prevention: The 30-minute air-drying in Step 3 is non-negotiable for crispy skin. Here’s what happens if …
Frequently Asked Questions
How long should I brine chicken in vinegar for the best results?
For boneless cuts (like breasts or tenders), brine for 2–4 hours. Bone-in pieces (thighs, drumsticks) need 4–12 hours. Whole chickens? Aim for 12–24 hours in the fridge. Over-brining (beyond 24 hours) can make meat mushy—stick to the sweet spot for juicy, tangy perfection!
Can I use any type of vinegar for brining chicken?
Yes, but flavor varies! White vinegar (neutral) or apple cider vinegar (slightly sweet) are top picks. Avoid balsamic (too strong) or flavored vinegars (can overpower). Pro tip: Dilute with water (1:4 vinegar-to-water ratio) to balance acidity.
Does vinegar brine make chicken taste sour?
Not if done right! The vinegar’s acidity tenderizes but rinses off before cooking. For extra safety, soak the brined chicken in cold water for 10 minutes post-brine to remove excess tang. Too much vinegar? Add a pinch of sugar to the brine to counterbalance.
What’s a good vinegar brine alternative if I don’t like the taste?
Swap vinegar for lemon juice (citric acid) or buttermilk (lactic acid) for similar tenderizing effects. For non-acidic options, try a salt-sugar brine (1/4 cup salt + 2 tbsp sugar per 4 cups water). Each gives unique flavor—experiment!
Why is my brined chicken rubbery instead of juicy?
Rubbery texture usually means over-brining (too long or too much vinegar) or under-rinsing. Stick to recommended times, rinse well, and pat dry before cooking. Also, avoid high-heat cooking (grill/broil carefully) to prevent toughness.
Brining chicken with vinegar isn’t just a trick—it’s a game-changer for juicier, flavor-packed meat every time! 🍗✨ Whether you’re grilling, baking, or frying, that tangy touch locks in moisture and tenderizes like magic. Now that you’ve got the know-how, why not put it to the test?
Grab a batch of chicken, your favorite vinegar, and dive in—your taste buds (and dinner guests) will thank you! For extra inspiration, try experimenting with herbs, spices, or citrus in your next brine. Happy cooking!

- Jollof Rice Sauce Recipe: West African Tomato and Spice Infusion - September 25, 2026
- Japanese Rice Soup Recipe: Umami-Rich Comfort in a Bowl - September 25, 2026
- Homemade Cream Of Rice Recipe: Silk-Smooth Breakfast in Minutes - September 25, 2026