
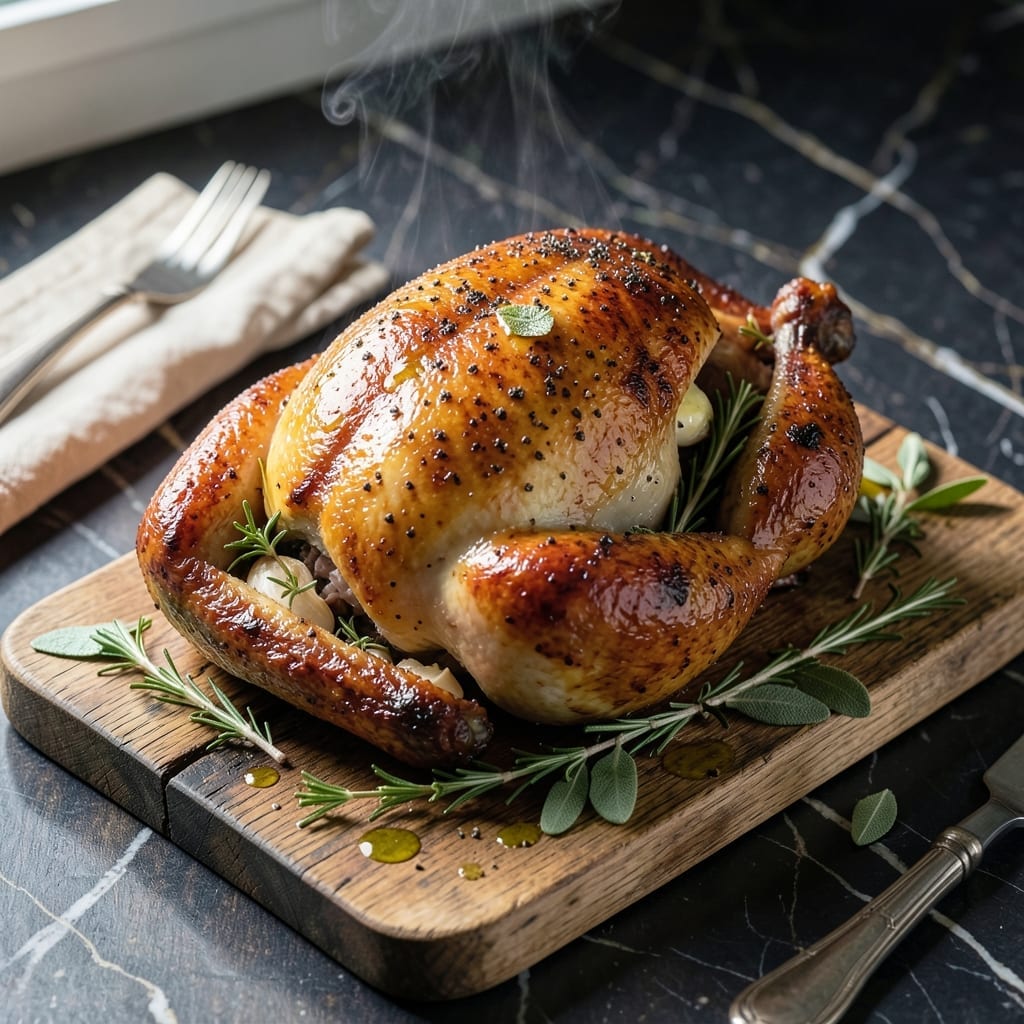
This white chicken roast delivers restaurant-quality results with minimal effort. The secret lies in a simple herb and garlic mixture that infuses every bite with bold flavor.
I developed this method to ensure juicy, tender meat with golden-brown skin every time. A hot oven and careful seasoning transform basic chicken into something special.
The herbs create an aromatic crust while the garlic penetrates deep into the meat. You’ll love how the skin crisps perfectly in just 45 minutes.
Serve this with roasted vegetables or a fresh salad for a complete meal. The leftovers make excellent sandwiches the next day.
Ingredients for White Chicken Roast
Simple fresh herbs and garlic turn this bird into something extraordinary. Nothing fancy required.
| Ingredient | Amount | Notes |
|---|---|---|
| Whole Chicken 🍗 | 4 lb | Skin-on, giblets removed |
| Unsalted Butter 🧈 | ½ cup | Softened to room temperature |
| Garlic Cloves 🧄 | 8 cloves | Minced for even distribution |
| Fresh Rosemary 🌿 | 2 tbsp | Finely chopped, stems discarded |
| Fresh Thyme 🍃 | 2 tbsp | Leaves stripped from stems |
| Fresh Sage 🌿 | 1 tbsp | Finely chopped for crust |
| Diamond Crystal Kosher Salt 🧂 | 1 ½ tsp | Divided for seasoning inside and out |
| Freshly Ground Black Pepper 🌶️ | 1 tsp | Coarse grind preferred |
| Lemon 🍋 | 1 whole | Zest and juice for brightness |
| Yellow Onion 🧅 | 1 whole | Quartered for cavity |
| Carrots 🥕 | 2 whole | Peeled, cut into chunks |
| Celery Stalks 🌿 | 2 whole | Cut into large pieces |
| Olive Oil 🫒 | 1 tbsp | For pre-roasting sear |
The chicken is the star here—look for air-chilled birds at Whole Foods or local butchers for the best texture and flavor. Skin-on is non-negotiable for that golden-brown crispness. I always grab organic if I can swing it, but conventional works fine too (just pat it super dry first). The herbs? Fresh from the produce section, not those sad dried flakes. If you’ve got a garden, even better.
No fresh rosemary? Dried works at one-third the amount, but fresh is worth the effort here. Short on thyme? Swap in marjoram or oregano—similar vibe. The butter can be salted if that’s what you’ve got, just skip the added salt. For the cavity, any onion works (red adds a nice color), and the carrots/celery are flexible—parsnips or fennel could join the party too.
Roast leftovers keep 4-5 days in the fridge—perfect for sandwiches or tacos. Freezes beautifully for up to 3 months. Pro tip: save the pan juices for gravy (or just soak up every last bit with crusty bread).
Why You’ll Love This Recipe
- One Pan Wonder: I just toss the chicken with butter, garlic, and herbs on a single tray—no fancy prep, no mess.
- Buttery Herb Magic: The rosemary and thyme melt into the butter, making every bite rich and aromatic.
- Feeds a Crowd: One whole chicken means leftovers for sandwiches or salads the next day.
- Budget Friendly: A whole chicken costs less than parts, and it stretches for multiple meals.
Step-by-Step Instructions for White Chicken Roast
Here’s the method I use for juicy, herb-infused chicken with crispy skin every time.
Step 1: Prep and Season the Chicken Inside and Out
Pat the 4 lb Whole Chicken completely dry with paper towels—this is non-negotiable for crispy skin. I focus on the cavity and under the wings where moisture hides. Season the inside with half the 1.5 tsp Diamond Crystal Kosher Salt and 1 tsp Freshly Ground Black Pepper, then stuff it with the 1 whole Lemon (halved), 1 whole Yellow Onion (quartered), 2 whole Carrots, and 2 whole Celery Stalks.
Now work on the outside. Mix the remaining 0.5 cup Unsalted Butter with the 8 cloves Garlic Cloves (minced), 2 tbsp Fresh Rosemary, 2 tbsp Fresh Thyme, and 1 tbsp Fresh Sage. Gently separate the skin from the breast and thighs, then rub some of this herb butter underneath. This flavors the meat directly.
Step 2: Sear for Extra Flavor and Color
Heat the 1 tbsp Olive Oil in a large oven-safe skillet or roasting pan over medium-high heat. When it shimmers, place the chicken breast-side down in the pan. You’ll hear a satisfying sizzle—that means it’s working. Sear undisturbed for 5-6 minutes until the skin turns a deep golden brown.
Carefully flip the chicken and sear the other side for 3-4 minutes. The skin should release easily when it’s ready. This step isn’t just for color—it builds a flavor foundation that carries through the entire roast. Transfer the chicken to a rack in your roasting pan, breast-side up.
Step 3: Roast Low and Slow to Perfection
Preheat your oven to 375°F. Roast the chicken for 1 hour to 1 hour 15 minutes, basting it with the pan juices and remaining herb butter every 20-25 minutes. Basting keeps the skin moist and enhances browning. You’ll start to smell the herbs and garlic perfuming your kitchen—that’s how you know it’s on the right track.
The chicken is done when the juices run clear and an instant-read thermometer inserted into the thickest part of the thigh (not touching bone) reads 165°F. The skin should be crisp and mahogany-colored, and the herbs should have formed a fragrant crust.
Step 4: Rest and Serve with Pan Juices
Transfer the chicken to a cutting board and tent it loosely with foil. Let it rest for 15 minutes—this is the step that separates good roast chicken from unforgettable. Resting allows the juices to redistribute, so every bite is moist and flavorful. Don’t skip this, even if you’re starving.
While it rests, skim some of the fat from the pan juices and discard it, then pour the remaining juices into a small bowl. Carve the chicken and serve it drizzled with these pan juices. The combination of crispy skin, tender meat, and herb-infused juices is what makes this roast so special.
Pro Tips For Making White Chicken Roast
- Dry the Skin: Pat the chicken completely dry with paper towels before roasting—I learned this the hard way after ending up with steamed skin instead of that perfect golden crust.
- Butter Under Skin: Work about 2 tablespoons of softened unsalted butter between the skin and breast meat, along with crushed garlic and herbs. Sounds messy, but it actually changes the outcome.
- Start Hot: Crank the oven to 425°F for the first 20 minutes, then drop to 375°F. This guarantees crispy skin while the inside cooks through evenly.
- Rest Before Carving: Let the chicken rest 15 minutes under foil after roasting—yes, even if you’re impatient like me. It keeps all the juices where they belong.
Pro Cooking Tips for Great white chicken roast
Thermometer Precision
Always use an instant-read thermometer for perfect results—I trust my ThermoWorks ThermoPop. Insert it into the thickest part of the thigh, avoiding bone, and pull at 165°F. The breast will naturally be a few degrees cooler. 🌡️
Dry Brine Trick
For next-level flavor, dry brine your chicken 12-24 hours before cooking. Pat it dry, then rub with 1 tsp kosher salt per pound. Leave it uncovered in the fridge. This seasons deeply and helps the skin crisp beautifully.
Butter Temperature
Your 0.5 cup Unsalted Butter must be truly room temperature—not melted, not cold. It should dent when pressed but hold its shape. This ensures even distribution under the skin without pooling in one spot.
Oven Hot Spot
Most ovens have hot spots. Rotate your roasting pan 180 degrees halfway through cooking. I place my Lodge cast iron pan on the lower middle rack for even heat circulation.
Herb Freshness
Use herbs the day you buy them for maximum flavor. If storing, wrap in damp paper towels in a ziplock bag. Rosemary and thyme keep 5-7 days this way, but sage is best used within 3 days. 💡
Resting mat
Place your cutting board on a warm surface (like the back of the stove) during resting. This prevents the bottom of the chicken from cooling too quickly and keeps the skin crisp longer.
Nutrition Facts
Frequently Asked Questions
Can I use dried herbs instead of fresh?
Yes, but use 1/3 the amount since dried herbs are more concentrated. Fresh herbs provide brighter flavor, but dried work in a pinch.
How do I prevent the skin from getting soggy?
Pat the chicken completely dry before seasoning and ensure your oven is fully preheated to 375°F. Basting helps, but don’t overdo it.
Can I roast a smaller or larger bird?
Adjust cooking time based on weight. For a 3 lb chicken, start checking at 45 minutes. For 5+ lbs, add 15-20 minutes extra. Always use a thermometer.
What if my chicken isn’t browning?
Increase oven temp to 400°F for the last 10-15 minutes or broil briefly. Ensure the skin is dry and check your oven’s calibration.

- Jollof Rice Sauce Recipe: West African Tomato and Spice Infusion - September 25, 2026
- Japanese Rice Soup Recipe: Umami-Rich Comfort in a Bowl - September 25, 2026
- Homemade Cream Of Rice Recipe: Silk-Smooth Breakfast in Minutes - September 25, 2026