
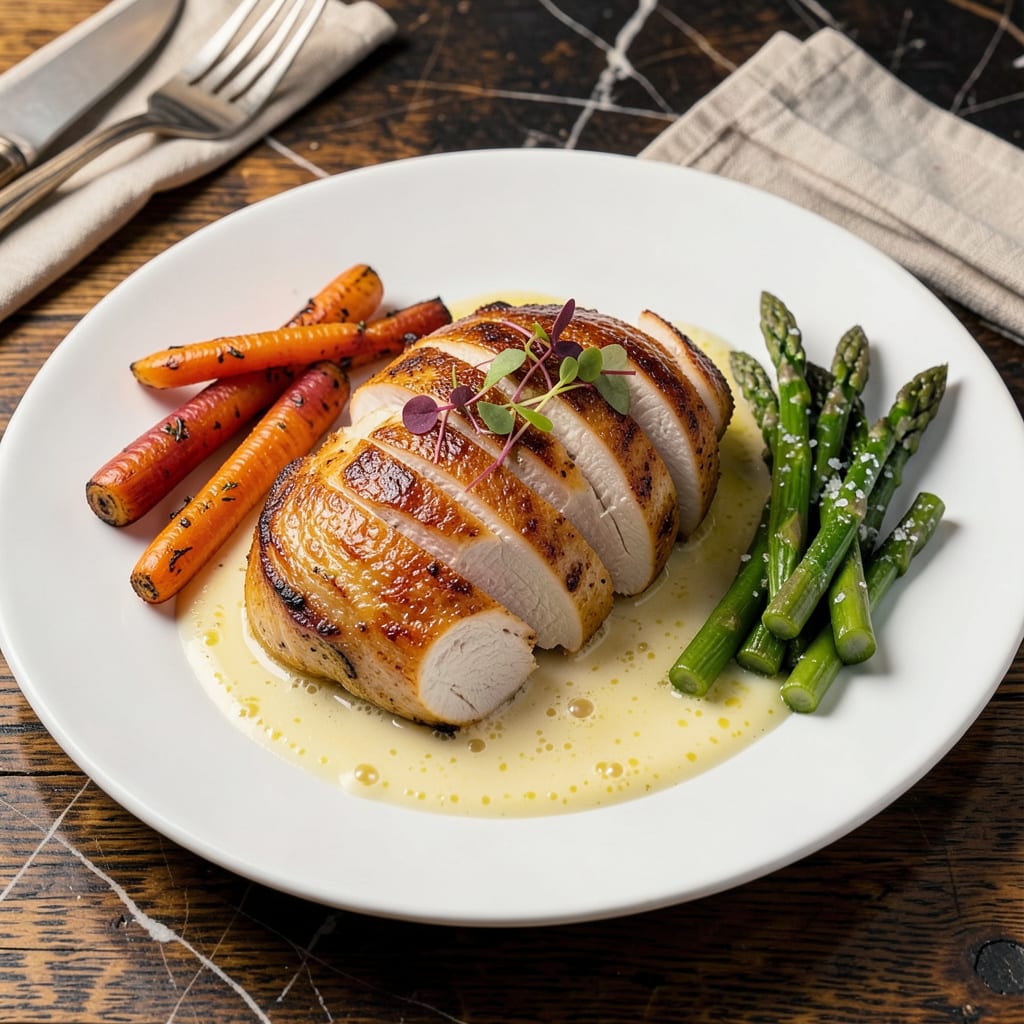
A 1 lb chicken breast typically needs 20-25 minutes at 375°F in the oven or 6-8 minutes per side on the stovetop. Use a meat thermometer to ensure it reaches 165°F internally for perfect doneness and juiciness.
Getting the timing right transforms a simple chicken breast into a restaurant-quality dish. 🔥 The thickness of the cut plays a huge role—uniform pieces cook more evenly, while uneven cuts create hot spots that dry out the meat. I always pound thicker sections to an even ¾-inch thickness before cooking, which eliminates guesswork and guarantees consistent results.
What most home cooks overlook is the carryover cooking effect—the temperature rises another 5-10°F after you pull it from heat. That’s why removing it at 160°F and letting it rest for 5-10 minutes keeps it juicy. Skipping this step is the #1 reason for dry chicken, no matter how perfectly you time the initial cooking.
💡 In This Article
- Why Cooking Time Varies for 1 Lb Chicken Breast
- Pro Tips for Perfectly Juicy 1 Lb Chicken Breast Every Time
Why Cooking Time Varies for 1 Lb Chicken Breast
The cooking time for chicken breast isn’t just about weight—it’s about thickness and heat transfer. A 1 lb breast can range from ¾-inch to 2-inches thick, and that difference means the center may take twice as long to reach safe temperature.
Heat moves through meat at about 1 inch per 15 minutes at 350°F, so thicker cuts need adjusted timing to avoid a dry exterior before the center cooks through. 🔥
Bone-in versus boneless changes everything. Bones act as heat conductors, cooking adjacent meat 20-30% faster than boneless cuts. A bone-in 1 lb breast might finish in 18-20 minutes at 375°F, while boneless needs the full 25 minutes.
The bone also insulates the meat, creating microclimates where temperature varies—this is why probing multiple spots with a thermometer is non-negotiable for accuracy. ⚡
Cooking method dramatically alters heat exposure. Direct high heat (like searing in a 400°F cast-iron skillet) creates a crust in 2-3 minutes per side, but the internal temp lags behind. Oven baking at 375°F provides gentler, more even heat penetration—ideal for thicker cuts.
Grilling adds another variable: flare-ups can char the surface while leaving the center undercooked if you’re not monitoring closely. 💫
The 165°F safety threshold isn’t arbitrary—it’s the temperature where salmonella bacteria are instantly destroyed. Below 160°F, proteins haven’t fully denatured, leaving potential pathogens. But here’s the catch: meat continues cooking off-heat (carryover cooking), rising 5-10°F during resting. Pulling it at 155-160°F lets it coast to perfection without overcooking. ✨
Pro tip: Use the “finger test” for doneness. A properly cooked breast feels like the base of your thumb when you touch your pinky to it—firm but with slight give. This tactile check complements your thermometer, especially for unevenly shaped breasts where one end might finish before the other.
For 1 lb breasts, I recommend testing at 18 minutes in the oven, then adjusting in 2-minute increments. 🌟
Environmental factors play a role too. Altitude affects boiling points—at 5,000 ft, water boils at 203°F instead of 212°F, which means poached chicken cooks 25% slower. Humidity in your oven (from covered dishes) can also extend cooking time by preventing proper browning.
Always preheat your cooking surface for 10-15 minutes to stabilize the temperature before adding the chicken. 💛
Remember that starting temperature matters. Chicken straight from the fridge (40°F) takes 3-5 minutes longer to cook than room-temp meat (70°F). For even cooking, let it sit on the counter for 20-30 minutes before cooking—this reduces the temperature gradient between the surface and center, preventing that dreaded “raw center, dry exterior” scenario. ⚡

- Jollof Rice Sauce Recipe: West African Tomato and Spice Infusion - September 25, 2026
- Japanese Rice Soup Recipe: Umami-Rich Comfort in a Bowl - September 25, 2026
- Homemade Cream Of Rice Recipe: Silk-Smooth Breakfast in Minutes - September 25, 2026