
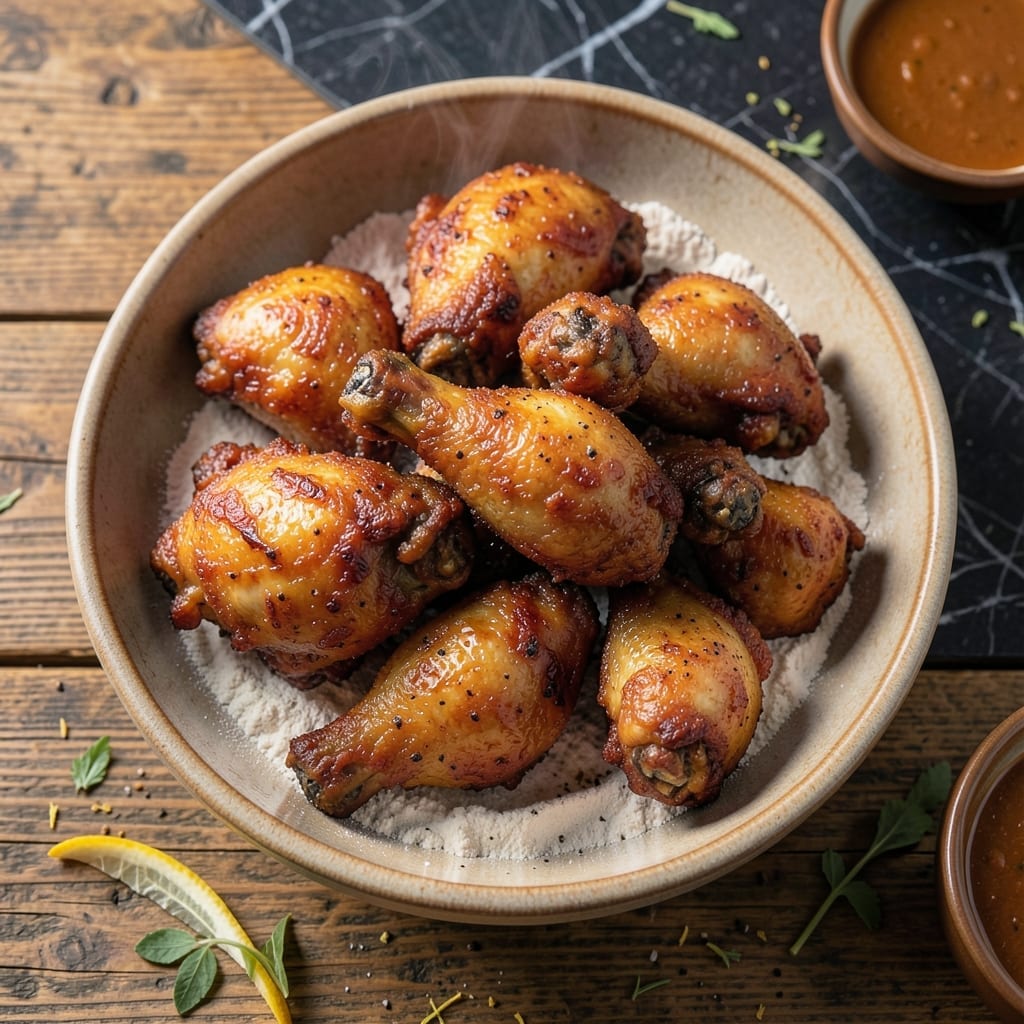
This double-dipped method guarantees crispy, golden-brown fried chicken every time. The secret lies in the two-stage coating process that creates an extra-thick, shatteringly crispy crust that stays intact from first bite to last.
I’ve refined this technique over years of testing, focusing on the perfect balance of flour, seasoning, and buttermilk for maximum crunch. The chicken cooks evenly inside while developing that coveted crispy exterior that’s the hallmark of great fried chicken.
What emerges from the fryer is juicy, tender meat encased in a coating so crispy you’ll hear it with every bite. The seasoned crust forms a perfect seal, locking in moisture and flavor.
Serve hot for the ultimate crunch experience. This method never fails to deliver on its promise of perfect texture.
Ingredients for Awesome Fried Chicken
This is everything you need for that legendary crunch and juicy interior. Simple, bold, perfect.
| Ingredient | Amount | Notes |
|---|---|---|
| Chicken Thighs and Drumsticks 🍗 | 3 ½ lb | Bone-in, skin-on for maximum crispiness |
| Buttermilk 🥛 | 2 cups | Full-fat for tenderizing power |
| All-Purpose Flour 🌾 | 3 cups | Plus extra for dredging |
| Cornstarch 🌽 | ½ cup | For extra crunch in coating |
| Kosher Salt 🧂 | 2 tbsp | Diamond Crystal preferred for even seasoning |
| Black Pepper 🌶️ | 1 tbsp | Freshly ground for bold flavor |
| Garlic Powder 🧄 | 1 tbsp | Not garlic salt for pure flavor |
| Onion Powder 🧅 | 1 tbsp | Balances the seasoning blend perfectly |
| Paprika 🌶️ | 1 tbsp | Sweet or smoked for depth |
| Cayenne Pepper 🔥 | ½ tsp | Adjust for desired heat level |
| Vegetable Oil 🫒 | 6 cups | For deep frying, high smoke point |
| Large Egg 🥚 | 1 whole | Helps coating adhere beautifully |
The chicken is everything here. Bone-in, skin-on thighs and drumsticks give you that juicy interior and maximum crisp. Avoid boneless breasts—they dry out fast and don’t deliver the same crunch. I grab mine from Whole Foods or Costco for quality and price. Look for pieces that are similar in size so they cook evenly. The buttermilk? Full-fat only—it tenderizes like nothing else.
No buttermilk? Whole milk plus 1 tbsp vinegar or lemon juice works in a pinch. Swap the thighs for breasts if you must (but they won’t be as good). The cornstarch is non-negotiable—it’s what gives that shatteringly crisp crust. Out of paprika? Substitute with extra cayenne for heat (but you’ll lose the color). And please, don’t skip the double-dip—that’s the secret to the thick, craggy coating.
Fry the chicken in batches and keep it warm on a rack in a 200°F oven. Leftovers? They’re best eaten fresh, but will keep 2-3 days in the fridge. Reheat in a 375°F oven for 15 minutes to revive some crunch—microwaving turns it soggy. Trust me, this is worth making the same day you plan to eat it.
Why You’ll Love This Recipe
- Minimal Effort: I just mix buttermilk with the chicken, dredge in flour and cornstarch, and fry—no fancy steps.
- Crispy Perfection: That cornstarch in the coating makes the crust so shatteringly crisp it’s almost unfair.
- Feeds a Crowd: I make a double batch for game day and everyone’s happy—thighs and drumsticks disappear fast.
- Budget Winner: Chicken thighs and drumsticks are cheap, and this recipe stretches them into something extraordinary.
Step-by-Step Instructions for Double-Dipped Crispy Fried Chicken
This double-dipping method guarantees an ultra-crispy crust that shatters with every bite.
Step 1: Brine the Chicken in Buttermilk
Submerge the 3.5 lb Chicken Thighs and Drumsticks in a large bowl with the 2 cups Buttermilk. Ensure every piece is fully coated. I press down gently to displace any air bubbles clinging to the meat.
Cover and refrigerate for at least 8 hours, but overnight works even better. This buttermilk brine tenderizes the meat while the acidity helps the coating adhere. The result is juicy chicken that stays moist even after frying.
Step 2: Prepare the Seasoned Flour Coating
In a large shallow dish, whisk together the 3 cups All-Purpose Flour, 0.5 cup Cornstarch, 2 tbsp Kosher Salt, 1 tbsp Black Pepper, 1 tbsp Garlic Powder, 1 tbsp Onion Powder, 1 tbsp Paprika, and 0.5 tsp Cayenne Pepper until evenly distributed.
The cornstarch is the secret to extra crunch—it creates a lighter, crispier texture than flour alone. I like to spread the mixture out so it’s ready for dredging. This blend packs serious flavor, so don’t be tempted to skimp on the spices.
Step 3: Double-Dip for Maximum Crunch
Remove the chicken from the buttermilk, letting excess drip off. Dredge each piece in the flour mixture, pressing firmly to ensure full coverage. Shake off any loose flour, then dip back into the buttermilk.
For the second dip, lift each piece out, let it drip for 10 seconds, then dredge again in the flour. This double-dipping creates a thick, craggy crust that fries up incredibly crispy. Place the coated pieces on a wire rack to rest for 10 minutes while you heat the oil.
Step 4: Fry to Golden Perfection
In a large Dutch oven or deep fryer, heat the 6 cups Vegetable Oil to 350°F. Use a deep-fry thermometer for accuracy—this temperature ensures even cooking without burning the coating. Carefully lower in the chicken pieces, working in batches to avoid crowding.
Fry for 12-15 minutes for drumsticks and 14-17 minutes for thighs, turning occasionally, until the coating is deep golden brown and the internal temperature reaches 165°F. Drain on a wire rack set over a baking sheet to maintain crispiness.
Step 5: Rest and Serve Hot
Let the fried chicken rest for 5 minutes before serving. This brief pause allows the juices to redistribute, keeping the meat moist while the crust stays crisp. The coating should audibly crackle when you bite into it.
Serve immediately while hot—the contrast between the crispy exterior and tender interior is at its peak. Any leftovers can be reheated in a 375°F oven for 10-12 minutes to revive the crunch, though it’s best enjoyed fresh from the fryer.
Pro Tips For Making Awesome Fried Chicken
- Double Dredge: Dip each piece in buttermilk, then flour, then back in buttermilk and flour again. I learned this the hard way—single dredging gives you sad, patchy crust.
- Rest the Chicken: Let the dredged pieces sit on a rack for 10-15 minutes before frying. After burning three batches, I finally figured out this keeps the coating from sliding right off.
- Hot Oil Only: Use a thermometer and keep the oil at 350°F. Sounds weird, but it works: too cool and you’ll get greasy chicken, too hot and it’ll burn before it cooks through.
- Salt the Buttermilk: Add 1 tablespoon of kosher salt to your buttermilk brine. My grandmother swore by this, and she was right: it seasons the meat all the way through, not just the surface.
Storing and Reheating awesome fried chicken
Refrigerator Storage
Let your chicken cool completely before storing—this prevents condensation from making the coating soggy. Place pieces in a single layer in an airtight container with paper towels between layers. It’ll keep for 2-3 days at 40°F or below. ❄️
Freezer Storage
For longer storage, freeze chicken on a baking sheet first, then transfer to a freezer-safe zip-top bag with parchment between pieces. Squeeze out all air to prevent freezer burn. This method preserves texture for up to 1 month.
Oven Reheating
Preheat to 375°F and place chicken on a wire rack over a baking sheet. Heat for 10-12 minutes until the coating crisps and internal temp hits 165°F. This is the only method that restores some of that signature crunch. 🔥
Air Fryer Revival
Arrange pieces in a single layer in your air fryer basket. Set to 375°F for 5-6 minutes, checking halfway. The circulating air helps recapture some crispiness better than a microwave ever could.
Avoid the Microwave
Microwaving turns that beautiful crispy coating into a sad, soggy mess. If you must use one, place chicken on a rack and use 50% power in 30-second bursts, but honestly, it’s never as good as fresh.
Nutrition Facts
Frequently Asked Questions
Can I use chicken breasts instead of thighs?
You can, but they won’t be as juicy. Thighs stay moist during frying, while breasts tend to dry out. If using breasts, reduce frying time to 10-12 minutes and monitor the temperature closely.
Why does the coating fall off sometimes?
This usually happens if the oil isn’t hot enough or the chicken is moved too soon after frying. Maintain 350°F oil and let pieces rest on a rack for 5 minutes before serving.
Can I bake this instead of frying?
Yes, but the texture will differ. Bake at 400°F for 25-30 minutes on a wire rack for some crispiness, though it won’t match the deep-fried crunch.
How do I know when the oil is ready?
Use a deep-fry thermometer for accuracy. Without one, drop a pinch of flour into the oil—it should sizzle immediately and rise to the surface if ready.

- Jollof Rice Sauce Recipe: West African Tomato and Spice Infusion - September 25, 2026
- Japanese Rice Soup Recipe: Umami-Rich Comfort in a Bowl - September 25, 2026
- Homemade Cream Of Rice Recipe: Silk-Smooth Breakfast in Minutes - September 25, 2026