
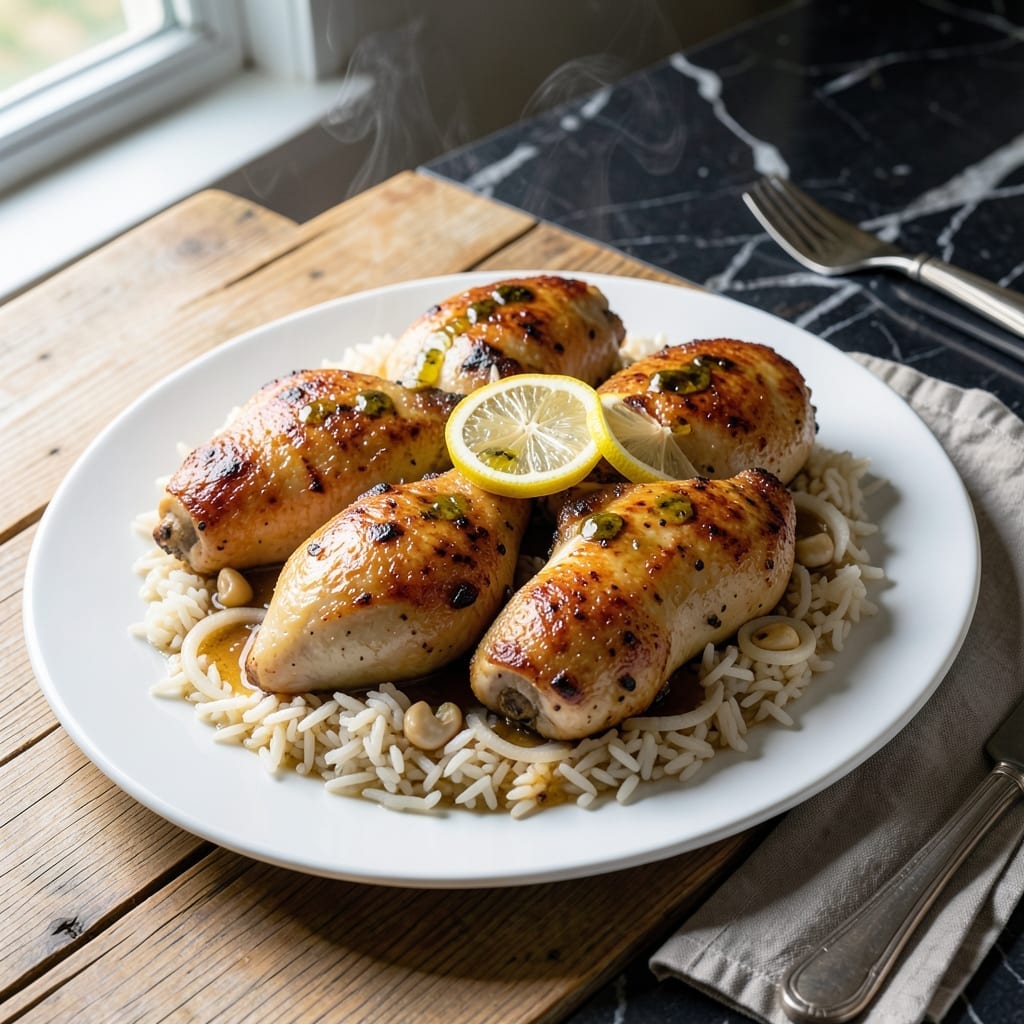
This one-pan baked lemon chicken and rice delivers comfort with minimal cleanup. The lemon brightens every bite, transforming simple ingredients into a meal that feels special.
I developed this method for busy weeknights when I wanted restaurant-quality results without the fuss. The chicken stays juicy while the rice absorbs all the citrusy flavor.
The secret is baking everything together so the rice soaks up the lemon-infused juices. You’ll end up with tender chicken, fluffy rice, and a dish that tastes like it took hours.
Perfect for family dinners or when you need a reliable, flavorful meal. Here’s how to make it.
Ingredients for Baked Lemon Chicken and Rice
Simple, bright ingredients for a cozy one-pan dinner everyone will love.
| Ingredient | Amount | Notes |
|---|---|---|
| Bone-In Chicken Thighs 🍗 | 4 whole | Skin-on for crispiness |
| Long-Grain White Rice 🍚 | 1 ½ cups | Uncooked, rinsed well |
| Chicken Broth 🥣 | 2 ½ cups | Low-sodium preferred |
| Fresh Lemons 🍋 | 2 whole | Zested and juiced |
| Garlic Cloves 🧄 | 4 cloves | Minced finely |
| Yellow Onion 🧅 | 1 whole | Diced medium |
| Extra-Virgin Olive Oil 🫒 | 2 tbsp | Divided for cooking |
| Dried Oregano 🌿 | 1 tsp | Mediterranean variety |
| Dried Thyme 🍃 | 1 tsp | Rubbed between fingers |
| Bay Leaf 🌿 | 1 whole | Removed before serving |
| Salt 🧂 | 1 ½ tsp | Divided, kosher preferred |
| Black Pepper 🌶️ | ½ tsp | Freshly ground |
| Fresh Parsley 🌿 | ¼ cup | Chopped for garnish |
The chicken is key here. Bone-in, skin-on thighs stay juicy and render fat for flavor—avoid breasts, they dry out. I grab mine from Whole Foods or the butcher counter at Publix (they’ll debone if you ask, but don’t). Look for thighs with vibrant color and no grayish tint. The rice should be long-grain white; jasmine or basmati work too (just adjust liquid slightly).
No fresh lemons? Bottled lemon juice at half the amount plus a pinch of zest from a dried strip gets you close. Short on time? Pre-minced garlic from a jar saves a step (but fresh tastes brighter). Vegetable broth swaps in fine for chicken broth. Want more herbiness? Fresh rosemary or tarragon play well with the lemon—add a sprig to the pan.
Leftovers keep 4 days in the fridge, and the flavors deepen overnight. Freeze without the parsley garnish for up to 3 months. Reheat covered with foil to keep the chicken from drying out (that crispy skin won’t survive, but the taste will).
Why You’ll Love This Recipe
- One Pan Wonder: I toss everything in a single dish—chicken, rice, broth, lemon, and garlic—then let the oven do the work.
- Zesty, Garlicky Bite: The lemon juice and garlic seep into the chicken and rice, making every forkful bright and savory.
- My Go-To Weeknight: Honestly, it’s my Tuesday night hero—fills the house with smell and feeds the family without fuss.
- Leftovers for Days: The rice soaks up even more flavor overnight, so lunch the next day tastes just as good.
Step-by-Step Instructions for Baked Lemon Chicken and Rice
Here’s the method I use for perfect comfort in one pan.
Step 1: Sear the Bone-In Chicken Thighs
Heat 1 tablespoon of the extra-virgin olive oil in a large oven-safe skillet over medium-high heat. Pat the 4 whole bone-in chicken thighs dry with paper towels, then season both sides with 1 teaspoon of the salt and all of the black pepper.
Place the chicken thighs skin-side down in the hot skillet. Cook undisturbed for 5-6 minutes until the skin turns deep golden brown and releases easily from the pan. Flip and cook for another 3-4 minutes. Transfer to a plate and set aside.
Step 2: Sauté Aromatics and Toast the Rice
In the same skillet, add the remaining 1 tablespoon of extra-virgin olive oil. Add the diced yellow onion and cook for 3-4 minutes until softened and translucent. Stir in the minced garlic cloves and cook for 30 seconds until fragrant.
Add the 1.5 cups long-grain white rice, dried oregano, and dried thyme. Stir for 1-2 minutes until the rice is well-coated and begins to toast slightly. This step enhances the rice’s nutty flavor and prevents it from becoming mushy.
Step 3: Deglaze and Add Liquids
Zest both fresh lemons directly into the skillet, then juice them and add the juice as well. Pour in the 2.5 cups chicken broth and add the bay leaf. Stir to combine, scraping up any browned bits from the bottom of the pan.
These browned bits, or fond, are packed with flavor and will dissolve into the liquid, creating a rich base for the rice.
Step 4: Nestle Chicken and Bake
Return the chicken thighs to the skillet, nestling them into the rice mixture skin-side up. The liquid should just cover the rice. Bring to a gentle simmer, then cover the skillet with a tight-fitting lid or foil.
Transfer to a preheated 375°F oven and bake for 25-30 minutes. Check at 25 minutes—the chicken should reach an internal temperature of 165°F and the rice should be tender with all liquid absorbed.
Step 5: Rest and Garnish
Remove the skillet from the oven and discard the bay leaf. Let the dish rest covered for 5-10 minutes to allow the flavors to meld and the chicken juices to redistribute. This resting period ensures every bite is moist and flavorful.
Sprinkle with the 0.25 cup fresh parsley just before serving. The parsley adds a bright, fresh finish that complements the zesty lemon beautifully. Serve hot, directly from the skillet for that comforting one-pan experience.
Pro Tips For Making Baked Lemon Chicken And Rice
- Par-Cook the Rice: Start the rice with a 5-minute simmer in broth before baking—raw rice won’t finish in time and you’ll end up with crunchy bits. I learned this the hard way after pulling out a tray of underdone grains.
- Score the Chicken: Cut two shallow slits in each thigh so the lemon and garlic penetrate deeper. Sounds weird, but it actually changes the outcome, especially with bone-in pieces.
- Skip the Cold Broth: Use warm or room-temperature broth when mixing with rice—cold liquid slows the oven’s heat and adds 10+ minutes to cooking time. After burning three batches waiting for it to catch up, I finally figured this out.
- Zest Before Juicing: Grate the lemon zest first, then juice the halves—once you’ve squeezed them, the peel is slippery and hard to hold. My grandmother swore by this, and she was right: you get way more flavor with half the hassle.
Troubleshooting This Recipe
Rice Still Crunchy
If your rice isn’t tender, it likely needs more liquid. Add ½ cup hot chicken broth, cover, and return to the 375°F oven for another 10-15 minutes. I always check the rice at 25 minutes to catch this early. 💡
Chicken Not Cooked Through
If the chicken isn’t at 165°F but rice is done, cover and bake another 5-10 minutes. If the rice is drying out, add ¼ cup broth to the pan. Thighs are forgiving, but don’t let them overcook or they’ll dry out.
Too Much Liquid
If there’s standing liquid after baking, remove the lid and return to the oven for 5-10 minutes. The excess will evaporate. Alternatively, transfer to the stovetop and simmer uncovered until the rice absorbs it.
Bland Flavor
The lemon should shine, so if it’s missing, add 1 tbsp fresh lemon juice and extra zest before serving. I also boost with a pinch more salt and dried oregano—taste as you go. 🍋
Chicken Skin Not Crispy
For crispier skin, finish under the broiler for 2-3 minutes after baking. Or, sear the skin side again in the skillet for 1-2 minutes. Watch closely to avoid burning.
Rice Mushy
Overcooked rice usually means too much liquid or stirring too much. Next time, use 2 cups broth instead of 2.5 cups and resist stirring after adding the liquid. Let the rice cook undisturbed.
Nutrition Facts
Frequently Asked Questions
Can I use chicken breasts instead of thighs?
You can, but they’ll dry out more easily. If using, reduce bake time to 20-25 minutes and check temperature often. Thighs stay juicier and handle the 375°F heat better.
Should I rinse the rice before cooking?
Yes, always rinse long-grain rice until water runs clear. This removes excess starch that could make your rice gummy. Skip this step and you might end up with mushy results.
How do I prevent the chicken skin from getting soggy?
Pat the skin very dry before searing and don’t cover the pan until baking. For extra crispiness, broil for 2-3 minutes at the end. The steam from the rice is the main culprit.
Can I make this ahead of time?
Yes, but the rice absorbs liquid as it sits. Prepare through step 3, then refrigerate up to 24 hours before baking. Add 5 minutes to the bake time if cooking from cold.

- Jollof Rice Sauce Recipe: West African Tomato and Spice Infusion - September 25, 2026
- Japanese Rice Soup Recipe: Umami-Rich Comfort in a Bowl - September 25, 2026
- Homemade Cream Of Rice Recipe: Silk-Smooth Breakfast in Minutes - September 25, 2026