
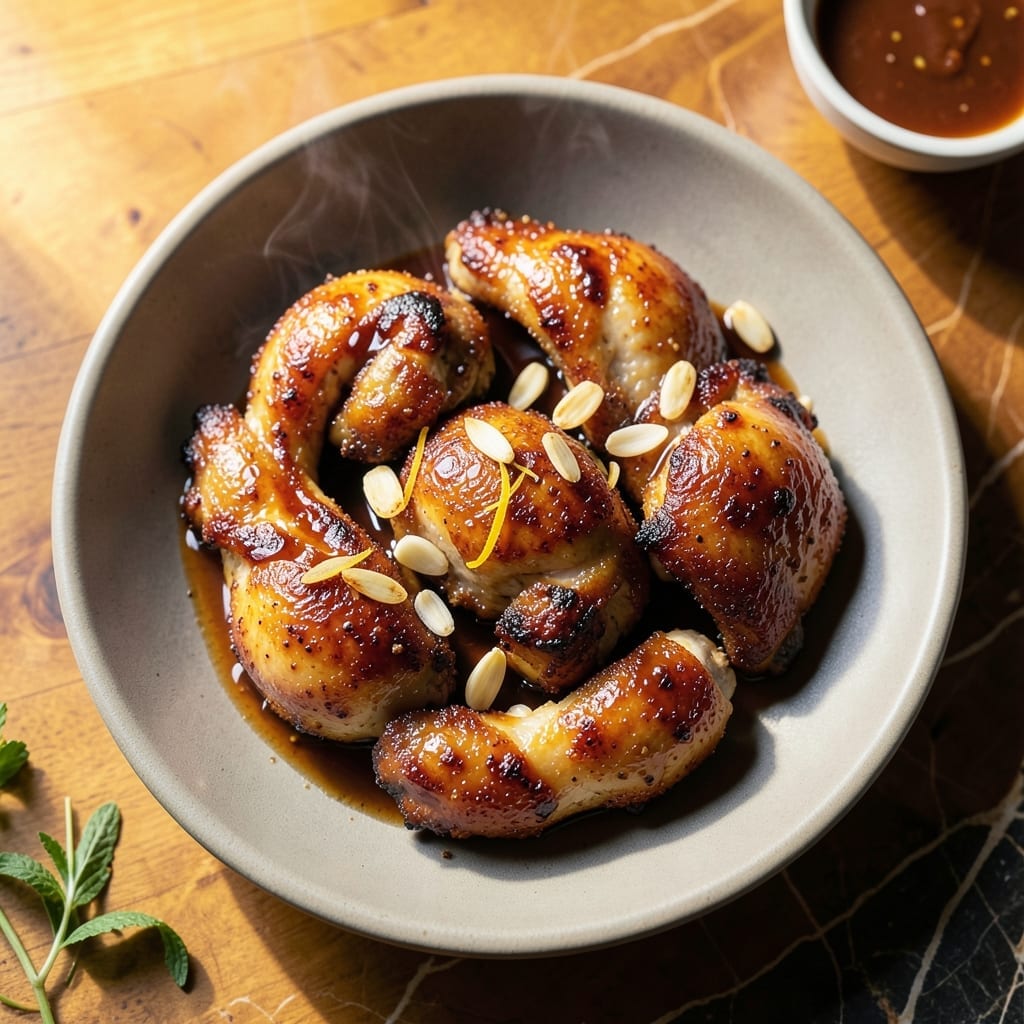
This Hawaiian-inspired dish delivers crispy, golden-brown chicken that’s impossibly tender inside. The secret lies in the cornstarch-based mochiko flour, which creates that signature crunch without deep frying.
I’ve perfected this method to ensure the coating stays intact while baking, giving you that same satisfying texture as traditional fried versions. The marinade, with its sweet and savory notes, infuses every bite with island-inspired flavor.
What you’ll love most is how this recipe brings comfort food to your table with minimal effort. It’s a foolproof way to achieve restaurant-quality results at home, every time.
Serve it hot with rice and a side of macaroni salad for the full experience. Here’s how to make it happen.
Ingredients for Baked Mochiko Chicken
Pantry staples meet island flavors for that crispy, golden crunch you crave.
| Ingredient | Amount | Notes |
|---|---|---|
| Boneless Skinless Chicken Thighs 🍗 | 2 lb | Cut into bite-sized pieces |
| Mochiko Flour 🌾 | 1 cup | Sweet rice flour, essential for crunch |
| Cornstarch 🌾 | ½ cup | Creates extra crispiness |
| Soy Sauce 🫒 | ½ cup | Low-sodium preferred |
| Brown Sugar 🍚 | ½ cup | Packed, for sweetness |
| Garlic Cloves 🧄 | 4 cloves | Minced finely |
| Fresh Ginger 🌿 | 1 tbsp | Grated, for zing |
| Green Onions 🧅 | 4 whole | Thinly sliced, for garnish |
| Large Eggs 🥚 | 2 whole | Beaten for binding |
| Neutral Oil 🫒 | 2 tbsp | Like vegetable or canola |
| Rice Vinegar 💧 | 2 tbsp | Adds tangy brightness |
| Sesame Oil 🫒 | 1 tsp | Toasted, for aroma |
| Salt 🧂 | 1 tsp | Kosher or sea salt |
| Black Pepper 🌶️ | ½ tsp | Freshly ground preferred |
The mochiko flour is non-negotiable here—look for it in the Asian aisle at Whole Foods or H Mart. It’s what gives that signature Hawaiian crispiness (the good stuff, not a substitute). Chicken thighs stay juicier than breasts, but use what you like. If you’re buying thighs in bulk, Costco has great pre-cut options that save time.
No mochiko? Regular cornstarch plus a bit more sugar gets you close, but the texture won’t be the same. Out of brown sugar? White sugar plus molasses at one-eighth the amount works. The soy sauce can be tamari for gluten-free (check labels for San-J brand). Fresh ginger is ideal, but ground ginger at half the amount in a pinch.
Marinate the chicken for at least 4 hours (overnight’s best for maximum flavor). Baked leftovers keep 3-4 days in the fridge—reheat in the oven to stay crispy. Freeze uncooked marinated chicken for up to 3 months (thaw before baking).
Why You’ll Love This Recipe
- I’ll be real: the chicken reheats surprisingly well, so I double the batch for lunches all week.
- One Bowl Mix: I just toss the chicken thighs with mochiko, cornstarch, soy sauce and brown sugar in a single bowl—no fancy prep, no mess.
- Sweet-Savory Crunch: Honestly, the brown sugar caramelizes while baking, giving that crispy coating with a deep umami kick from the soy.
- Feeds the Gang: Between us, this recipe stretches easily for potlucks or Sunday dinner with family, and everyone leaves happy.
Step-by-Step Instructions for Baked Mochiko Chicken
This method guarantees extra-crispy results with that signature Hawaiian sweet-savory flavor.
Step 1: Marinate the Chicken
In a large bowl, whisk together the soy sauce, brown sugar, minced garlic cloves, grated fresh ginger, rice vinegar, sesame oil, salt, and black pepper until the sugar dissolves completely. I find this takes about 2 minutes of vigorous whisking.
Add the bite-sized boneless skinless chicken thighs to the marinade, ensuring every piece is fully coated. Cover and refrigerate for at least 4 hours (overnight works best). This extended marinating time infuses the meat with that characteristic sweet-savory flavor and helps tenderize it.
Step 2: Prepare the Coating
In a separate large bowl, combine the Mochiko flour and cornstarch. The combination of these two starches creates that ultra-crispy texture this dish is famous for. I like to whisk them together for 30 seconds to ensure they’re fully integrated.
Beat the large eggs in a shallow bowl until the yolks and whites are completely combined. This will serve as the binder between the marinade and the flour mixture. Set this up as a dredging station next to your flour mixture for efficient coating.
Step 3: Coat the Chicken
Remove the chicken from the marinade (let excess drip off) and dip each piece into the beaten eggs, allowing any excess to drip back into the bowl. Then immediately dredge in the flour mixture, pressing gently to ensure an even, thick coating that clings to every surface.
Place the coated pieces on a wire rack set over a baking sheet. This setup allows air to circulate around each piece, preventing soggy bottoms. Let them rest for 10 minutes—this helps the coating set and adhere better during baking.
Step 4: Bake to Crispy Perfection
Preheat your oven to 375°F. Line a large baking sheet with parchment paper. Arrange the chicken pieces in a single layer, leaving 1 inch between each piece to ensure even browning and maximum crispiness.
Drizzle the neutral oil evenly over all the pieces. Bake on the middle rack for 25-30 minutes, flipping halfway through, until the coating is deep golden brown and the chicken reaches an internal temperature of 165°F. You’ll know it’s ready when the coating is crispy to the touch.
Step 5: Garnish and Serve
Transfer the baked chicken to a serving platter. While still hot, sprinkle with the thinly sliced green onions. The residual heat will slightly soften the onions and release their fresh aroma.
Serve immediately while the coating is at its crispiest. The contrast between the crunchy exterior and the tender, flavorful chicken inside is what makes this dish so comforting. For best results, don’t let the chicken sit too long before serving, as the coating will begin to soften.
Pro Tips For Making Baked Mochiko Chicken
- Marinate Overnight: Let the chicken soak in the soy sauce and brown sugar mixture for at least 4 hours—I learned this the hard way after my first batch came out bland. The flavors really sink in when given time.
- Double Coat the Chicken: After the first dip in the mochiko-cornstarch mix, let it rest 5 minutes then coat again. Sounds tedious, but it’s the only way to get that thick, crispy crust that doesn’t fall off.
- Bake on a Rack: Skip the flat tray and use a wire rack over a baking sheet. I used to wonder why my chicken steamed instead of crisped—this fixes it by letting air circulate underneath.
- Flip Halfway Through: At the 20-minute mark, turn each piece over so both sides brown evenly. After burning a few edges, I finally started setting a timer just for this step.
Regional Styles of These Flavors
Hawaiian Classic Style
This is the traditional preparation you’ll find at local plate lunch spots across the islands. The key is using Mochiko flour exclusively in the coating for that authentic crispy texture. I remember eating this at L&L Hawaiian Barbecue as a kid—it was always the highlight of my meal. 🌺
Spicy Korean Fusion
Add 2 tbsp gochujang to your marinade for a sweet-spicy kick. Swap 1 tbsp cornstarch for potato starch in the coating for extra crunch. This variation became popular in Hawaii’s Korean communities and is now a local favorite.
Garnish with toasted sesame seeds and extra gochujang drizzle after baking. The heat level is perfect for those who love bold flavors.
Garlic Butter Twist
Melt 4 tbsp butter with 3 minced garlic cloves and brush it over the chicken during the last 5 minutes of baking. This creates an irresistible garlic butter glaze that takes the flavor over the top.
Lemon Pepper Variation
Add 1 tbsp lemon zest and 1 tsp cracked black pepper to your flour mixture. The citrus brightens the sweet marinade while the pepper adds a nice bite. This version pairs perfectly with a cold beer.
Gluten-Free Adaptation
Use tamari instead of soy sauce and ensure your Mochiko flour is certified gluten-free. The texture remains identical, and the flavor is just as delicious. I’ve served this to gluten-sensitive friends with zero complaints. 💛
Nutrition Facts
Frequently Asked Questions
Can I use chicken breasts instead of thighs?
Yes, but thighs stay juicier. Breasts work if cut into smaller pieces and not overbaked. Reduce baking time by 5 minutes to prevent dryness.
How do I make it extra crispy?
Double-dredge the chicken in the flour mixture after the egg dip. Also, bake on a wire rack for better air circulation.
Can I air fry instead of baking?
Cook at 375°F for 12-15 minutes, shaking halfway. The air fryer gives even crispier results with less oil.
What if my coating falls off during baking?
Let coated pieces rest for 10 minutes before baking. Ensure chicken is dry before dredging, and don’t skip the egg dip.

- Jollof Rice Sauce Recipe: West African Tomato and Spice Infusion - September 25, 2026
- Japanese Rice Soup Recipe: Umami-Rich Comfort in a Bowl - September 25, 2026
- Homemade Cream Of Rice Recipe: Silk-Smooth Breakfast in Minutes - September 25, 2026