
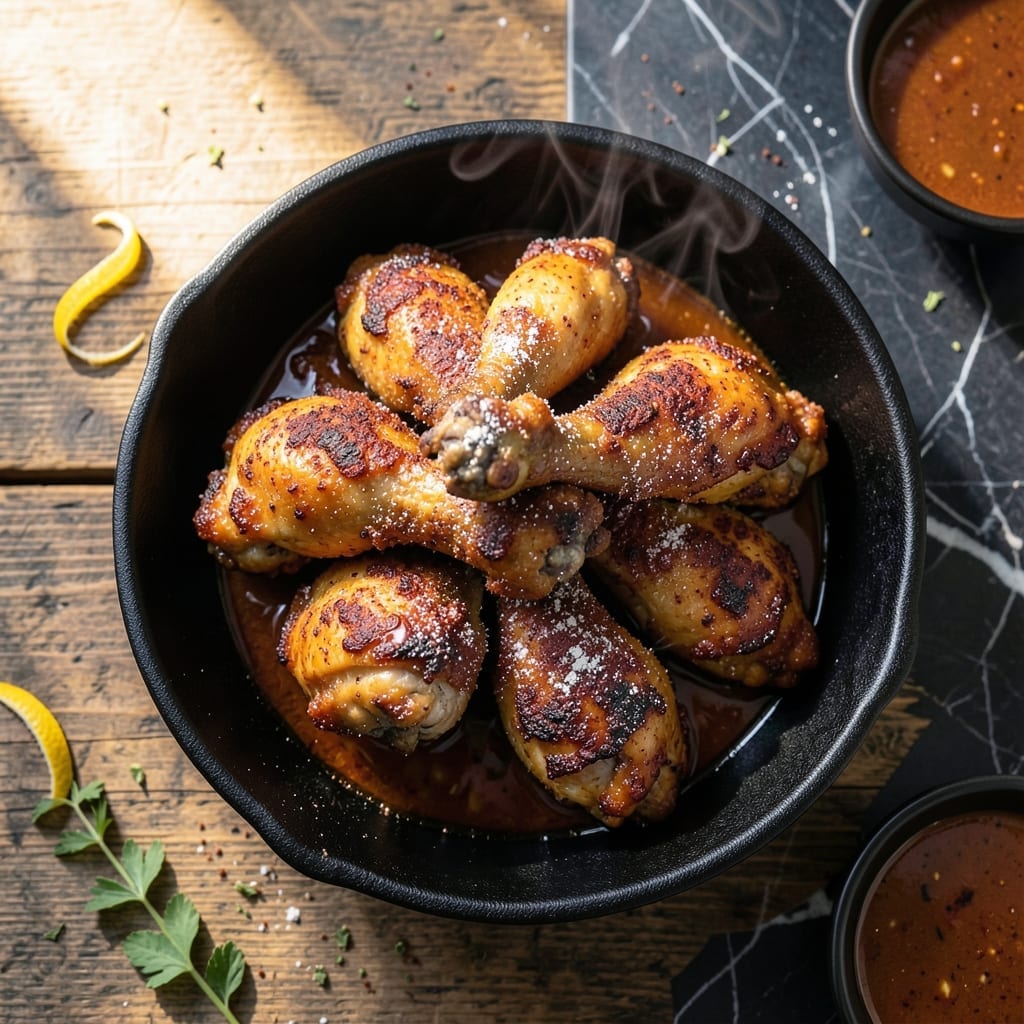
This recipe delivers the ultimate combination of smoky barbeque flavor and irresistible crunch. Double-dipping the chicken ensures every bite is packed with taste and texture.
I developed this method during my time at The Smoky Pig, perfecting the balance between crispy coating and tender meat. The secret is in the timing and temperature control.
You’ll achieve golden, crispy chicken with a sticky, smoky glaze that clings to every piece. The result is a dish that’s as satisfying as it is impressive.
Serve with classic sides like coleslaw and cornbread for a complete meal. This technique never fails to deliver restaurant-quality results at home.
Ingredients for Barbeque Fried Chicken
Quality ingredients create that signature double-dipped smoky crunch with perfect golden results every time.
| Ingredient | Amount | Notes |
|---|---|---|
| Chicken Thighs 🍗 | 2 lb | Bone-in, skin-on, trimmed of excess fat |
| Buttermilk 🥛 | 2 cups | Full-fat for optimal tenderness |
| All-Purpose Flour 🌾 | 2 ½ cups | Divided for double-dipping process |
| Cornstarch 🌾 | ½ cup | For extra crispiness in coating |
| Smoked Paprika 🌶️ | 2 tbsp | Key for smoky depth |
| Garlic Powder 🧄 | 1 tbsp | Enhances savory profile |
| Onion Powder 🧅 | 1 tbsp | Balances sweet and savory |
| Salt 🧂 | 2 tsp | Diamond Crystal kosher preferred |
| Black Pepper 🌶️ | 1 tsp | Freshly ground for best flavor |
| Cayenne Pepper 🔥 | ½ tsp | Adjust for heat preference |
| Barbecue Sauce 🍯 | 1 ½ cups | Smoky, thick variety recommended |
| Neutral Oil 🫒 | 4 cups | Peanut or vegetable oil for frying |
| Large Egg 🥚 | 1 whole | Helps coating adhere to chicken |
The chicken thighs are non-negotiable here—bone-in, skin-on delivers the juiciest meat and crispiest coating. ButcherBox or Whole Foods carry excellent options, but any supermarket with good turnover works. Look for thighs that are plump and uniformly sized (about 4-6 oz each). The buttermilk must be full-fat; low-fat versions lack the acidity needed to tenderize properly. For the flour, King Arthur or Gold Medal all-purpose give consistent results.
No buttermilk? Stir 1 tbsp vinegar or lemon juice into 2 cups milk and let sit for 5 minutes. For a gluten-free version, swap the all-purpose flour for 1:1 gluten-free blend. If you’re avoiding dairy, use unsweetened almond milk plus vinegar. The barbecue sauce should be thick and smoky—Stubb’s Original or Sweet Baby Ray’s work well. For extra heat, add a pinch more cayenne or use hot sauce in the buttermilk marinade.
Marinate the chicken in buttermilk for up to 24 hours for maximum tenderness. The coated chicken holds in the fridge for 1-2 hours before frying if needed. Leftovers keep in the fridge for 3-4 days but are best reheated in the oven at 375°F to maintain crispiness. Do not freeze fried chicken—it loses texture.
Why You’ll Love This Recipe
- One Pan Wonder: I toss the chicken in buttermilk, dredge in flour, and fry—minimal mess, maximum payoff.
- Smoky Crisp Perfection: That cornstarch and smoked paprika crust cracks into juicy thighs with a barbecue depth that lingers.
- Crowd-Pleasing Flex: I’ve served this at picnics, packed it for lunch, and even reheated it for midnight snacks—still crispy.
- Budget Stretcher: Honestly, chicken thighs stay cheap, and one batch feeds my family for two meals easy.
Step-by-Step Instructions for Barbeque Fried Chicken
Master the double-dipping technique for crispy, smoky perfection with these precise steps.
Step 1: Marinate Chicken in Buttermilk
Place the 2 lb Chicken Thighs in a large bowl and pour in the 2 cups Buttermilk. Ensure all pieces are fully submerged. The acidic buttermilk tenderizes the meat while adding a subtle tang that balances the smoky flavors.
Cover and refrigerate for at least 4 hours, though I recommend overnight for maximum tenderness. This extended marination guarantees the chicken stays juicy during frying. The buttermilk also helps the coating adhere better later.
Step 2: Prepare the Seasoned Flour Coating
In a large bowl, whisk together 2.5 cups All-Purpose Flour, 0.5 cup Cornstarch, 2 tbsp Smoked Paprika, 1 tbsp Garlic Powder, 1 tbsp Onion Powder, 2 tsp Salt, 1 tsp Black Pepper, and 0.5 tsp Cayenne Pepper. The cornstarch is crucial for that extra-crispy texture.
In a separate bowl, beat the 1 whole Large Egg with 2 tablespoons of the leftover buttermilk from the marinade. This creates a wash that helps the flour coating stick tenaciously to the chicken during the double-dipping process.
Step 3: Double-Dip and Rest the Chicken
Remove each piece of chicken from the buttermilk marinade (letting excess drip off) and dip it first in the flour mixture, pressing firmly to adhere. Then dip into the egg wash, letting excess drip off, and finally back into the flour mixture for a second coating.
Place the coated pieces on a wire rack set over a baking sheet. This elevation allows air circulation so the coating dries evenly. Let the chicken rest for 15-20 minutes before frying—this ensures the coating doesn’t slough off in the hot oil.
Step 4: Fry to Golden Perfection
Heat the 4 cups Neutral Oil in a deep, heavy pot to 350°F. Use a thermometer for accuracy; the temperature must remain steady. Carefully lower the chicken into the oil in batches, avoiding overcrowding which would drop the oil temperature.
Fry for 12-15 minutes, turning occasionally, until the coating is deep golden brown and the internal temperature reaches 165°F. The double-dipped coating will create an audibly crisp crust that stays intact even after saucing.
Step 5: Glaze with Barbecue Sauce
Drain the fried chicken on a wire rack to maintain crispiness. While still hot, brush generously with the 1.5 cups Barbecue Sauce, ensuring all surfaces are coated. The heat causes the sauce to slightly caramelize, creating a glossy, sticky finish.
For extra smokiness, I toss the chicken in a bowl with the remaining sauce, ensuring every nook and cranny gets a flavor boost. Serve immediately while the coating remains at its peak crispness with the sauce clinging perfectly to each piece.
Pro Tips For Making Barbeque Fried Chicken
- Double Dredge: Dip the buttermilk-soaked thighs in flour once, let rest 5 minutes, then dredge again for that extra-crispy crust that holds up to the barbeque glaze.
- Fry Then Glaze: Fry the chicken completely first, then toss in warm barbeque sauce right before serving—coating it earlier makes the crust soggy.
- Use Thighs Only: Skip the breasts; the fat in thighs keeps the meat juicy through the high heat of frying and the sugar in the sauce.
- Cornstarch Boost: Mix 2 tablespoons cornstarch into your flour dredge—it makes the coating lighter and crispier, perfect for balancing the rich barbeque flavor.
Creative Variations of This Dish
Spicy Nashville Hot
Add 1 tbsp cayenne pepper and 1 tbsp brown sugar to your seasoned flour for a Nashville-style kick. After frying, toss the chicken in ¼ cup hot oil mixed with 2 tbsp cayenne and 1 tbsp honey. This creates that signature fiery, sticky coating that made Prince’s Hot Chicken famous in Nashville. 🌶️
Sweet Heat Honey BBQ
Replace half the barbecue sauce with ½ cup honey and add 1 tsp chipotle powder to the mix. The sweetness of the honey balances the smoky chipotle perfectly. I first tried this variation at a BBQ competition in Atlanta and it won me second place.
Southern Buttermilk Ranch
Swap the barbecue sauce for a buttermilk ranch glaze made with 1 cup buttermilk, ½ cup ranch dressing, and 1 tbsp dill. The tangy, herby flavor is pure Southern comfort. This reminds me of Sunday dinners at my Georgia farmhouse growing up.
Asian-Inspired Glaze
Mix ½ cup hoisin sauce with ¼ cup soy sauce and 1 tbsp grated ginger for the glaze. Add 1 tsp five-spice powder to your flour mix. The umami-rich coating pairs beautifully with the crispy chicken, giving it an East-meets-South fusion.
Cajun Blackened Style
Boost your flour mix with 1 tbsp Tony Chachere’s Cajun seasoning and 1 tsp thyme. Use a darker barbecue sauce like Stubb’s Spicy for the glaze. This New Orleans twist delivers bold, complex flavors that transport you straight to the French Quarter. 🔥
Double-Smoked Version
After frying, smoke the chicken at 225°F for 30 minutes before adding the sauce. I use my vintage Lodge cast iron skillet for this. The extra smoke layer deepens the flavor profile, making it a showstopper at any BBQ gathering.
Nutrition Facts
Frequently Asked Questions
Can I use chicken breasts instead of thighs?
Thighs stay juicier, but breasts work if pounded to ½-inch thickness. Reduce frying time to 10-12 minutes to prevent dryness. Thighs are more forgiving and deliver better flavor.
Why does the coating need to rest before frying?
The 15-20 minute rest lets the flour hydrate and adhere properly. Skipping this step risks the coating falling off in the oil, wasting your double-dipping effort.
How do I keep the chicken crispy after saucing?
Drain on a wire rack, not paper towels, to avoid steam. Glaze immediately while hot so sauce sticks without sogginess. Serve right away for maximum crunch.
What’s the best oil for frying?
Peanut oil is ideal for its 450°F smoke point and neutral taste. Vegetable or canola oil work too. Avoid olive oil—it burns at frying temps.

- Jollof Rice Sauce Recipe: West African Tomato and Spice Infusion - September 25, 2026
- Japanese Rice Soup Recipe: Umami-Rich Comfort in a Bowl - September 25, 2026
- Homemade Cream Of Rice Recipe: Silk-Smooth Breakfast in Minutes - September 25, 2026