
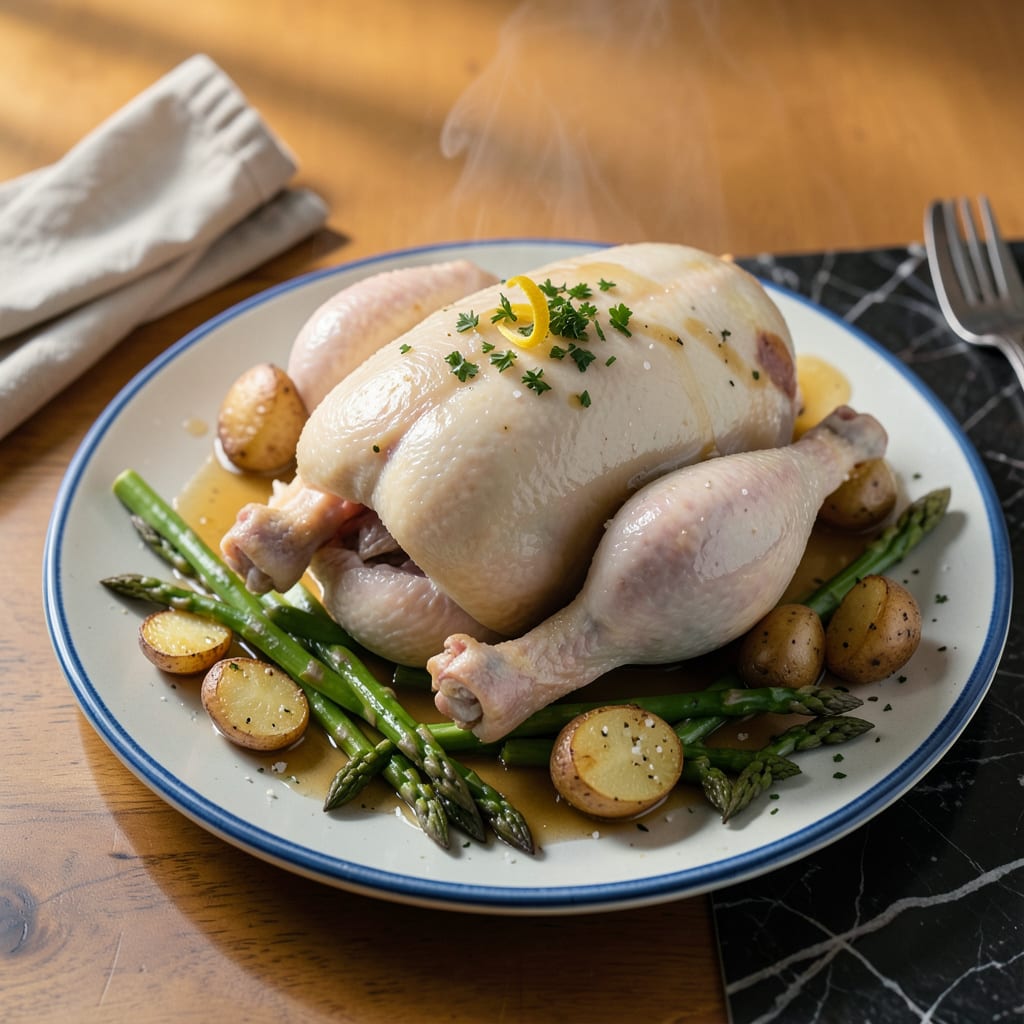
There’s a reason boiled chicken remains a kitchen staple—when done correctly, it yields tender, flavorful meat and a rich, aromatic broth that forms the foundation for countless meals. This method transforms a simple whole chicken into a versatile ingredient that can be shredded for tacos, sliced for salads, or served whole with its natural juices.
The process begins with proper preparation: cleaning the chicken, optional trussing for even cooking, and selecting the right aromatics to infuse the broth. A precise water-to-chicken ratio ensures the meat cooks evenly while developing depth of flavor. The addition of onions, herbs, and bay leaves creates a fragrant base that elevates both the chicken and resulting broth.
Safety and timing are critical components of this technique. The chicken must reach an internal temperature of 165°F to ensure doneness, with cooking time adjusted based on weight. This foolproof method guarantees juicy meat that easily separates from the bone, whether you’re preparing it for immediate use or planning ahead for meal prep.
Beyond the chicken itself, the broth becomes a valuable byproduct—ideal for soups, gravies, or cooking grains. For a complete one-pot meal, simply add vegetables during the last 30 minutes of cooking. This approach maximizes both flavor and efficiency in the kitchen.
📚 In This Guide
- What You’ll Need
- Instructions
- Tips and Common Mistakes
What Youll Need
- ● Whole chicken – 3–5 lbs (fresh or thawed if frozen)
- ● Large stockpot – 6–8 quarts (big enough to fit the chicken with room for liquid)
- ● Water or broth – 8–10 cups (enough to fully submerge the chicken)
- ● Salt – 1–2 tbsp (adjust to taste)
- ○ Aromatics (optional but recommended): 1 onion (quartered)
- ● 2–3 garlic cloves (smashed)
- ● 1 carrot (chopped)
- ● 1 celery stalk (chopped)
- ● 1 bay leaf
- ● 5–6 black peppercorns
- ○ Herbs (optional): Fresh thyme, parsley, or rosemary (2–3 sprigs)
- ● Tongs or slotted spoon – For easy removal
- ● Meat thermometer – To check doneness (165°F internal temp)
- ● Strainer or colander – For draining broth (if saving)
Instructions for Boiling a Whole Chicken
This method ensures perfectly tender meat and a flavorful broth every time.
Prepare the Chicken for Boiling
Remove the chicken from its packaging and rinse it thoroughly under cold running water. Pat it completely dry with paper towels, paying special attention to the cavity. This step removes any residual juices and helps prevent bacterial contamination during handling.
Remove the giblets and neck from the cavity if they’re included. These can be reserved for making additional stock or gravy. Trim away any excess fat deposits, particularly around the cavity opening, as these can make the broth unnecessarily greasy.
Season and Aromatize the Boiling Liquid
Place the whole chicken in a large stockpot or Dutch oven. The pot should be just large enough to accommodate the chicken with about 2 inches of space around it. Add enough cold water to cover the chicken by 1-2 inches—typically 8-10 cups depending on your pot size.
Bring the water to a gentle boil over medium-high heat. As it heats, add 1 tablespoon kosher salt, 1 teaspoon whole black peppercorns, 2 bay leaves, 1 halved onion, 2 celery stalks, and 2 carrots. These aromatics will infuse the broth with depth while keeping the chicken flavor clean and pure.
Simmer for Optimal Tenderness
Once the liquid reaches a full boil, immediately reduce the heat to low to maintain a gentle simmer. You should see small bubbles breaking the surface occasionally, but not a rolling boil. A vigorous boil will make the meat tough and cloud the broth.
Partially cover the pot and simmer for 1 hour to 1 hour 15 minutes, depending on the chicken’s size. The chicken is done when an instant-read thermometer inserted into the thickest part of the thigh (avoiding bone) registers 165°F. You’ll also notice the meat pulling away slightly from the bones at the joints.
Rest and Utilize the Broth
Using tongs and a large slotted spoon, carefully transfer the chicken to a cutting board. Let it rest for 10-15 minutes before carving. This resting period allows the juices to redistribute throughout the meat, ensuring maximum tenderness when served.
Strain the broth through a fine-mesh sieve into a clean container, discarding the solids. Skim off any fat that rises to the surface with a spoon or fat separator. The resulting broth can be used immediately for soups or sauces, or cooled and refrigerated for up to 3 days or frozen for 3 months.
Carve and Serve
Carve the chicken by first removing the legs and thighs, then separating the wings, and finally slicing the breast meat against the grain. The meat should be uniformly tender throughout, with no pink near the bones.
Serve the chicken with some of the strained broth ladled over the top, or use the meat in your favorite recipes. The broth’s rich, clean flavor makes it ideal for soups, risottos, or as a cooking liquid for grains. For best texture, use the chicken within 2 days of cooking.
Tips and Common Mistakes for Perfectly Boiled Chicken
Mastering this technique comes down to precision in heat control and timing—here’s how to ensure flawless results every time.
Simmer Control: The transition from medium-high heat to low in Step 3 is critical. A true simmer should produce just a few small bubbles breaking the surface—think “shiver” rather than “boil.” I use a heat diffuser if my stove runs hot to maintain that delicate 165°F target without overshooting. Vigorous boiling at this stage will render the meat fibrous and cloud your broth irreparably.
Thermometer Technique: Don’t rely on visual cues alone for doneness. Insert your instant-read thermometer into the thickest part of the thigh, angling toward the body and avoiding bone contact. The 165°F threshold is non-negotiable for safety, but you’ll notice the meat begins pulling away from the leg joint right as it reaches temperature—a helpful secondary indicator.
Resting Protocol: The 10-15 minute rest in Step 4 isn’t optional—it’s where the magic happens. During this window, collagen continues to break down while juices redistribute. I tent the chicken loosely with foil to retain heat without steaming the skin. Carving immediately releases up to 30% of the moisture you worked so hard to preserve.
Broth Clarity: For crystal-clear broth, avoid stirring during simmering and don’t boil the aromatics too vigorously in Step 2. The 8-10 cups of water should just cover the chicken—any more dilutes flavor, any less risks uneven cooking. I strain through cheesecloth after the fine-mesh sieve to catch the finest particles for restaurant-quality clarity.
Pro Tips for Boiling A Whole Chicken
- Mastering this technique comes down to precision in heat control and timing—here’s how to ensure flawless results eve…
- Simmer Control: The transition from medium-high heat to low in Step 3 is critical. A true simmer should produce just …
- Thermometer Technique: Don’t rely on visual cues alone for doneness. Insert your instant-read thermometer into the th…
Frequently Asked Questions
Got questions about boiling a whole chicken? You’re not alone! Here are the most common queries—and quick answers—to help you nail this simple (but genius) cooking method.
How long does it take to boil a whole chicken?
A 3–4 lb chicken typically takes 60–90 minutes to cook through. Simmer gently (not a rolling boil!) until the internal temp hits 165°F (74°C) at the thickest part. Pro tip: Start checking at 45 minutes for smaller birds.
Can I boil a frozen chicken, or should I thaw it first?
Always thaw first! Boiling frozen chicken risks uneven cooking (and potential bacteria). Thaw overnight in the fridge or use the cold-water method (sealed bag + sink). Safety first!
What’s the best way to use the broth after boiling?
Strain and skim off fat, then use it for:
- Soups (chicken noodle, anyone?)
- Cooking rice or grains for extra flavor
- Braising veggies or making gravy
Why is my boiled chicken rubbery or dry?
Overcooking or boiling too vigorously is the usual culprit. Keep the heat at a gentle simmer, and don’t exceed 90 minutes. For juicier meat, let the chicken rest 10 minutes before shredding.
Are there healthier alternatives to boiling (like poaching or slow cooking)?
Absolutely! Poaching (simmering in flavored liquid) keeps meat tender with less fat loss. A slow cooker (4–6 hours on low) also works great for hands-off cooking. Both methods yield tasty broth too!
Boiling a whole chicken is one of the simplest ways to create juicy, tender meat and a flavor-packed broth for soups, stews, or rice dishes. With just a few ingredients and minimal effort, you’ll have a versatile base for countless meals—plus leftovers that stretch your dollar further! 🍲
Now that you’ve mastered the basics, why not put your broth to work? Try simmering it into a hearty chicken noodle soup or shredding the meat for tacos, salads, or sandwiches. Happy cooking—your next delicious meal is just a pot away! 😊

- Jollof Rice Sauce Recipe: West African Tomato and Spice Infusion - September 25, 2026
- Japanese Rice Soup Recipe: Umami-Rich Comfort in a Bowl - September 25, 2026
- Homemade Cream Of Rice Recipe: Silk-Smooth Breakfast in Minutes - September 25, 2026