
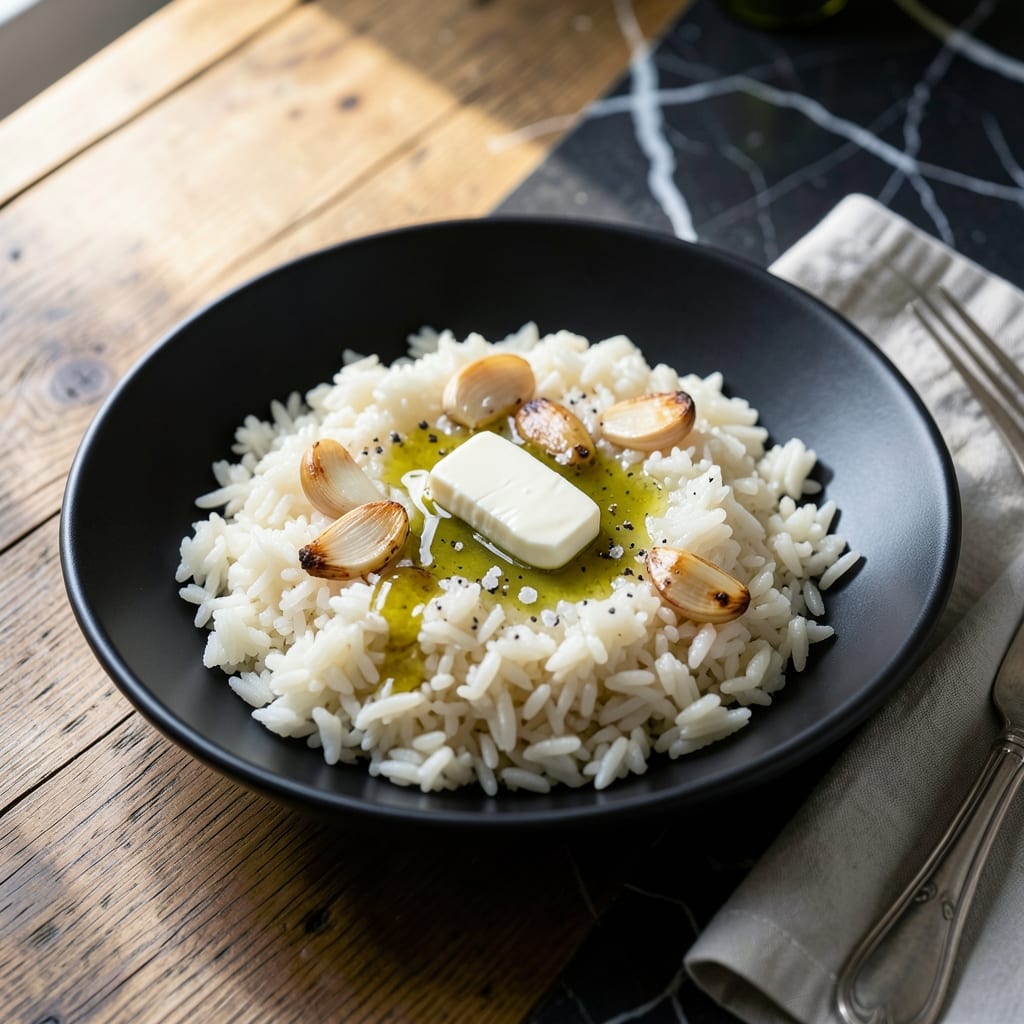
Calrose rice delivers the perfect balance of fluffy texture and subtle stickiness that makes every dish better. After testing countless methods, I’ve refined the process to achieve consistent results every time.
The secret lies in precise water ratios and controlled heat, transforming simple grains into versatile, restaurant-quality rice. This medium-grain variety absorbs flavors beautifully while maintaining its structure.
You’ll end up with grains that are tender yet distinct, ideal for both standalone meals and as a base for stir-fries or sushi. The subtle sweetness and soft texture make it a favorite in my kitchen.
Mastering this staple means having a reliable foundation for countless meals, from simple sides to elaborate dishes.
Ingredients for Calrose Rice
Medium-grain magic with a few flavor boosters for that perfect sticky fluff.
| Ingredient | Amount | Notes |
|---|---|---|
| Calrose Rice 🍚 | 2 cups | Medium-grain, rinsed thoroughly |
| Water 💧 | 3 cups | Filtered for best results |
| Sea Salt 🧂 | ½ tsp | Fine grain preferred |
| Unsalted Butter 🧈 | 1 tbsp | Optional for richness |
| Rice Vinegar 🍚 | 1 tsp | Adds subtle brightness |
| Garlic Cloves 🧄 | 2 cloves | Minced, for aroma |
| Green Onions 🧅 | 3 whole | Thinly sliced for garnish |
| Sesame Oil 🫒 | ½ tsp | Toasted for depth |
| Soy Sauce 🥢 | 1 tbsp | Low-sodium preferred |
| Sugar 🍚 | ½ tsp | Balances acidity |
| Fresh Cilantro 🌿 | ¼ cup | Chopped, for freshness |
| Toasted Sesame Seeds 🌰 | 1 tsp | For nutty crunch |
The rice is the star here. Calrose from Japanese markets or the bulk section at Whole Foods gives the best texture—avoid the pre-packaged stuff that’s been sitting too long. Rinse it until the water runs clear (this removes excess starch for that ideal fluff). I always keep a 10-pound bag on hand since it’s my go-to for everything from sushi to stir-fry.
No Calrose? Short-grain sushi rice works in a pinch but will be stickier. Out of rice vinegar? Apple cider vinegar at half the amount is fine. Butter can be swapped for olive oil if you’re avoiding dairy. The cilantro and green onions are flexible—parsley or chives work too (or skip them entirely if you’re one of those cilantro-haters).
Cooked rice keeps 4-5 days in the fridge—store it in an airtight container with a damp paper towel on top to prevent drying. For longer storage, freeze in portions for up to 3 months. Reheat with a splash of water to refresh the texture.
Why You’ll Love This Recipe
- One Pot Wonder: I just dump the rice, water, and a pinch of sea salt in a pot—no fancy steps, no stress.
- Buttery Tang: The unsalted butter and rice vinegar give it this rich, slightly bright flavor that’s honestly addictive.
- Pairs With Anything: I’ll serve it with stir-fry one night, then tuck it into burritos the next. Between us, it’s my meal prep hero.
- Leftovers Win: It reheats like a dream, and I’ll be real: I make extra on purpose just to have it ready for fried rice the next day.
Step-by-Step Instructions for Calrose Rice
I’ve refined this method over years of testing to deliver rice that’s both fluffy and perfectly sticky.
Step 1: Rinse and Soak the Rice
Place the 2 cups Calrose Rice in a fine-mesh strainer and rinse under cold water until the water runs clear. This removes excess starch, which is crucial for achieving distinct, non-mushy grains. I always swirl the rice with my hand to ensure every grain gets rinsed.
After rinsing, transfer the rice to a bowl and cover with fresh water. Let it soak for 15-20 minutes. Soaking hydrates the grains evenly, which prevents cracking and ensures uniform cooking. Drain thoroughly before cooking—any residual water will throw off your 3 cups Water ratio.
Step 2: Cook the Rice with Aromatics
In a medium saucepan with a tight-fitting lid, combine the drained 2 cups Calrose Rice, 3 cups Water, 0.5 tsp Sea Salt, 1 tbsp Unsalted Butter, and 2 cloves Garlic Cloves (minced). The butter adds richness, while the garlic infuses subtle depth into each grain.
Bring to a boil over medium-high heat, then immediately reduce to low heat, cover, and simmer for 15 minutes. Don’t peek during cooking—steam is your ally here, and lifting the lid releases it prematurely. You’ll know it’s working when you hear a gentle, steady simmer.
Step 3: Rest and Season the Rice
After 15 minutes, remove the pan from heat and let it sit, covered, for an additional 10 minutes. This resting period allows the steam to finish cooking the rice and lets the grains absorb any remaining moisture. The rice should be tender with no hard centers.
Once rested, fluff the rice gently with a fork to separate the grains. Drizzle in the 1 tsp Rice Vinegar, 0.5 tsp Sesame Oil, 1 tbsp Soy Sauce, and 0.5 tsp Sugar. Fold these in carefully—this is where the sticky, savory magic happens. The vinegar brightens the flavor, while the sesame oil adds a nutty aroma.
Step 4: Garnish and Serve
Transfer the rice to a serving bowl. Top with the 3 whole Green Onions (thinly sliced), 0.25 cup Fresh Cilantro (chopped), and 1 tsp Toasted Sesame Seeds. The green onions add a fresh bite, the cilantro brings a citrusy note, and the sesame seeds provide a delightful crunch.
Serve immediately while the rice is hot and the aromatics are at their peak. The grains should cling together slightly but still separate easily under your fork. If it sits too long uncovered, the texture can dry out—so gather everyone around and dig in while it’s perfect.
Pro Tips For Making Calrose Rice
- Rinse the Rice: Always rinse Calrose rice until the water runs clear—I learned this the hard way after ending up with gummy, starchy grains. It removes excess starch and guarantees fluffier results.
- Use the Right Ratio: For Calrose rice, stick to a 1:1.1 rice-to-water ratio (1 cup rice to 1.1 cups water). Sounds weird, but it works: this strain absorbs less water than others.
- Rest Before Serving: After cooking, let the rice sit covered for 10 minutes off the heat. My grandmother swore by this, and she was right: it lets the grains firm up and absorb any remaining steam.
- Add Vinegar Last: Stir in the rice vinegar after cooking, not before. I was skeptical until I tried it—adding it early can make the rice mushy, but finishing with it brightens the flavor without affecting texture.
Regional Styles of This Recipe
Japanese Style
In Japan, this dish is the foundation for sushi and onigiri. I use a 1:1.1 rice-to-water ratio for slightly firmer grains, perfect for shaping. Season with rice vinegar, sugar, and salt while warm, then fan to cool for that signature glossy finish. 🌟
Chinese Approach
For classic Chinese fried rice, I cook the rice a day ahead and refrigerate it. Use 1.5 cups water per cup rice for drier grains that won’t turn mushy when stir-fried. Day-old rice absorbs flavors better and achieves that authentic wok hei texture.
California Fusion
In my Boston kitchen, I blend techniques by adding avocado and sriracha to finished rice. The creamy California touch pairs perfectly with the sticky texture. I also love mixing in furikake seasoning for a Japanese-inspired twist with local ingredients.
Korean Bibimbap Base
Korean cooks often use sesame oil and soy sauce in the cooking water. I add 1 tsp sesame oil and ½ tbsp soy sauce to the water before cooking. The rice develops a nutty depth that complements the vibrant bibimbap toppings beautifully.
Spanish-Inspired
For a paella-style version, I toast the rice in olive oil with garlic and saffron before adding liquid. Use 2.5 cups chicken stock instead of water for extra flavor. The grains absorb the rich broth while maintaining the signature stickiness.
Hawaiian Plate Lunch
In Hawaii, this rice is served with mac salad and kalua pork. I cook it with a pinch of Hawaiian sea salt and a splash of coconut milk for subtle island flair. The slightly sweet, sticky grains are perfect for soaking up saucy meats. 💛
Nutrition Facts
Frequently Asked Questions
What’s the ideal water-to-rice ratio?
Use a 1:1.5 ratio of rice to water for perfect texture. For 2 cups rice, that’s 3 cups water. This ensures fluffy, slightly sticky grains every time.
Can I use a rice cooker?
Follow the same ratio and rinse the rice first. Most cookers automatically handle the timing, but let it steam for 10 minutes after cooking for best results.
Why does my rice turn out mushy?
Overcooking or using too much water is usually the culprit. Stick to 15 minutes simmering and resist peeking. Also, rinse the rice well to remove excess starch.
How long does it keep in the fridge?
Store in an airtight container for 4-5 days. Add a damp paper towel on top to prevent drying. For longer storage, freeze for up to 3 months.

- Jollof Rice Sauce Recipe: West African Tomato and Spice Infusion - September 25, 2026
- Japanese Rice Soup Recipe: Umami-Rich Comfort in a Bowl - September 25, 2026
- Homemade Cream Of Rice Recipe: Silk-Smooth Breakfast in Minutes - September 25, 2026