
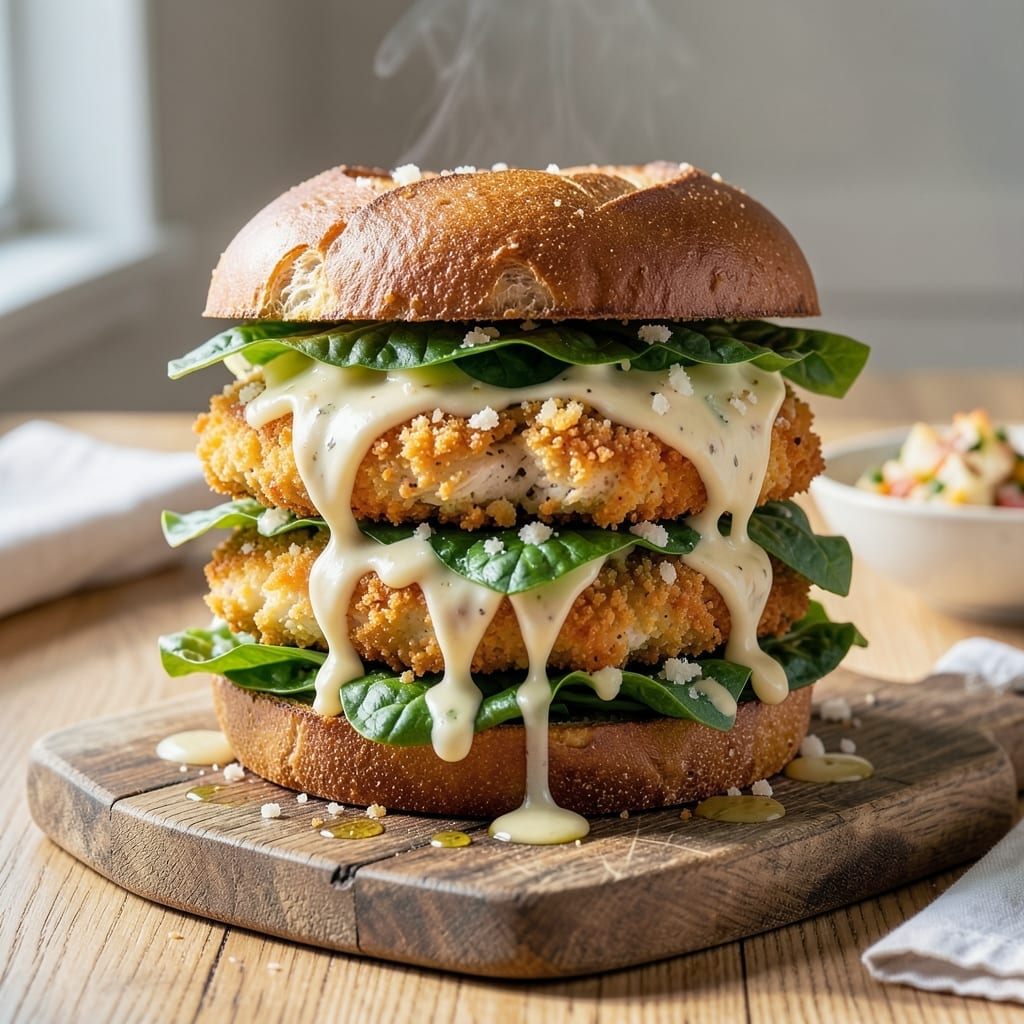
This sandwich redefines what a chicken Caesar can be, with crispy breaded chicken that stays perfectly crunchy even after assembly. The secret lies in a two-step breading process that ensures a golden, shatteringly crispy coating every time.
Fresh romaine adds the necessary crunch, while shaved parmesan and creamy Caesar dressing bring the classic flavors together. I’ve tested multiple breading techniques to guarantee the chicken maintains its texture without turning soggy.
The result is a sandwich that balances textures and flavors beautifully—juicy chicken, crisp lettuce, and rich dressing in each bite. The parmesan ties everything together with its sharp, salty depth.
Ready in under 30 minutes, this is a meal that feels indulgent but comes together with minimal effort. Here’s how to build it right.
Ingredients for Chicken Cesar Sandwich
Crispy chicken, fresh romaine, shaved parmesan—pantry staples elevated to sandwich perfection in minutes.
| Ingredient | Amount | Notes |
|---|---|---|
| Chicken Breasts 🍗 | 1 ½ lb | Boneless, skinless, pounded to 1/2-inch thickness |
| All-Purpose Flour 🌾 | 1 cup | For initial dredging step |
| Large Eggs 🥚 | 2 whole | Beaten for egg wash |
| Panko Breadcrumbs 🍞 | 2 cups | Japanese-style for extra crunch |
| Parmesan Cheese 🧀 | ½ cup | Freshly grated from wedge |
| Caesar Dressing 🥗 | 1 cup | Creamy store-bought or homemade |
| Romaine Lettuce 🥬 | 1 whole | Heads, separated into leaves |
| Garlic Cloves 🧄 | 2 cloves | Minced for dressing boost |
| Dijon Mustard 🟡 | 1 tbsp | For depth in egg wash |
| Salt 🧂 | 1 tsp | Diamond Crystal kosher preferred |
| Black Pepper 🌶️ | ½ tsp | Freshly ground for best flavor |
| Paprika 🌶️ | 1 tsp | For color in breading |
| Olive Oil 🫒 | 3 cups | For frying chicken |
| Ciabatta Rolls 🥖 | 4 pieces | Toasted for serving |
| Lemon Wedges 🍋 | 4 slices | For serving on side |
The chicken is everything here. Boneless, skinless breasts pounded to even thickness cook faster and breed more evenly. Panko breadcrumbs are non-negotiable for that shatteringly crisp coating—regular breadcrumbs won’t give you the same texture. For the Parmesan, grab a wedge from the deli counter and grate it fresh. The pre-shredded stuff has anti-caking agents that mess with the melt.
No Panko? Crush saltine crackers or cornflakes in a food processor—surprisingly good substitute. Fresh out of Caesar dressing? Mix mayo, lemon juice, Worcestershire, and Parm for a quick version. The Dijon mustard in the egg wash can be swapped for regular yellow mustard (trust me, it still works). Sourdough or brioche buns hold up better than soft hamburger buns if you want to prep ahead.
Breaded chicken keeps in the fridge for 2 days uncooked—just bring to room temp before frying. Cooked chicken stays crispy for 1-2 days if stored uncovered in the fridge (prevents sogginess). Assemble sandwiches right before serving—nobody likes a wilted romaine situation.
Why You’ll Love This Recipe
- One Pan Magic: I bread and cook the chicken in the same pan, so cleanup is just a quick wipe.
- Crispy Parmesan Crunch: The panko and parmesan mix gives that golden crust that stays crunchy even with the dressing.
- Weeknight Hero: I’ve served this for casual dinners and impromptu picnics—it’s always a hit.
- Leftovers Win: Honestly, the chicken tastes even better the next day tucked into a wrap or salad.
Step-by-Step Instructions for Chicken Cesar Sandwich
Here’s how to make this sandwich with maximum crunch and flavor.
Step 1: Prep and Season the Chicken
Start by pounding the 1.5 lb Chicken Breasts to an even ½-inch thickness using a meat mallet. This ensures even cooking and prevents dry spots. Season both sides generously with the 1 tsp Salt, 0.5 tsp Black Pepper, and 1 tsp Paprika.
I like to press the seasoning into the meat so it adheres well. The paprika adds a subtle smokiness and that signature golden hue to the breading. Let the seasoned chicken sit at room temperature for 10 minutes while you set up your breading station.
Step 2: Breading Station and Coat the Chicken
Set up three shallow bowls. Place the 1 cup All-Purpose Flour in the first, beat the 2 whole Large Eggs with the 1 tbsp Dijon Mustard in the second, and combine the 2 cups Panko Breadcrumbs with the 0.5 cup Parmesan Cheese in the third.
Dredge each piece of chicken in flour, shaking off the excess. Then dip it in the egg mixture, letting any excess drip off. Finally, coat it thoroughly in the panko-parmesan mix, pressing gently to ensure full coverage. The mustard in the egg wash adds depth and helps the breading cling. Let the breaded pieces rest for 5 minutes before frying to set the coating.
Step 3: Fry the Chicken to Golden Perfection
Heat the 3 cups Olive Oil in a large, deep skillet over medium-high heat until it reaches 350°F. Use a thermometer for accuracy—this temperature ensures the chicken cooks through without burning the breading.
Carefully place the breaded chicken in the hot oil, working in batches if needed to avoid crowding. Fry for 4-5 minutes per side until the coating is deep golden brown and crispy. The internal temperature should reach 165°F. Transfer to a paper towel-lined plate to drain excess oil.
Step 4: Boost the Caesar Dressing and Toast the Rolls
While the chicken fries, mince the 2 cloves Garlic Cloves and stir them into the 1 cup Caesar Dressing. Let it sit for 5 minutes to allow the garlic flavor to infuse. This simple step elevates the dressing from good to outstanding.
Lightly toast the 4 pieces Ciabatta Rolls under the broiler or in a dry skillet for 1-2 minutes until lightly golden. Toasting adds texture and prevents the rolls from becoming soggy when assembled.
Step 5: Assemble and Serve
Separate the 1 whole Romaine Lettuce into leaves. Spread a generous layer of the garlic-infused Caesar dressing on both sides of each toasted ciabatta roll. Place a few romaine leaves on the bottom half, then add a piece of crispy chicken.
Top with more romaine and a drizzle of extra dressing. Serve immediately with the 4 slices Lemon Wedges on the side for a bright, zesty contrast. The key is to assemble right before serving to maintain that all-important crispiness.
Pro Tips For Making Chicken Cesar Sandwich
- Pound the Chicken: Use a rolling pin or meat mallet to pound the chicken breasts to an even ½-inch thickness. I learned this the hard way—uneven pieces mean some bits dry out while others stay raw.
- Chill Before Frying: Pop the breaded chicken in the fridge for 10 minutes before frying. Sounds weird, but it works: the coating sticks better and doesn’t slide off into the pan.
- Skip the Overcrowding: Fry no more than two pieces at a time in your pan—any more and the temperature drops, leaving you with greasy, soggy chicken instead of that perfect crunch.
- Grate Fresh Parmesan: Pre-shredded parmesan has anti-caking agents that make the breading less crisp. Grate it fresh, about ½ cup, and mix it right into the panko for maximum flavor.
Dietary Considerations for chicken cesar sandwich
Gluten-Free Adaptation
Swap the 1 cup All-Purpose Flour for gluten-free 1:1 baking flour—King Arthur or Bob’s Red Mill work best. Use gluten-free panko (I like Kikkoman) for the breading. Ensure your Caesar dressing is certified gluten-free, as some brands contain wheat-based thickeners. 💪
Lower-Carb Option
Replace the Ciabatta Rolls with large romaine leaves as wraps for a carb-conscious version. You can also use portobello mushroom caps as buns—grill them for 3-4 minutes first to remove excess moisture. The crispy chicken and creamy dressing work perfectly with these swaps.
Dairy-Free Modifications
Use dairy-free parmesan (like Follow Your Heart) in the breading. For the dressing, Primal Kitchen makes a fantastic dairy-free Caesar. Skip the parmesan shavings or use a nutritional yeast topping for cheesy flavor without dairy. The texture stays crispy with these substitutions.
Egg-Free Breading
Replace the 2 Large Eggs with a mixture of 3 tbsp aquafaba (chickpea brine) beaten with 1 tbsp cornstarch. This creates a similar binding effect. For extra adhesion, add 1 tsp baking powder to your flour mix. The result is just as crispy and golden.
Lighter Version
Bake the breaded chicken instead of frying: 400°F for 15-18 minutes on a wire rack. Use 1 tbsp olive oil spray on each side for crispiness. Opt for light Caesar dressing and whole wheat ciabatta rolls to cut calories while keeping all the flavor. 🥗
Nut Allergy Note
Check your panko breadcrumbs for nut contamination warnings. Some brands process in facilities with tree nuts. 4C and Progresso panko are typically nut-free. Also verify your Caesar dressing—many store-bought versions contain almond or cashew derivatives.
Nutrition Facts
Frequently Asked Questions
Can I use chicken tenders instead of breasts?
Yes! Chicken tenders work perfectly and may cook faster. Reduce frying time to 3-4 minutes per side since they’re thinner. They’ll stay just as juicy and crispy with the same breading method.
How do I keep the breading from falling off?
Press firmly when coating in panko-parmesan mix and let breaded pieces rest for 5 minutes before frying. Also ensure oil reaches 350°F before adding chicken—this creates an instant seal.
Can I make this ahead for a party?
Bread and refrigerate chicken up to 2 days ahead, but fry just before serving. Toast buns and prep toppings separately. Assemble sandwiches last minute to maintain crispiness.

- Jollof Rice Sauce Recipe: West African Tomato and Spice Infusion - September 25, 2026
- Japanese Rice Soup Recipe: Umami-Rich Comfort in a Bowl - September 25, 2026
- Homemade Cream Of Rice Recipe: Silk-Smooth Breakfast in Minutes - September 25, 2026