
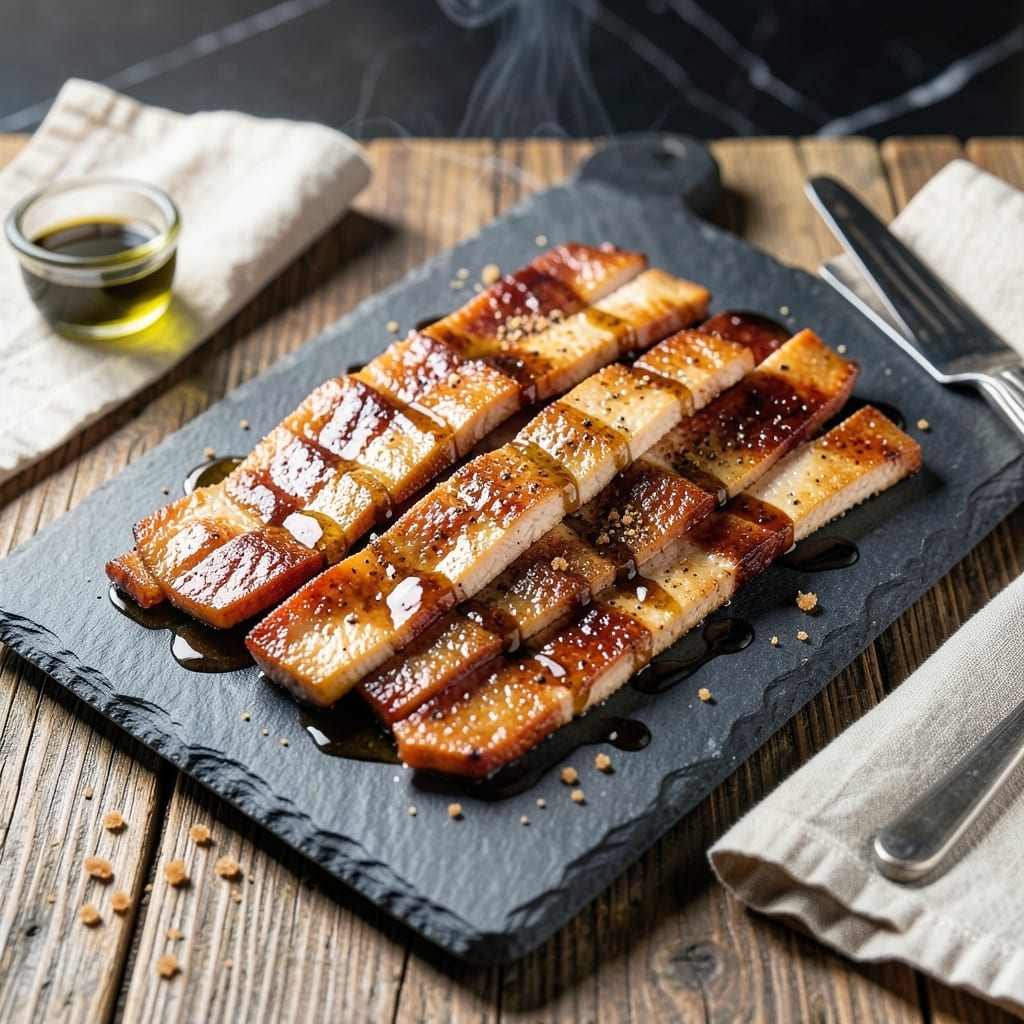
This chicken jerky recipe delivers a high-protein snack with the perfect balance of chewiness and savory flavor. The secret lies in thin, even slicing and a well-balanced marinade that penetrates every piece.
After testing various methods, I’ve found that marinating the chicken for at least 4 hours—preferably overnight—ensures maximum flavor infusion. Using lean cuts like chicken breast prevents excess fat, which can spoil the jerky during drying.
The dehydrating process at 160°F removes moisture while keeping the meat tender. Proper spacing on the dehydrator trays allows for even airflow, so every piece dries uniformly.
This method yields a shelf-stable snack that’s satisfying and packed with protein. Follow the steps closely for the best results.
Ingredients for Chicken Jerky
Lean chicken and bold marinade ingredients create this protein-packed snack with perfect texture and flavor.
| Ingredient | Amount | Notes |
|---|---|---|
| Chicken Breast 🍗 | 1 ½ lb | Boneless, skinless, sliced thinly against grain |
| Soy Sauce 🫒 | ½ cup | Low-sodium preferred for control |
| Worcestershire Sauce 🫒 | 2 tbsp | Adds depth to marinade flavor |
| Brown Sugar 🧈 | 3 tbsp | Balances saltiness in marinade |
| Honey 🍯 | 2 tbsp | Natural sweetener alternative available |
| Garlic Powder 🧄 | 1 tsp | Fresh minced works too |
| Onion Powder 🧅 | 1 tsp | Complements garlic in marinade |
| Smoked Paprika 🌶️ | 1 tsp | Essential for smoky depth |
| Black Pepper 🌶️ | 1 tsp | Freshly ground preferred |
| Liquid Smoke 🔥 | 1 tsp | Optional for stronger smoke flavor |
| Salt 🧂 | ½ tsp | Adjust to taste preference |
| Red Pepper Flakes 🌶️ | ½ tsp | Adjust for heat preference |
The chicken breast must be lean and fresh. Whole Foods or Costco carry excellent quality, but any reputable grocer works. Slice against the grain for maximum chewiness—this is non-negotiable for proper texture. The marinade ingredients should be high quality, especially the soy sauce. Kikkoman low-sodium is a reliable choice for consistent flavor without overpowering saltiness.
No soy sauce? Tamari or coconut aminos work, but adjust salt levels. Brown sugar can be swapped for maple syrup at a 1:1 ratio. Worried about liquid smoke? Skip it, but expect milder flavor. The spices can be adjusted to taste—add more paprika for heat. For a sweeter profile, increase honey by 1 tablespoon.
Store uncooked marinated chicken in the fridge for up to 24 hours. Finished jerky keeps in an airtight container at room temperature for 2 weeks, or 3 months in the freezer. Always ensure pieces are completely dry before storing to prevent spoilage.
Why You’ll Love This Recipe
- 5-Minute Mix: I just toss chicken strips with soy sauce, Worcestershire, brown sugar, and honey—no fancy steps.
- Sweet & Smoky: The brown sugar and honey caramelize into this ridculously good glaze that clings to every bite.
- Trail or Tailgate: Honestly, I pack it for hikes, road trips, or game day snacks—it’s my go-to protein anywhere.
- Cheaper Than Beef: A pound of chicken breast makes twice as much jerky as beef for half the cost, and it keeps for weeks.
Step-by-Step Instructions for Chicken Jerky
Master the marinating, drying, and storage process for perfectly chewy, flavorful jerky every time.
Step 1: Slice and Marinate the Chicken Breast
Begin by partially freezing the 1.5 lb chicken breast for 30 minutes to firm it up for easier slicing. Using a sharp knife, cut against the grain into ¼-inch thick strips. This cross-grain slicing is critical—it shortens the muscle fibers for a more tender jerky.
In a bowl, whisk together the 0.5 cup soy sauce, 2 tbsp Worcestershire sauce, 3 tbsp brown sugar, 2 tbsp honey, 1 tsp garlic powder, 1 tsp onion powder, 1 tsp smoked paprika, 1 tsp black pepper, 1 tsp liquid smoke, 0.5 tsp salt, and 0.5 tsp red pepper flakes. Submerge the chicken strips completely in this marinade.
Cover and refrigerate for at least 4 hours, or ideally overnight. The longer marinating time allows the flavors to penetrate deeply and the salt to begin the curing process.
Step 2: Pat Dry and Arrange for Drying
Remove the chicken from the marinade and pat each strip thoroughly dry with paper towels. This step is non-negotiable—excess moisture prevents proper drying and can lead to spoilage. The strips should feel slightly tacky but not wet.
Arrange the strips on dehydrator trays or oven racks, ensuring they don’t touch each other. Leave at least ½ inch of space between pieces for proper air circulation. If using an oven, place a baking sheet on the lower rack to catch any drips.
Step 3: Dry at Low Temperature
For a dehydrator, set the temperature to 160°F and dry for 4-6 hours, checking periodically after 4 hours. For an oven, preheat to its lowest setting (ideally 170°F or lower) and prop the door open slightly with a wooden spoon to allow moisture to escape.
The jerky is done when it’s dry to the touch but still pliable—it should bend without snapping and appear leathery rather than brittle. There should be no moist spots when you press a piece between your fingers.
Step 4: Cool and Store Properly
Allow the jerky to cool completely at room temperature for 1-2 hours. This final drying phase is essential to prevent condensation, which could cause mold. Once cooled, test a piece—it should be chewy with just a slight resistance.
Store in an airtight container in the refrigerator for up to 1 week, or freeze for up to 3 months for longer preservation. For the best texture, let frozen jerky thaw in the refrigerator before eating.
Pro Tips For Making Chicken Jerky
- Slice Against the Grain: Cut the chicken breast into 1/4-inch strips against the grain to guarantee a tender, easy-to-chew jerky. I learned this the hard way after my first batch came out tough and stringy.
- Marinate Overnight: Let the chicken soak in the soy sauce, Worcestershire, brown sugar, and honey mix for at least 8 hours—overnight if possible. The flavors actually penetrate the meat when given time.
- Pat Dry Before Drying: After marinating, blot the strips with paper towels to remove excess moisture. Skip this and your jerky will steam instead of dry, leaving it limp instead of chewy.
- Use a Wire Rack: Place the strips on a wire rack over a baking sheet in the oven for even air circulation. Sounds fussy, but it prevents soggy bottoms and speeds up the drying process.
Health Benefits of This chicken jerky
Lean Protein Power
This snack packs a serious protein punch with about 30g of protein per ounce. Chicken breast is one of the leanest protein sources available, making this jerky ideal for muscle recovery and satiety. I notice it keeps me full for hours after eating. 💪
Low-Fat Energy
With most of the fat removed during slicing and drying, this creation contains less than 3g of fat per serving. The dehydrating process concentrates the protein while eliminating excess moisture and fat, giving you pure, clean energy.
Essential Amino Acids
Chicken provides all nine essential amino acids your body needs but can’t produce. A 1-ounce serving delivers a complete protein profile, supporting everything from muscle repair to immune function. This makes it perfect for post-workout recovery.
Rich in B Vitamins
You’ll get a healthy dose of B6 and B12 from this snack, which help convert food into energy and support brain health. These vitamins are particularly important for active individuals and those managing busy schedules.
Niacin in chicken also helps maintain healthy skin and nerves. 🥗
Mineral Boost
This jerky provides essential minerals like selenium and phosphorus. Selenium acts as a powerful antioxidant, while phosphorus works with calcium to maintain strong bones and teeth. Just 2 ounces provides a significant portion of your daily needs.
Nutrition Facts
Frequently Asked Questions
How thin should I slice the chicken?
Aim for ¼-inch thick strips cut against the grain. This ensures even drying and the ideal chewy texture.
Can I use chicken thighs instead of breast?
Yes, but trim all visible fat first, as fat doesn’t dehydrate well. Thighs yield a richer flavor but may need 1-2 extra hours of drying.
How do I know when it’s done?
Proper jerky bends without snapping and feels dry but still pliable. Test by pressing a piece—no moisture should remain.
Can I make it without a dehydrator?
Use your oven on its lowest setting (170°F or below). Prop the door open slightly for airflow and check after 4-6 hours.

- Jollof Rice Sauce Recipe: West African Tomato and Spice Infusion - September 25, 2026
- Japanese Rice Soup Recipe: Umami-Rich Comfort in a Bowl - September 25, 2026
- Homemade Cream Of Rice Recipe: Silk-Smooth Breakfast in Minutes - September 25, 2026