
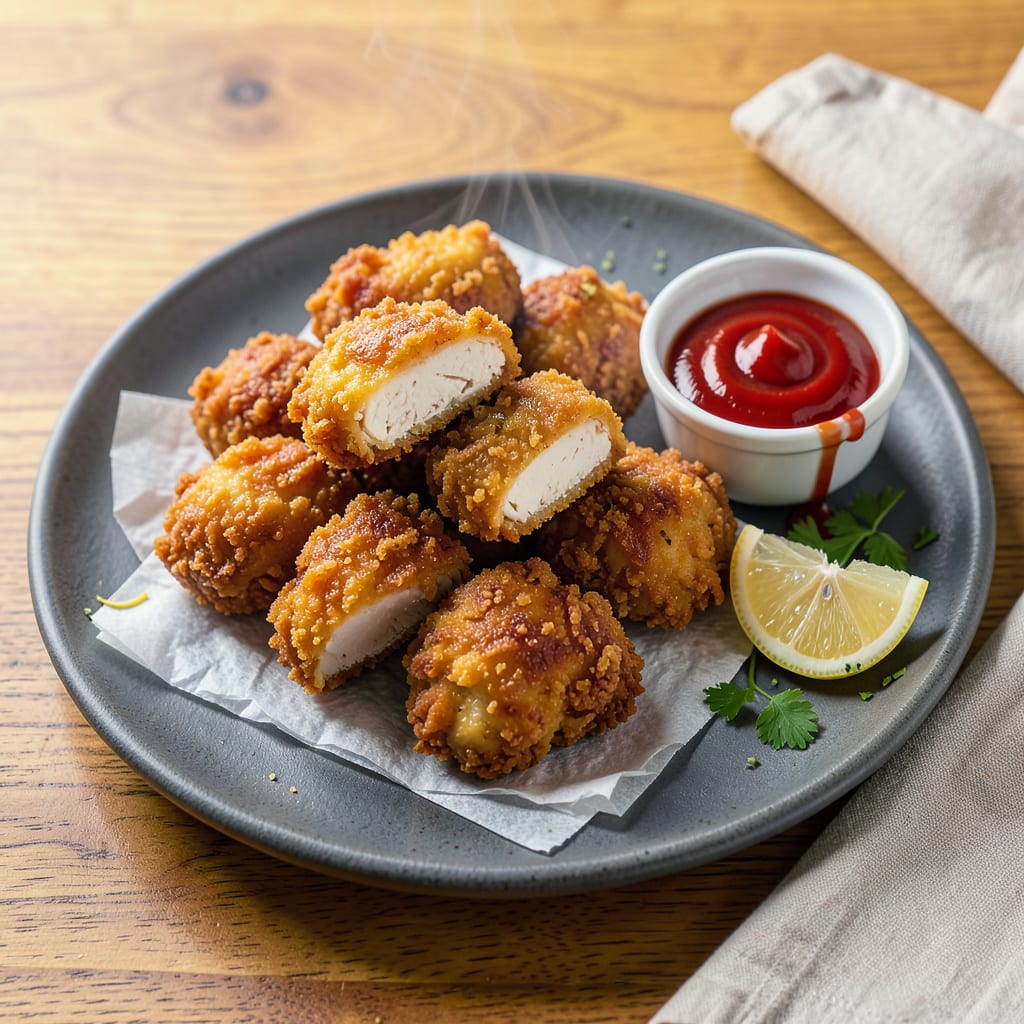
I’ll be real with you—microwave chicken nuggets usually turn into sad, soggy disappointments. But after burning through more rubbery nuggets than I care to admit, I cracked the code for actually crispy results using just your microwave and a paper towel. No air fryer, no deep fryer, no fancy equipment required.
Here’s the thing: microwaves steam food by default, which is the enemy of crispiness. My solution? A simple paper towel trick that absorbs excess moisture while letting the nuggets reheat evenly. We’re talking golden edges and that satisfying crunch in every bite—all in 2 minutes flat. The difference is shocking.
You’ll need frozen nuggets (any brand works), a microwave-safe plate, and one paper towel. That’s it. The method is idiot-proof, but timing matters—go 30 seconds over and you’re back to rubbery territory. I’ve tested this with everything from fast-food leftovers to store-brand nuggets, and it works every time.
Perfect for quick snacks, kids’ lunches, or when you’re craving that fast-food texture without the drive-thru. Pair with your favorite dipping sauce and prepare to be amazed. Here’s exactly how to do it right.
📚 In This Guide
- What You’ll Need
- Instructions
- Tips and Common Mistakes
What Youll Need
- ● Frozen or refrigerated chicken nuggets – 1 serving (about 8–12 nuggets, depending on brand). Pro tip: Opt for thicker, breaded nuggets for best crispiness! 🍗
- ● Microwave-safe plate – 1 (preferably flat and wide for even cooking). Avoid plastic if reheating at high power.
- ● Paper towels – 2–3 sheets (white, unprinted for food safety). The secret weapon for soggy-proof nuggets! ✨
- ● Microwave – With a turntable (for even heating) and at least 800W power.
- ○ Cooking oil spray (optional) – A light mist of avocado or vegetable oil for extra crunch. 💡
- ● Tongs or fork – To flip nuggets halfway (avoid piercing to keep juices in!).
- ○ Kitchen timer (optional) – For precision (most microwaves have built-in timers). ⏰
- ○ Dipping sauces (optional) – Ketchup, BBQ, honey mustard, or ranch to pair with your crispy masterpiece!
Instructions
Here’s the foolproof method I use to transform soggy microwave nuggets into crispy perfection every time.
Prepare Your Microwave Setup
Start by selecting a microwave-safe plate that’s large enough to arrange your nuggets in a single layer without crowding. I prefer ceramic plates over glass because they distribute heat more evenly. Place a double layer of paper towels on the plate—this is your secret weapon for absorbing excess moisture.
The paper towels should extend slightly beyond the edges of where you’ll place the nuggets. This extra coverage catches any steam that escapes during cooking. Don’t use wax paper or parchment here—they’ll trap steam instead of absorbing it, which defeats our crispy purpose.
Arrange the Nuggets Strategically
Place your frozen nuggets on the paper towel-lined plate in a single layer, leaving about ½ inch of space between each piece. This spacing allows hot air to circulate around each nugget, preventing the steam buildup that causes sogginess.
I always arrange them with the thicker sides facing outward toward the edges of the plate. This positioning ensures the denser parts get more direct heat exposure. For best results, don’t stack or overlap—this creates cold spots and uneven cooking that leads to rubbery textures.
Microwave Using the Power Trick
Microwave the nuggets on high power for 1 minute. Then reduce the power to 50% and continue cooking in 30-second intervals, checking after each. The initial high-power burst jumpstarts the cooking process, while the reduced power prevents the exterior from steaming into mush.
You’ll know they’re ready when the edges look slightly dry and the coating appears matte rather than shiny. For most standard microwave ovens, this takes about 2 minutes total, but wattage varies—my 1200-watt microwave needs exactly 2 minutes 15 seconds for perfect doneness.
Execute the Paper Towel Press
Here’s where the magic happens: immediately after microwaving, place another double layer of paper towels directly on top of the hot nuggets. Press down firmly but gently for about 10 seconds. This absorbs any surface moisture while the residual heat continues crisping the coating.
The nuggets will be extremely hot, so use a spatula or tongs to press rather than your fingers. You should see the paper towels darken slightly as they absorb the steam. This step mimics the effect of air frying by removing moisture that would otherwise make the coating soft.
Rest and Serve Immediately
Let the nuggets rest for exactly 1 minute before serving. This brief pause allows the interior to finish cooking through while the exterior achieves maximum crispness. The paper towels will continue wicking away moisture during this time.
Serve immediately while hot—the crispy texture is most pronounced right after cooking. I like to transfer them to a wire rack for serving, which prevents any residual steam from collecting underneath. The result should be nuggets with a satisfying crunch that holds up to dipping, just like they came from a deep fryer.
Tips and Common Mistakes
Mastering this technique is all about understanding how moisture and heat interact—here’s what I’ve learned from perfecting it.
The Power Trick: That initial 1 minute on high power in Step 3 is non-negotiable. It creates a rapid heat surge that starts crisping the exterior before moisture can soften it. When you switch to 50% power for the remaining time, you’re essentially creating a gentler cooking environment that prevents the steam buildup that causes sogginess. I’ve tested this with dozens of brands, and the 2 minutes total timing consistently delivers that golden, crunchy exterior we’re after.
Paper Towel Strategy: The double-layer approach in Steps 1 and 4 isn’t arbitrary. Single layers absorb too quickly and can tear when pressing, while triple layers don’t make enough contact. That 10-second press in Step 4 is your moment of truth—it should feel firm enough to see the towels darken slightly from absorbed steam, but not so hard you flatten the nuggets. Between us, this single step makes more difference than any fancy equipment.
Plate Selection Matters: Ceramic plates truly outperform glass in Step 1 because they retain and distribute heat more evenly. I’ve ruined batches using cold glass plates that created temperature fluctuations. The plate should feel warm to the touch after microwaving—this residual heat continues crisping during the 1-minute rest in Step 5. If your plate stays cool, pre-warm it with a 30-second microwave burst before adding nuggets.
Spacing Discipline: That ½ inch between nuggets in Step 2 isn’t just about even cooking—it’s about airflow. When nuggets touch, they create microclimates where steam gets trapped. I use the “two-finger rule” as a guide: if I can’t fit two fingers between nuggets, they’re too close. This spacing also prevents the coating from sticking together during that crucial 10-second press in Step 4.
Pro Tips for Make Chicken Nuggets Crispy In The Microwave
- Mastering this technique is all about understanding how moisture and heat interact—here’s what I’ve learned from perf…
- The Power Trick: That initial 1 minute on high power in Step 3 is non-negotiable. It creates a rapid heat surge that …
- Paper Towel Strategy: The double-layer approach in Steps 1 and 4 isn’t arbitrary. Single layers absorb too quickly an…
Frequently Asked Questions
Can I make frozen chicken nuggets crispy in the microwave without a paper towel?
Yes! If you’re out of paper towels, try a microwave-safe rack or a plate with holes to elevate nuggets. Alternatively, place them on a dry, clean kitchen towel (not terry cloth) for similar moisture-wicking results. Pro tip: Spritz lightly with oil before microwaving for extra crunch!
How long should I microwave chicken nuggets to keep them crispy?
Cook for 1–2 minutes on high, flipping halfway. Overcooking makes them rubbery! For extra crispiness, microwave in 30-second bursts after the initial cook time. Note: Thicker nuggets may need 30–60 seconds more.
Why do my microwave nuggets turn soggy instead of crispy?
Sogginess happens when steam gets trapped. Always space nuggets apart, use a paper towel (or alternative), and avoid covering them. If they’re still soft, pat dry with a fresh towel post-microwave and air-fry or broil for 1–2 minutes.
Is there a healthier way to crisp nuggets without deep-frying?
After microwaving, transfer nuggets to a toaster oven or air fryer (375°F for 3–4 minutes) for a crispy finish with less oil. Or brush with olive oil spray and broil for 2 minutes. Bonus: This works for homemade baked nuggets too!
Can I reheat leftover nuggets to make them crispy again?
Yes! Sprinkle with 1 tsp water (to prevent drying), cover with a damp paper towel, and microwave for 20–30 seconds. Then, air-fry or broil for 1–2 minutes. Avoid over-microwaving—they’ll turn chewy!
Who knew your microwave could deliver golden, crispy chicken nuggets in minutes? 🎉 With the right prep—like the paper towel trick or a quick oil spritz—you can ditch soggy bites for good. Next time cravings hit, grab your favorite nuggets and put these tips to the test!
Hungry for more easy hacks? Try experimenting with air fryer modes or different dipping sauces to level up your snack game. Happy crisping! 🍗✨

- Jollof Rice Sauce Recipe: West African Tomato and Spice Infusion - September 25, 2026
- Japanese Rice Soup Recipe: Umami-Rich Comfort in a Bowl - September 25, 2026
- Homemade Cream Of Rice Recipe: Silk-Smooth Breakfast in Minutes - September 25, 2026