
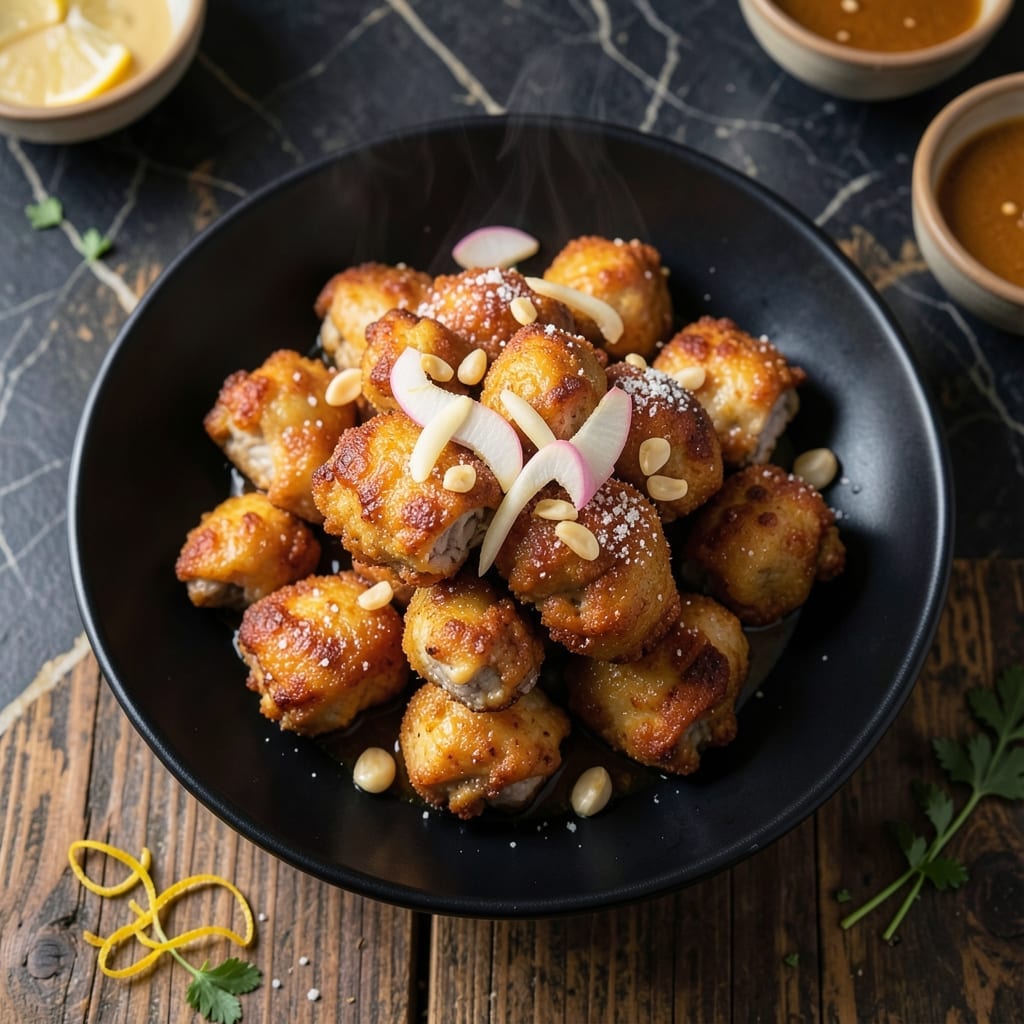
This Japanese fried chicken delivers a crispy coating that shatters with every bite while keeping the meat inside impossibly juicy.
The secret lies in a simple marinade of soy sauce, ginger, and garlic, followed by a double coating in potato starch for maximum crunch.
Frying at the right temperature ensures even cooking without absorbing excess oil, resulting in golden brown pieces that stay crispy long after serving.
Serve hot with a side of steamed rice and shredded cabbage for an authentic experience that’s surprisingly easy to recreate at home.
Ingredients for Chicken Kaarage
A few fresh ingredients plus pantry staples create this showstopping Japanese fried chicken at home.
| Ingredient | Amount | Notes |
|---|---|---|
| Boneless Chicken Thighs 🍗 | 1 ½ lb | Skin-on, cut into bite-sized pieces |
| Soy Sauce 🥫 | 3 tbsp | Low-sodium preferred for balance |
| Fresh Ginger 🌿 | 1 tbsp | Grated or finely minced |
| Garlic Cloves 🧄 | 3 cloves | Minced to fine paste |
| Sake 🍶 | 2 tbsp | Dry variety for marinade |
| Potato Starch 🥔 | 1 cup | For ultra-crispy coating |
| Neutral Oil 🫒 | 4 cups | Vegetable or canola, for frying |
| Cornstarch 🌾 | 2 tbsp | Lightens the batter consistency |
| Granulated Sugar 🍚 | 1 tsp | Balances saltiness in marinade |
| Green Onions 🧅 | 3 whole | Thinly sliced for garnish |
| Lemon Wedges 🍋 | 4 pieces | For serving alongside |
| Kosher Salt 🧂 | 1 tsp | Adjust to taste in marinade |
| Black Pepper 🌶️ | ½ tsp | Freshly ground preferred |
The chicken thighs are non-negotiable for juiciness—boneless, skin-on gives you that ideal moisture-to-crisp ratio. Asian markets often carry pre-cut pieces, saving prep time. For potato starch, look for pure versions without additives; Katakuriko is the gold standard for authentic texture. Sake can be found in the international aisle at Whole Foods or larger supermarkets, but dry sherry works in a pinch.
No sake? Dry white wine at equal amount subs effectively. Out of potato starch? Cornstarch alone will work (though the crunch won’t be as dramatic). Fresh ginger is ideal, but ground ginger at one-quarter the amount can stand in. The oil quantity assumes a 3-4 quart pot—adjust based on your vessel size. For extra authenticity, add a pinch of shichimi togarashi to your starch coating.
Marinate the chicken for at least 30 minutes (overnight for maximum flavor). Once fried, keep pieces warm on a wire rack in a 200°F oven while frying subsequent batches. Best eaten immediately, but leftovers reheat surprisingly well in an air fryer at 375°F for 5-6 minutes.
Why You’ll Love This Recipe
- One Pan Wonder: I just toss the chicken thighs with soy sauce, ginger, and garlic, then bake—no messy frying, no stacks of dishes.
- Umami Bomb: The sake and soy sauce combo gives it that deep, savory flavor that’s way more interesting than plain fried chicken.
- Weeknight Hero: Honestly, it’s my go-to for busy evenings when I need something fast but still packed with flavor.
- Leftovers Win: Cold or reheated, these little bites stay tender and tasty—perfect for lunchboxes or midnight snacks.
Step-by-Step Instructions for Chicken Kaarage
Here’s the method. Straightforward, tested, works every time.
Step 1: Marinate the Chicken for Maximum Flavor
In a large bowl, combine the 1.5 lb boneless chicken thighs with 3 tbsp soy sauce, 1 tbsp fresh ginger, 3 cloves garlic cloves, 2 tbsp sake, 1 tsp granulated sugar, 1 tsp kosher salt, and 0.5 tsp black pepper. Mix thoroughly to ensure each piece is evenly coated.
The marinade should cling to the chicken, and you’ll notice the meat start to absorb the liquid after a few minutes. Cover the bowl and refrigerate for at least 30 minutes, or up to 4 hours for deeper flavor penetration. This step is non-negotiable for achieving the signature umami-rich taste.
Step 2: Prepare the Crispy Coating
In a separate shallow bowl, whisk together the 1 cup potato starch and 2 tbsp cornstarch until fully combined. The potato starch is the secret to that ultra-crispy, light texture that sets kaarage apart from other fried chicken dishes.
Remove the chicken from the marinade, allowing any excess liquid to drip off, and dredge each piece in the starch mixture. Press gently to ensure the coating adheres evenly. Place the coated pieces on a wire rack set over a baking sheet to allow air circulation, which prevents sogginess before frying.
Step 3: Fry to Golden Perfection
Heat the 4 cups neutral oil in a deep, heavy-bottomed pot or Dutch oven over medium-high heat until it reaches 350°F. Use a kitchen thermometer for accuracy—this temperature ensures the chicken cooks through without burning the coating.
Working in batches to avoid overcrowding, carefully lower the coated chicken into the hot oil. Fry for 4-5 minutes until the exterior turns deep golden brown and the internal temperature reaches 165°F. Drain on a wire rack or paper towels to maintain crispiness.
Step 4: Serve with Fresh Garnishes
Thinly slice the 3 whole green onions and arrange them on a serving platter alongside the 4 pieces lemon wedges. Transfer the fried chicken to the platter, garnishing with the green onions for a pop of color and freshness.
Serve immediately while the chicken is still hot and at its crispiest. The lemon wedges add a bright contrast to the rich, savory flavors. For an authentic touch, serve with a side of steamed rice and additional soy sauce for dipping.
Pro Tips For Making Chicken Kaarage
- Double fry the chicken: Fry the chicken once at 320°F until cooked through, then again at 375°F for 1-2 minutes. I learned this the hard way—skipping the second fry leaves the crust soggy instead of that signature kaarage crunch.
- Velvet the chicken: Toss the chicken thighs with 1 tsp baking soda and 1 tbsp water for 15 minutes before marinating. Sounds weird, but it works: the meat stays juicy and tender, even when fried at high heat.
- Skip the overcrowding: Fry in small batches—about 4-5 pieces at a time—so the oil temperature doesn’t drop. After burning three batches, I finally figured out that crowded oil steams the chicken instead of frying it.
- Use cold marinade: Chill the soy sauce, sake, ginger, and garlic marinade before adding the chicken. My grandmother swore by this, and she was right: cold marinade helps the flavors penetrate deeper without cooking the meat prematurely.
Regional Styles of This Dish
Tokyo-Style Classic
In the capital, kaarage stays true to tradition with a simple marinade of soy, ginger, and garlic. I love how Tokyo chefs use skin-on thighs for extra juiciness. The double-fry method at 340°F then 375°F ensures a shatteringly crisp coating. 🗺️
Osaka’s Sweet Twist
Osaka adds 1 tbsp honey to the marinade for a subtle sweetness that balances the salt. They also prefer smaller, 1-inch pieces for easy bar snacking. The result is a caramelized exterior that’s irresistible.
Hokkaido Spicy Version
Northern Japan turns up the heat with 1 tsp chili powder and ½ tsp cayenne in the starch coating. The cold climate makes this warming variation popular. I first tried it during a winter trip to Sapporo.
Kyoto’s Refined Approach
Kyoto chefs use dashi in the marinade for umami depth, and often serve with matchstick-cut daikon. The presentation is as important as the taste in this cultural capital. 💛
Okinawa’s Tropical Touch
Incorporating local flavors, Okinawa adds 1 tbsp awamori (island liquor) to the marinade. They also garnish with shiso leaves for a refreshing herbal note that cuts through the richness.
Nutrition Facts
Frequently Asked Questions
Can I use chicken breast instead of thighs?
Thighs stay juicier, but breast works if pounded to even thickness. Reduce frying time to 3-4 minutes to prevent dryness.
Why potato starch instead of flour?
Potato starch creates a lighter, crispier crust that stays shatteringly crisp longer. Flour absorbs more oil and yields a denser coating.
How do I keep it crispy after frying?
Drain on a wire rack, not paper towels. Keep warm in a 200°F oven while frying batches. Serve immediately for best texture.
Can I air fry instead of deep fry?
Yes! Spray coated pieces with oil and air fry at 375°F for 12-14 minutes, flipping halfway. Results are slightly less crispy but still delicious.

- Jollof Rice Sauce Recipe: West African Tomato and Spice Infusion - September 25, 2026
- Japanese Rice Soup Recipe: Umami-Rich Comfort in a Bowl - September 25, 2026
- Homemade Cream Of Rice Recipe: Silk-Smooth Breakfast in Minutes - September 25, 2026