
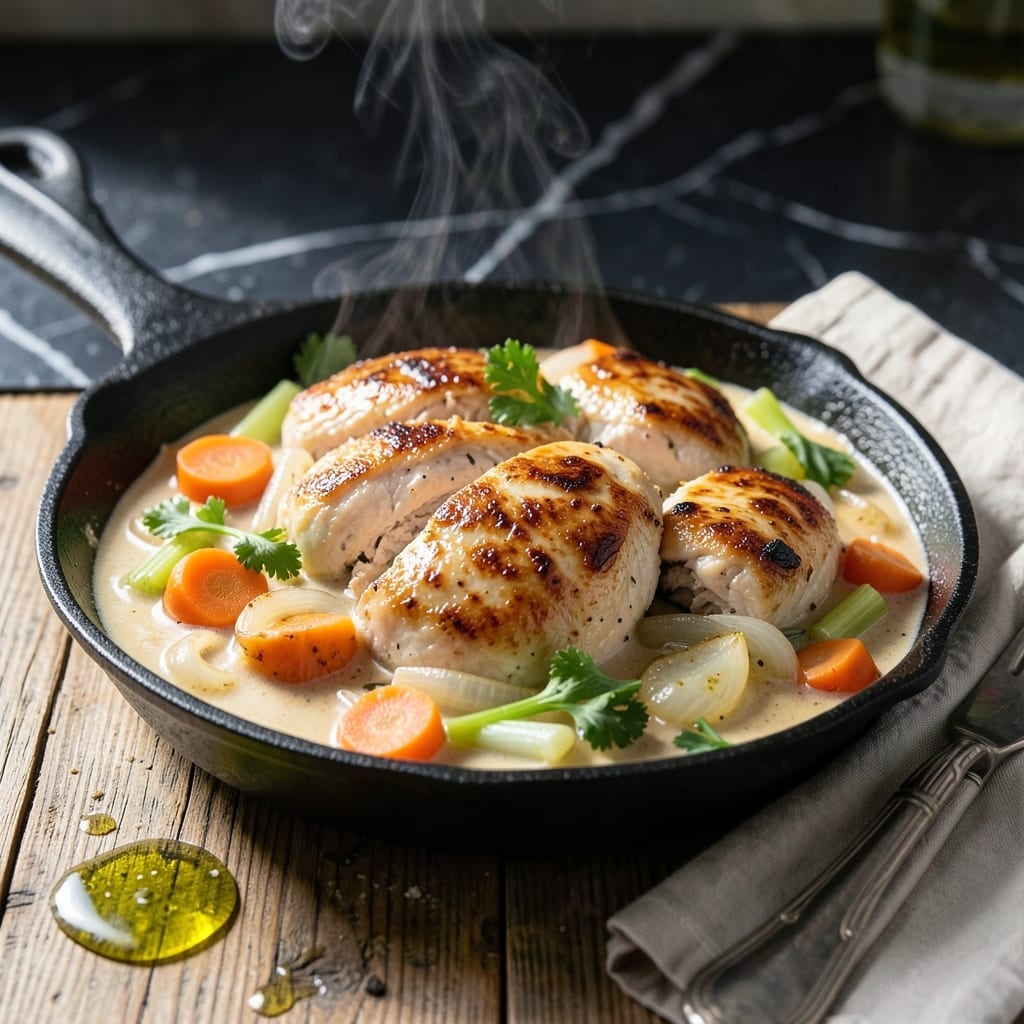
I developed this recipe to capture all the comfort of traditional pot pie without the fuss of a separate baking dish.
By baking everything in a cast iron skillet, you get a golden, flaky crust on top and a creamy chicken and vegetable filling beneath, all in one pan. The technique ensures every bite delivers that familiar, hearty satisfaction.
The filling comes together quickly on the stovetop while the crust bakes to perfection above it. It is a streamlined method that maintains the dish’s rich, savory essence.
This approach simplifies the process but never compromises on flavor or texture. The result is a meal that feels both nostalgic and effortlessly achievable.
Ingredients for Chicken No Pot Pie
Every ingredient here builds that nostalgic comfort in a single skillet.
| Ingredient | Amount | Notes |
|---|---|---|
| Boneless, Skinless Chicken Breasts 🍗 | 1 ½ lb | Cut into 1-inch cubes |
| All-Purpose Flour 🌾 | ½ cup | For thickening filling |
| Unsalted Butter 🧈 | 6 tbsp | Divided for filling and crust |
| Yellow Onion 🧅 | 1 whole | Medium, finely diced |
| Carrots 🥕 | 2 whole | Medium, peeled and diced |
| Celery Stalks 🌿 | 2 whole | Diced for filling |
| Frozen Peas 🌱 | 1 cup | No need to thaw |
| Chicken Broth 🍲 | 1 ½ cups | Low-sodium preferred |
| Whole Milk 🥛 | ½ cup | Full-fat for creaminess |
| Garlic Cloves 🧄 | 3 cloves | Minced for depth |
| Fresh Thyme Sprigs 🌿 | 2 whole | Leaves stripped, stems discarded |
| Salt 🧂 | 1 tsp | Kosher or sea salt |
| Black Pepper 🌶️ | ½ tsp | Freshly ground preferred |
| Refrigerated Pie Crust 🥧 | 1 package | 1 crust, rolled to fit skillet |
| Large Egg 🥚 | 1 whole | For egg wash on crust |
The chicken quality matters—opt for air-chilled, free-range breasts from Whole Foods or Costco for superior texture and flavor. The butter should be high-fat (82% or higher) for the richest sauce; European-style brands like Plugrá or Kerrygold work beautifully. For the pie crust, Pillsbury refrigerated is reliable, but a homemade all-butter crust elevates the dish if you have the time.
No whole milk? Half-and-half or heavy cream at half the quantity delivers similar richness. Swap the peas for frozen corn or green beans if preferred. Fresh rosemary can replace thyme at one-third the amount. For a gluten-free version, use cornstarch instead of flour (1 tbsp per cup of liquid) and a gluten-free pie crust.
Store raw chicken in its original packaging on the bottom shelf of the fridge—use within 2 days or freeze for 9 months. The filling reheats well, covered, for 3-4 days, though the crust is best fresh. Leftovers freeze beautifully for up to 3 months.
Why You’ll Love This Recipe
- One Pan Wonder: I love that everything—chicken, veggies, and that buttery crust—cooks together in a single skillet.
- Buttery Crunch: The flaky flour-butter topping browns beautifully over the creamy chicken and carrot filling.
- Weeknight Savior: Between us, this is my go-to for busy Tuesdays when I need dinner ready before soccer practice.
- Leftovers? Yes Please: Honestly, it tastes even better the next day, and the portions stretch for lunches all week.
Step-by-Step Instructions for Skillet-Baked Chicken Pie
This method delivers all the comforting flavors of pot pie with minimal cleanup.
Step 1: Sauté Aromatics and Cook Chicken
Heat 2 tablespoons unsalted butter in a 10-inch oven-safe skillet over medium heat. Add the finely diced yellow onion, diced carrots, and diced celery stalks. Cook for 5-7 minutes until the vegetables soften and the onion becomes translucent.
Push the vegetables to one side of the skillet and add the 1.5 lb boneless, skinless chicken breasts, cut into 1-inch cubes. Cook for 6-8 minutes until the chicken is no longer pink and reaches an internal temperature of 165°F. Season with 1 tsp salt and 0.5 tsp black pepper.
Step 2: Create the Creamy Filling
Sprinkle the 0.5 cup all-purpose flour over the chicken and vegetables, stirring to coat evenly. Pour in the 1.5 cups chicken broth and 0.5 cup whole milk, stirring constantly to prevent lumps. Add the minced 3 cloves garlic cloves and leaves from the 2 whole fresh thyme sprigs.
Bring the mixture to a simmer over medium-high heat, stirring frequently. Cook for 3-4 minutes until the sauce thickens enough to coat the back of a spoon. Stir in the 1 cup frozen peas, which will thaw quickly in the hot filling.
Step 3: Add the Pie Crust Topping
Unroll the 1 package refrigerated pie crust and place it over the filling, tucking the edges inside the skillet. Cut several small slits in the center of the crust to allow steam to escape. In a small bowl, whisk the 1 whole large egg and brush it evenly over the crust for a golden finish.
Dot the crust with the remaining 4 tablespoons unsalted butter, cut into small pieces. This adds richness and helps achieve a beautifully browned topping.
Step 4: Bake Until Golden and Bubbly
Preheat the oven to 375°F. Transfer the skillet to the oven and bake for 25-30 minutes or until the crust is deep golden brown and the filling is bubbling at the edges.
Let the dish rest for 5-10 minutes before serving. This allows the filling to set slightly, making it easier to portion. The crust should be flaky and crisp, while the filling remains creamy and packed with tender chicken and vegetables.
Pro Tips For Making Chicken No Pot Pie
- Pre-Cook the Chicken: Poach or sear the chicken breasts first—raw chicken in the filling often overcooks while the crust bakes. I learned this the hard way after pulling out dry, stringy meat from my first few attempts.
- Sauté the Onions Longer: Cook the yellow onions until deeply golden, about 8-10 minutes. Sounds tedious, but it builds the sweet, rich base that makes the filling taste like it simmered all day.
- Skip the Lumps: Whisk the flour into the butter gradually and cook for 1-2 minutes to remove the raw taste. After burning two batches, I finally figured out that undercooked roux leaves a pasty aftertaste.
- Use Frozen Carrots: Toss in frozen diced carrots instead of fresh—they’re pre-blanched, so they soften perfectly in the filling without turning mushy. I was skeptical until I tried it, but now I keep a bag in the freezer just for this.
Essential Equipment for chicken no pot pie
Oven-Safe Skillet
A 10-inch cast iron skillet is the foundation of this dish. I use my Lodge pre-seasoned skillet—it distributes heat evenly and goes from stovetop to oven seamlessly. Avoid nonstick unless it’s labeled oven-safe to 400°F. 🔥
Wooden Spoon
A sturdy wooden spoon prevents scratching your skillet while stirring the filling. I prefer a long-handled version to keep my hands safe from the heat. The flat edge helps scrape up browned bits for maximum flavor.
Pastry Brush
For that golden crust, a silicone pastry brush works best with the egg wash. I like the OXO Good Grips brush—it’s heat-resistant and easy to clean. Dip it in the egg wash and coat the crust evenly before baking.
Measuring Cups
Precise measurements matter for the filling’s consistency. I use a Pyrex 1-cup measure for the broth and milk, and nested stainless steel cups for the flour. Level off the flour with a straight edge for accuracy.
Chef’s Knife
A sharp 8-inch chef’s knife makes quick work of dicing the vegetables. I recommend Wüsthof or Victorinox for durability. Keep your knife honed—it’s safer and makes prep faster.
Kitchen Shears
For trimming the pie crust to fit the skillet, kitchen shears are indispensable. I use Fiskars shears—they cut through dough cleanly and are dishwasher-safe. Snip the excess crust edges for a neat finish. ✨
Nutrition Facts
Frequently Asked Questions
Can I use chicken thighs instead of breasts?
Boneless, skinless thighs work great and stay juicier. Cook them to 175°F instead of 165°F for optimal tenderness. They may take 1-2 minutes longer to cook through.
What if my filling is too thin?
Simmer it uncovered for 2-3 extra minutes. If still thin, mix 1 tbsp cornstarch with 1 tbsp cold water and stir in. The filling will thicken as it cools slightly too.
Can I make this ahead of time?
Assemble everything but don’t bake. Cover and refrigerate up to 24 hours. Add 5-10 minutes to baking time if chilled. The crust stays flakiest when baked fresh.

- Jollof Rice Sauce Recipe: West African Tomato and Spice Infusion - September 25, 2026
- Japanese Rice Soup Recipe: Umami-Rich Comfort in a Bowl - September 25, 2026
- Homemade Cream Of Rice Recipe: Silk-Smooth Breakfast in Minutes - September 25, 2026