
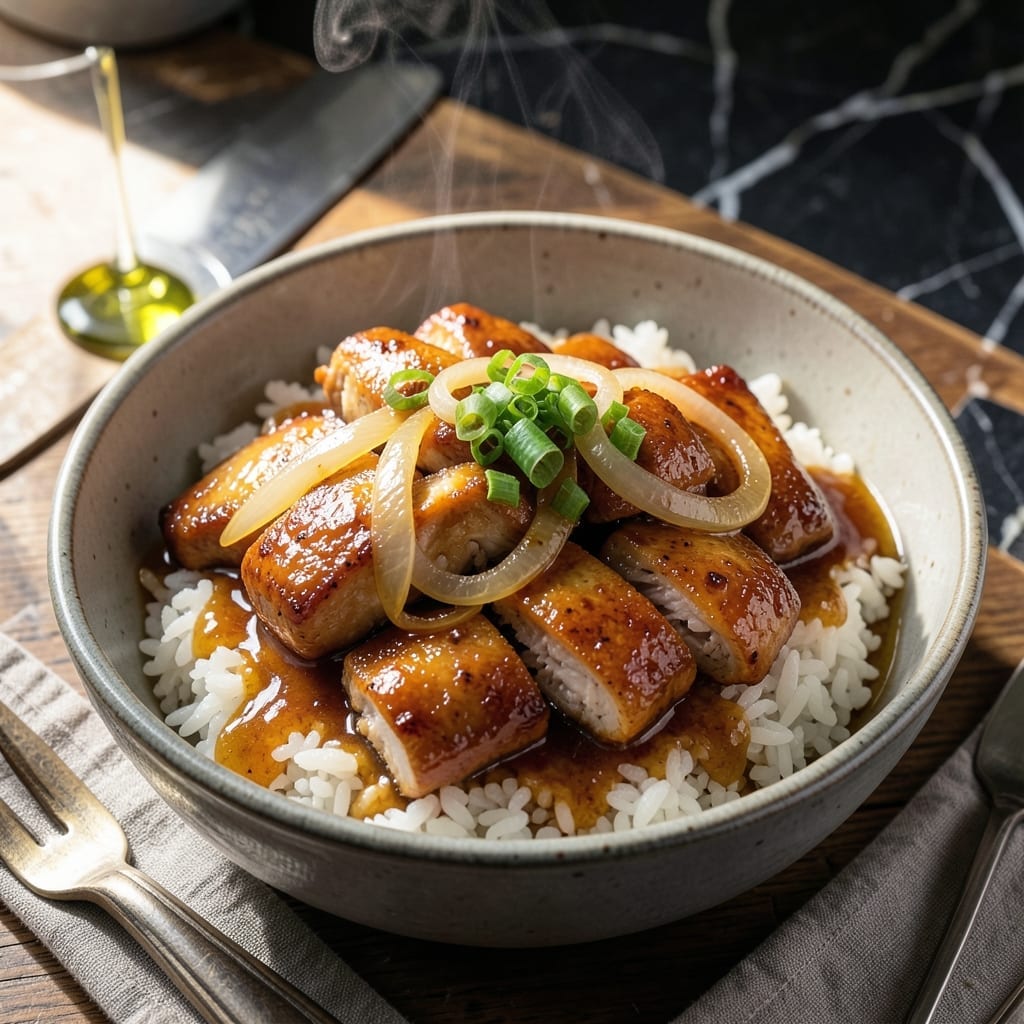
This Japanese comfort classic combines tender chicken and onions in a savory dashi broth, finished with silky, barely-set eggs.
The dish comes together in 20 minutes using simple ingredients and traditional techniques. I’ve perfected the timing so the eggs stay creamy while the chicken cooks through.
What makes it special is the balance of flavors—sweet, salty, and umami—all soaking into fluffy rice. It’s a comforting meal that feels like a warm hug in a bowl.
Serve it straight from the pan for the best texture. Here’s how to make it at home.
Ingredients for Chicken Oyakodon
Simple yet refined ingredients create this comforting Japanese bowl with tender chicken and silky eggs.
| Ingredient | Amount | Notes |
|---|---|---|
| Boneless Chicken Thighs 🍗 | 1 ½ lb | Skin-on or skinless, cut into bite-sized pieces |
| Yellow Onion 🧅 | 1 whole | Thinly sliced into half-moons |
| Dashi Stock 🥣 | 2 cups | Homemade or instant dashi granules |
| Soy Sauce 🫒 | 3 tbsp | Japanese soy sauce preferred |
| Mirin 🍶 | 2 tbsp | Sweet rice wine for authenticity |
| Sake 🍶 | 2 tbsp | Dry Japanese rice wine |
| Granulated Sugar 🍚 | 1 tbsp | Balances saltiness of soy |
| Large Eggs 🥚 | 4 whole | Room temperature for silky texture |
| Steamed Japanese Short-Grain Rice 🍚 | 4 cups | Cooked, hot and fluffy |
| Scallions 🌿 | 2 whole | Thinly sliced for garnish |
| Neutral Oil 🫒 | 1 tbsp | For cooking chicken and onions |
| Toasted Sesame Seeds 🌰 | 1 tsp | Optional garnish for nutty crunch |
The chicken quality is paramount. Thighs stay juicier than breasts in this quick simmer—opt for organic or free-range if possible. Dashi forms the backbone; Kombu-based instant granules (like Hondashi) work beautifully. For authentic results, seek out Japanese soy sauce (such as Kikkoman), which has a milder, more complex profile than Chinese varieties.
No mirin? Substitute 1 tbsp sugar + 1 tbsp water per tablespoon needed. Sake can be replaced with dry white wine in a pinch. For gluten-free, use tamari instead of soy sauce. The eggs must be fresh and room temperature—cold eggs won’t set properly. Short-grain rice is non-negotiable; Koshihikari or Nishiki brands yield the ideal sticky texture.
Leftover oyakodon reheats surprisingly well. Store in an airtight container for up to 2 days in the fridge—do not freeze. Reheat gently over low heat with a splash of water. The rice absorbs flavors best when served immediately, so cook it last.
Why You’ll Love This Recipe
- One Pot Meal: I can make this in a single pan—chicken, onions, and that savory dashi-soy-mirin broth simmering together.
- Umami Bomb: The mirin and soy sauce create this sweet-savory depth that makes the chicken thighs ridiculously tender.
- Weeknight Hero: Honestly, it’s my go-to when I need dinner fast but still want restaurant-quality flavor.
- Budget Stretcher: Boneless thighs are cheap, and a little dashi goes a long way for maximum taste without breaking the bank.
Step-by-Step Instructions for Chicken Oyakodon
Master the art of this comforting Japanese dish with precise technique and authentic flavors.
Step 1: Prepare the Chicken and Onion Base
Cut the 1.5 lb boneless chicken thighs into bite-sized pieces—uniform size ensures even cooking. Heat the 1 tbsp neutral oil in a deep skillet over medium-high heat until it shimmers, then add the chicken in a single layer.
Cook undisturbed for 2-3 minutes until the edges turn opaque and lightly browned. Add the thinly sliced yellow onion and continue cooking for another 3-4 minutes, stirring occasionally, until the onions soften and the chicken cooks through. This builds the foundational flavor layer.
Step 2: Create the Savory-Sweet Broth
Pour in the 2 cups dashi stock, 3 tbsp soy sauce, 2 tbsp mirin, 2 tbsp sake, and 1 tbsp granulated sugar. Stir to combine, then bring to a gentle simmer over medium heat.
Simmer uncovered for 5 minutes to allow the flavors to meld and the liquid to reduce slightly. The broth should be fragrant and lightly syrupy, with the onions nearly translucent. Taste and adjust seasoning if needed, though the balance of salty, sweet, and umami should already be harmonious.
Step 3: Add the Silky Egg Mixture
Lightly beat the 4 whole large eggs in a bowl just until the yolks and whites are combined—avoid overmixing to maintain a silky texture. Pour the eggs evenly over the chicken and broth, distributing them across the surface.
Reduce heat to low and cover the skillet immediately. Cook for 2-3 minutes until the eggs are just set but still slightly runny on top. You’ll see the edges firm up while the center remains softly custardy—this is the signature texture of oyakodon.
Step 4: Serve Over Steamed Rice
Divide the 4 cups steamed Japanese short-grain rice among four bowls. Using a large spoon, gently transfer the chicken, onions, and egg mixture on top of the rice, ensuring each serving gets an equal portion of broth.
Garnish with the thinly sliced scallions and 1 tsp toasted sesame seeds for a pop of color and nutty aroma. The residual heat from the rice will finish cooking the eggs to creamy perfection just before serving.
Pro Tips For Making Chicken Oyakodon
- Simmer the Stock First: Start by gently simmering the dashi stock with soy sauce and mirin for 2-3 minutes before adding chicken—this blends the flavors so the broth tastes rich, not flat.
- Slice Onions Thinly: Cut the yellow onion into paper-thin half-moons so they soften quickly and melt into the broth, giving that classic oyakodon texture.
- Don’t Overcook Chicken: Pull the boneless thighs from the broth as soon as they hit 165°F, then return them to warm through—this keeps them juicy instead of dry.
- Use a Lid: Cover the pan for the last 2 minutes to steam the eggs on top just enough to set without overcooking—no one wants rubbery eggs in their donburi.
Pro Cooking Tips for This Recipe
Perfect Egg Texture
Room temperature eggs are crucial for that signature silky texture. I beat mine just until combined—20-30 gentle strokes with a fork does the trick. Overmixing incorporates too much air, which can make the eggs tough. 💡
Broth Reduction Timing
Simmer the broth for exactly 5 minutes after adding all liquids. This reduces it just enough to concentrate flavors without making it too syrupy. Use a wide, shallow pan for faster reduction and better flavor development.
Heat Control
When cooking the eggs, switch to low heat immediately after pouring them in. Cover with a tight-fitting lid to trap steam. I use a glass lid so I can monitor without lifting it. The eggs should set in 2-3 minutes.
Rice Temperature
Always use hot, freshly steamed rice—the residual heat helps finish cooking the eggs. I keep my rice covered in the rice cooker until serving. Cold rice will make the eggs set too quickly and turn rubbery.
Even Distribution
Pour the eggs in a circular motion from the pan’s edge toward the center. This ensures even coverage over all the chicken and onions. I use a 12-inch skillet for the best surface area for 4 servings.
Final Rest
After removing from heat, let the dish rest covered for 1 minute before serving. This allows the eggs to fully set while the flavors meld together. The texture improves noticeably with this brief pause. 🔥
Nutrition Facts
Frequently Asked Questions
Can I use chicken breast instead of thighs?
You can, but thighs stay juicier. If using breast, cook for 1-2 minutes less to prevent dryness.
What if I don’t have dashi?
Substitute with 2 cups chicken broth mixed with 1/2 tsp soy sauce. The flavor won’t be as authentic but still delicious.
How do I know when the eggs are done?
They’re ready when edges are set but centers are still slightly runny after 2-3 minutes on low heat.
Can I make this ahead of time?
Best served fresh, but leftovers keep for 2 days refrigerated. Reheat gently with a splash of water.

- Jollof Rice Sauce Recipe: West African Tomato and Spice Infusion - September 25, 2026
- Japanese Rice Soup Recipe: Umami-Rich Comfort in a Bowl - September 25, 2026
- Homemade Cream Of Rice Recipe: Silk-Smooth Breakfast in Minutes - September 25, 2026