
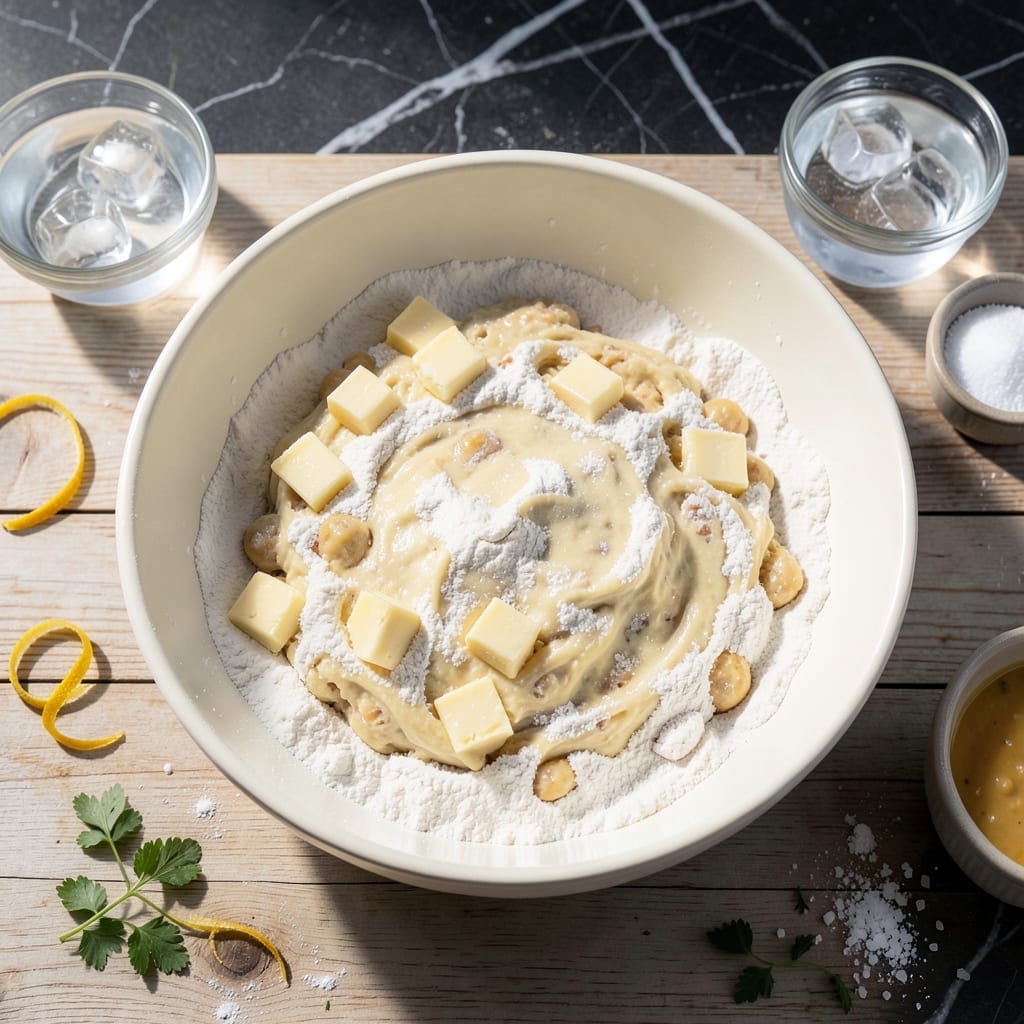
There’s nothing quite like the satisfaction of a homemade chicken pie with layers of flaky dough encasing a hearty filling. This recipe delivers the ultimate comfort food experience without the fuss of complicated techniques.
The key lies in the dough—cold butter and a gentle touch create those coveted layers that shatter at the touch of a fork. I’ve refined this method to ensure a golden crust every time, whether you’re making a deep-dish pie or individual hand pies.
Inside, tender chicken and rich gravy come together under that perfect crust, offering a taste of home in every bite. The contrast between the flaky top and the creamy filling is what makes this dish truly special.
Ideal for family dinners or cozy weekends, this pie is a testament to the power of simple, well-executed cooking.
Ingredients for Chicken Pie Dough
Cold butter, flaky layers, and a hearty filling make this pie unforgettable.
| Ingredient | Amount | Notes |
|---|---|---|
| All-Purpose Flour 🌾 | 2 ½ cups | Plus extra for dusting |
| Unsalted Butter 🧈 | 1 cup | Cold, cubed into small pieces |
| Ice Water 💧 | ½ cup | Plus extra as needed |
| Salt 🧂 | 1 tsp | Kosher or fine sea salt |
| Granulated Sugar 🍚 | 1 tsp | Optional for slight sweetness |
| Boneless Skinless Chicken Breasts 🍗 | 1 ½ lb | Cut into bite-sized pieces |
| Chicken Broth 🥣 | 1 ½ cups | Low-sodium preferred |
| Heavy Cream 🥛 | ½ cup | Full-fat for richness |
| Yellow Onion 🧅 | 1 whole | Finely diced |
| Garlic Cloves 🧄 | 3 cloves | Minced |
| Carrots 🥕 | 2 whole | Peeled and diced |
| Celery Stalks 🥬 | 2 whole | Diced |
| All-Purpose Flour 🌾 | ¼ cup | For thickening gravy |
| Dried Thyme 🍃 | 1 tsp | Or fresh thyme leaves |
| Black Pepper 🌶️ | ½ tsp | Freshly ground preferred |
The butter is what gives you those flaky layers. Use European-style unsalted butter if you can find it—the higher fat content creates better lamination. Keep it ice cold, and don’t overwork the dough (that’s what makes it tough). King Arthur Flour is my go-to for consistency, but any all-purpose flour will do. If your kitchen is warm, chill the flour too before starting.
Need to swap the butter? Vegan butter or cold lard work in a pinch, but avoid margarine—too much water. Short on chicken? Turkey or even hearty mushrooms give a similar texture. For the gravy, half-and-half instead of heavy cream lightens it up without sacrificing creaminess. The thyme can be swapped for rosemary (use half as much—it’s potent).
The dough can rest in the fridge for up to 2 days or freeze for 3 months. Baked pies keep 3-4 days in the fridge—reheat in the oven to crisp the crust. Prep the filling ahead too; it actually gets more flavorful overnight.
Why You’ll Love This Recipe
- No-Fuss Mixing: I just pulse flour, cold butter, and a pinch of salt and sugar in the food processor, then drizzle in ice water—hardly any effort for dough that bakes up golden.
- Buttery Perfection: The unsalted butter layers between the flour create flakes so tender they practically melt, with just a hint of sweetness from the sugar.
- Endless Possibilities: I use this dough for pot pies, hand pies, or even a savory galette—it handles fillings from creamy chicken to spiced veggies without complaint.
Step-by-Step Instructions for Chicken Pie Dough
This method ensures a buttery, flaky crust that perfectly complements the savory filling.
Step 1: Combine Dry Ingredients
In a large mixing bowl, whisk together the 2.5 cups All-Purpose Flour, 1 tsp Salt, and 1 tsp Granulated Sugar until evenly distributed. The sugar adds a subtle sweetness that balances the richness of the butter.
I always sift my flour first to remove lumps and aerate it, which helps create a lighter texture. Make a well in the center of the dry ingredients—this will hold the butter and water as you incorporate them step by step.
Step 2: Cut in the Cold Butter
Add the 1 cup Unsalted Butter (cubed into small pieces) to the flour mixture. Using a pastry cutter or your fingertips, work the butter into the flour until the mixture resembles coarse crumbs with some pea-sized butter pieces remaining visible.
This is key for flaky layers—those visible butter pieces will create pockets of steam during baking, lifting the dough. If the butter starts to melt from your body heat, pause and let the mixture chill for 5 minutes in the refrigerator before continuing.
Step 3: Incorporate Ice Water Gradually
Drizzle in the 0.5 cup Ice Water, about 1 tablespoon at a time, mixing gently with a fork after each addition. You want just enough water to hold the dough together when pressed—it should look slightly shaggy, not wet.
Stop adding water as soon as the dough begins to clump. Too much water makes for a tough crust, and you can always add more if needed. The mixture should hold together when squeezed but still appear dry in spots.
Step 4: Chill the Dough
Turn the dough out onto a lightly floured surface and gently shape it into a disk. Wrap it tightly in plastic wrap and refrigerate for at least 1 hour (or up to 2 days).
This chilling period allows the gluten to relax and the butter to firm up, which makes the dough easier to roll out and ensures maximum flakiness. Don’t skip this step—it’s what creates those beautiful, distinct layers in the finished pie crust.
Pro Tips For Making Chicken Pie Dough
- Chill the Butter: Cut your unsalted butter into small cubes and refrigerate for 30 minutes before mixing—this keeps it cold while working, which is non-negotiable for flaky layers.
- Use Ice Water: Fill a glass with water and ice cubes, then measure from that for the ice water—room temperature water will soften the dough and ruin the texture.
- Don’t Overwork It: I learned this the hard way—mix just until the dough comes together, or you’ll end up with a tough crust instead of a tender one.
- Rest Before Rolling: After shaping, let the dough rest in the fridge for at least 1 hour—this relaxes the gluten and makes it way easier to roll out without cracking.
Storing and Reheating Leftovers
Refrigerator Storage
Let your baked pie cool completely, then wrap it tightly in aluminum foil or place it in an airtight container. It will keep in the fridge at 40°F or below for up to 4 days. The crust may soften slightly, but the flavors will deepen beautifully. ❄️
Freezer Storage
For longer storage, freeze the entire pie wrapped in plastic wrap followed by heavy-duty foil. It will stay fresh for up to 3 months. I recommend slicing it first so you can reheat individual portions as needed.
Oven Reheating
Preheat your oven to 350°F and place the pie directly on the middle rack. Heat for 15-20 minutes until warmed through and the crust regains its crispness. This method preserves the flaky texture better than any other.
Microwave Reheating
For a quick meal, microwave individual slices on 50% power for 1-2 minutes, covered with a damp paper towel. The crust won’t be as crisp, but it’s perfect for a fast, comforting lunch. 🔥
Dough Storage
Unbaked dough can be refrigerated for up to 2 days or frozen for 3 months. Thaw frozen dough overnight in the fridge before rolling it out. This gives you flexibility to prep ahead for busy days.
Filling Storage
The chicken filling can be stored separately in the fridge for 3 days or frozen for 1 month. I often make extra filling to assemble fresh pies later—just thaw and reheat before using.
Nutrition Facts
Frequently Asked Questions
Why is cold butter important for the dough?
Cold butter creates steam during baking, which makes the layers flaky. If it melts too soon, the dough becomes dense instead of light and crisp. Keep everything chilled until ready to bake.
Can I substitute shortening for butter?
Yes, but the flavor will be milder. Use the same amount of cold shortening for similar flakiness. Butter adds richness that shortening can’t match, though.
How do I prevent a soggy bottom crust?
Blind-bake the bottom crust for 10 minutes before adding filling. Also, brush it with egg wash or sprinkle breadcrumbs to create a barrier. This keeps it crisp.
Can I make the dough ahead of time?
The dough keeps in the fridge for 2 days or frozen for 3 months. Thaw overnight in the fridge before rolling it out.

- Jollof Rice Sauce Recipe: West African Tomato and Spice Infusion - September 25, 2026
- Japanese Rice Soup Recipe: Umami-Rich Comfort in a Bowl - September 25, 2026
- Homemade Cream Of Rice Recipe: Silk-Smooth Breakfast in Minutes - September 25, 2026