
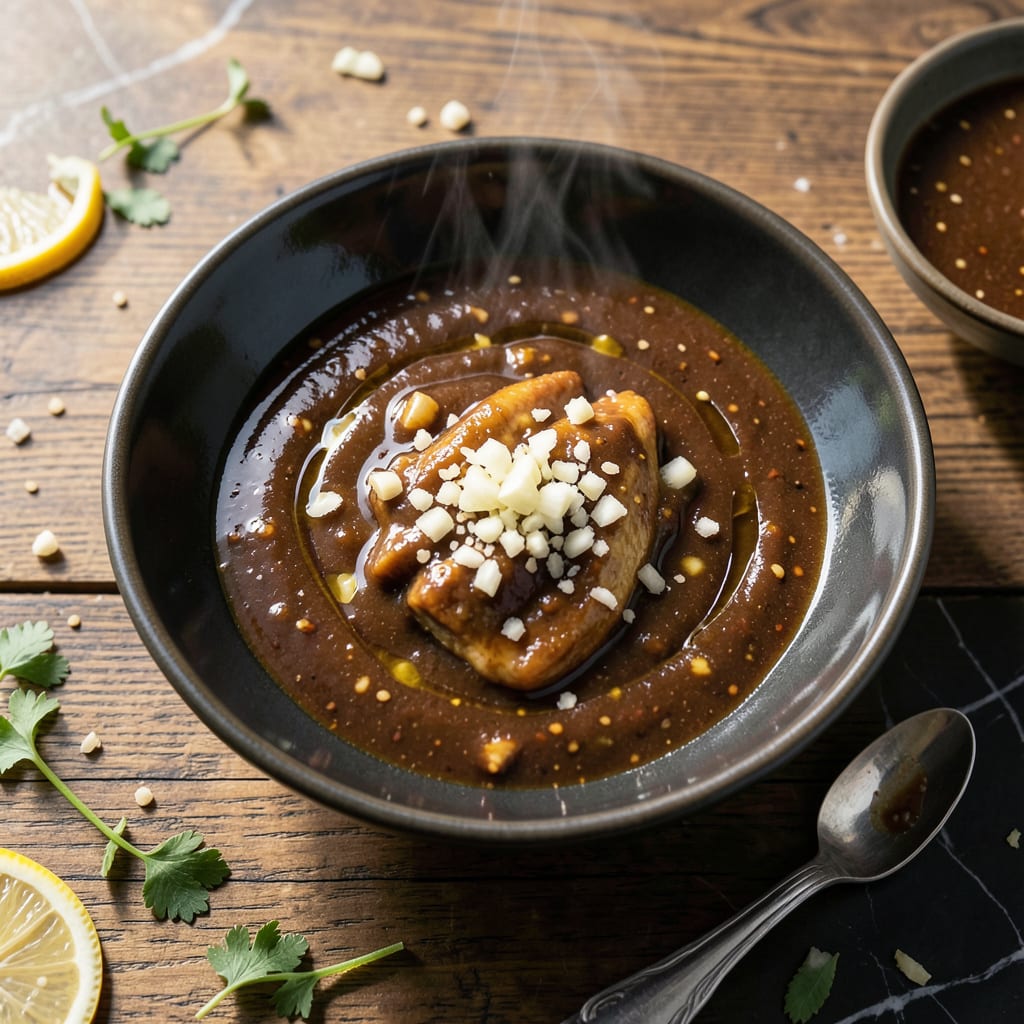
This sauce transforms any chicken stir fry from ordinary to extraordinary with its perfect balance of savory and sweet. A few simple ingredients come together in minutes.
Whisk it up in advance and store in the fridge for up to a week. The flavors deepen over time, making it even more delicious for your next meal.
Ingredients for Chicken Stir Fry Sauce Recipe Easy Soy Sauce
Nine ingredients. Ten minutes. Your stir fry just leveled up big time.
| Ingredient | Amount | Notes |
|---|---|---|
| Soy Sauce 🥢 | ½ cup | Low-sodium preferred for control |
| Honey 🍯 | 3 tbsp | Substitute maple syrup if needed |
| Rice Vinegar 🍶 | 2 tbsp | Adds necessary acidity |
| Minced Garlic 🧄 | 2 tbsp | Fresh preferred, jarred works |
| Fresh Ginger 🌿 | 1 tbsp | Grated or finely minced |
| Sesame Oil 🫒 | 1 tbsp | Toasted for deeper flavor |
| Cornstarch 🌾 | 1 tbsp | For thickening the sauce |
| Water 💧 | 2 tbsp | To dissolve cornstarch |
| Red Pepper Flakes 🌶️ | ½ tsp | Adjust for spice preference |
[recipeingredientscaler]
The soy sauce is the backbone here. Kikkoman low-sodium is my go-to—consistent flavor, less salt overwhelm. Fresh ginger and garlic make a difference (the jarred stuff works in a pinch). For sesame oil, Kadoya or Spectrum brands have that perfect toasted aroma. Don’t skip it—it adds that restaurant-quality depth you’re after.
No honey? Maple syrup or agave works one-to-one. Out of rice vinegar? Apple cider vinegar at the same amount is fine (just slightly fruitier). Need it gluten-free? Swap soy sauce for tamari. The cornstarch slurry is non-negotiable though—it’s what gives the sauce that glossy, cling-to-every-noodle texture.
Whisk and store in a jar. Keeps 7 days in the fridge (flavors get better after 24 hours). Freeze in ice cube trays for 3 months—pop out a cube whenever you need a quick flavor boost.
Why You’ll Love This Recipe
- Five Minute Mix: I dump all five ingredients in a bowl and whisk—no simmering, no fuss, just thick, glossy sauce ready before the chicken finishes searing.
- Sweet-Savory Balance: Honey softens the sharp soy while rice vinegar cuts through, so every bite has that bright, umami punch I crave.
- Doubles as Marinade: I use the same batch to marinate the chicken earlier in the day, then toss the rest in at the end—one sauce, two jobs.
- Stretches for Days: Leftovers keep a week in the fridge, so I drizzle it over rice bowls or quick veggie stir fries all week long.
Step-by-Step Instructions for Chicken Stir Fry Sauce
This comes together fast—just whisk, simmer, and you’re done in minutes.
Step 1: Combine the Liquid Base
In a small bowl, whisk together the 0.5 cup Soy Sauce, 3 tbsp Honey, and 2 tbsp Rice Vinegar until the honey fully dissolves. I find that using a fork works better than a spoon for breaking up the honey’s thickness.
This trio forms the flavor foundation—savory from the soy, sweet from the honey, and bright from the vinegar. The honey might settle at the bottom at first, so give it a good stir to incorporate completely.
Step 2: Add Aromatics and Heat
Pour the mixture into a small saucepan and add the 2 tbsp Minced Garlic, 1 tbsp Fresh Ginger, 1 tbsp Sesame Oil, and 0.5 tsp Red Pepper Flakes. Place over medium heat and bring to a gentle simmer.
You’ll notice the aromatics sizzle and release their fragrance almost immediately. Let it cook for 2-3 minutes until the garlic turns slightly golden at the edges—this mellows its sharpness while keeping it from burning.
Step 3: Create and Add the Slurry
In a separate small bowl, mix the 1 tbsp Cornstarch with the 2 tbsp Water until completely smooth. There shouldn’t be any lumps or dry spots in the mixture.
Slowly pour this slurry into the simmering sauce while whisking constantly. The sauce will thicken almost immediately—you’ll see it transform from thin and liquid to glossy and coatable within 30-60 seconds.
Step 4: Finish and Cool Slightly
Once the sauce has thickened enough to coat the back of a spoon, remove it from the heat. It will continue to thicken slightly as it cools, so don’t over-reduce it on the stove.
Let it sit for 2-3 minutes before using. This brief rest allows the flavors to meld together and the sauce to reach its final consistency. Taste and adjust seasoning if needed, though the balance should be perfect as is.
Pro Tips For Making Chicken Stir Fry Sauce Recipe Easy Soy Sauce
- Bloom the Aromatics: Cook the minced garlic and fresh ginger in a bit of oil for 30 seconds before adding liquids—this wakes up their flavor and prevents a raw, sharp bite.
- Balance the Sweetness: Taste as you go and adjust the honey to soy sauce ratio; I learned this the hard way after one batch tasted like candy instead of sauce.
- Simmer Briefly: Once combined, let the sauce bubble for 2-3 minutes max to thicken slightly without reducing it to a sticky glaze.
- Use Fresh Ginger: Skip the powdered stuff; freshly grated ginger adds a bright, zesty kick that dried versions just can’t match.
Pro Cooking Tips for Perfect Results
Sauce Consistency Control
For that perfect glossy texture, whisk the cornstarch slurry until completely smooth before adding. I use a small wire whisk for this—it breaks up any lumps better than a fork. The sauce should coat the back of a spoon but still be pourable. 💡
Heat Management
Keep the heat at medium when simmering the sauce. Too high and the soy sauce will reduce too quickly, making the sauce overly salty. I use a heavy-bottomed saucepan to prevent hot spots.
Garlic Perfection
Cook the garlic just until it turns light golden at the edges—about 2-3 minutes. This mellows its bite without burning. Burnt garlic adds a bitter note that’s hard to fix, so watch closely.
Flavor Development
Let the sauce rest for 2-3 minutes after cooking. This allows the aromatics to infuse fully. I notice the ginger and garlic flavors deepen significantly during this time.
Storage tip
The sauce thickens as it cools. If it becomes too thick after refrigeration, stir in 1-2 tsp warm water to restore the perfect consistency. This works every time for me. ❄️
Equipment Matters
Use a small saucepan, about 1-2 quarts, for best results. A larger pan causes the sauce to spread too thin and evaporate too quickly. My go-to is a All-Clad stainless steel saucepan.
Nutrition Facts
Frequently Asked Questions
Can I use a soy sauce substitute?
Yes, tamari works as a gluten-free alternative. Coconut aminos offer a milder, slightly sweeter flavor. Both maintain the umami base but may alter the saltiness slightly.
How do I fix a sauce that’s too salty?
Balance it by adding 1 tsp honey or 1 tbsp water at a time. A splash of rice vinegar can also help counteract the saltiness without diluting flavor.
Can I make this sauce ahead of time?
It keeps in an airtight container for up to 7 days in the fridge. The flavors actually deepen after 24 hours of resting.
Why did my sauce turn out lumpy?
This happens when the cornstarch isn’t fully dissolved before adding. Always whisk the slurry until perfectly smooth. If lumps form, strain the sauce through a fine mesh sieve.

- Jollof Rice Sauce Recipe: West African Tomato and Spice Infusion - September 25, 2026
- Japanese Rice Soup Recipe: Umami-Rich Comfort in a Bowl - September 25, 2026
- Homemade Cream Of Rice Recipe: Silk-Smooth Breakfast in Minutes - September 25, 2026