
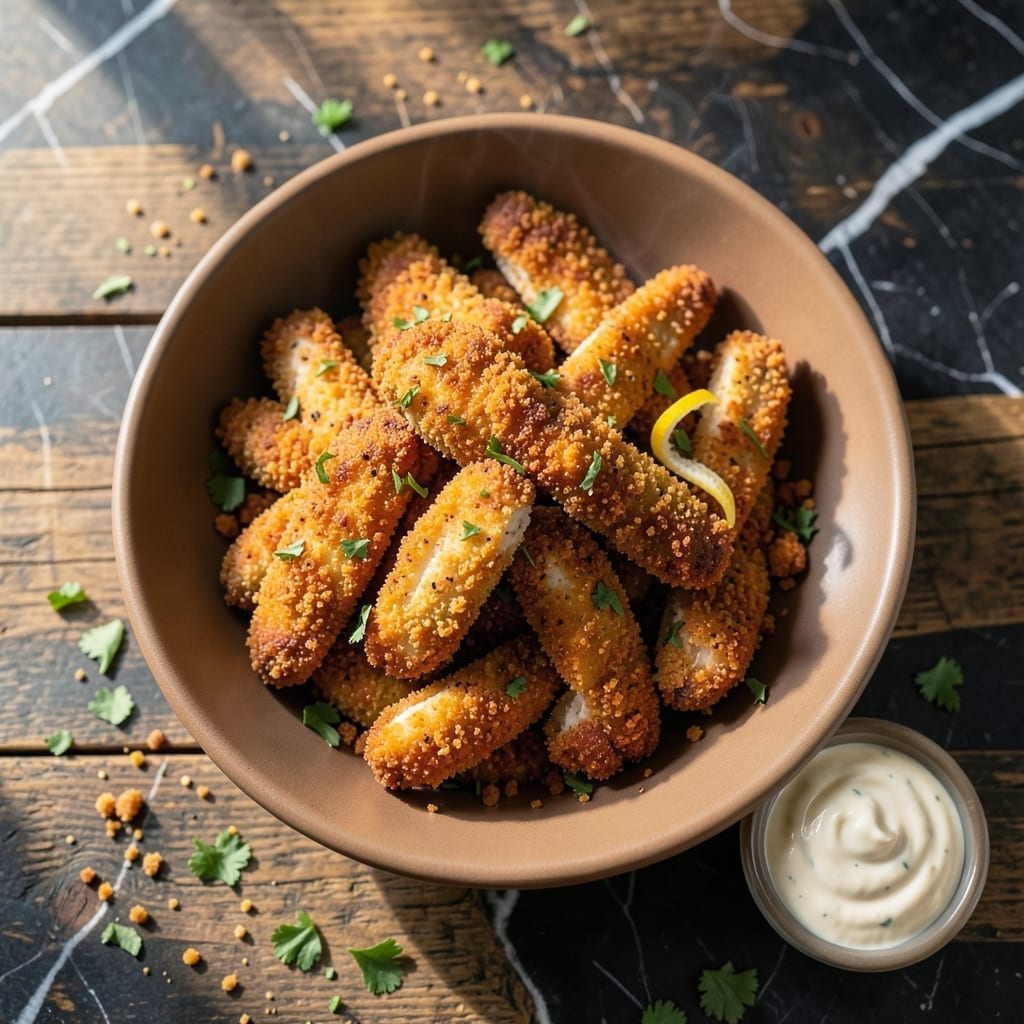
This copycat recipe delivers the exact crispy texture and zesty flavor you love from Chili’s chicken crispers. The secret lies in a buttermilk marinade and double-coating method that ensures every bite stays crunchy.
I’ve perfected the process to replicate that signature restaurant quality at home. The marinade tenderizes the chicken while the seasoned flour and breadcrumb coating creates an irresistible golden crust.
Serve these with homemade ranch dressing for the full Chili’s experience. The combination of tender chicken and shatteringly crisp coating makes them impossible to resist.
Ready to recreate this restaurant favorite in your own kitchen? Here’s how to make it happen.
Ingredients for Chili’s Original Chicken Crispers
Buttermilk, panko, and spices create that signature crispy magic. Nothing complicated, just restaurant-quality flavor.
| Ingredient | Amount | Notes |
|---|---|---|
| Boneless, Skinless Chicken Breasts 🍗 | 1 ½ lb | Cut into 1-inch strips |
| Buttermilk 🥛 | 2 cups | Full-fat for tenderness |
| All-Purpose Flour 🌾 | 1 ½ cups | For first coating layer |
| Large Eggs 🥚 | 2 whole | Beaten for binding |
| Panko Breadcrumbs 🍞 | 2 cups | For crispy texture |
| Seasoned Breading Mix 🌿 | 1 cup | Chili's-style seasoning |
| Paprika 🌶️ | 1 tbsp | Sweet or smoked variety |
| Garlic Powder 🧄 | 1 tsp | For savory depth |
| Onion Powder 🧅 | 1 tsp | Complements garlic flavor |
| Salt 🧂 | 1 tsp | Kosher or sea salt |
| Black Pepper 🌶️ | ½ tsp | Freshly ground preferred |
| Cayenne Pepper 🔥 | ¼ tsp | Adjust for spice preference |
| Vegetable Oil 🫒 | 4 cups | For deep frying chicken |
| Mayonnaise 🥫 | ½ cup | For zesty ranch dressing |
| Sour Cream 🥛 | ½ cup | Full-fat for creaminess |
The chicken is the foundation here. Boneless, skinless breasts work best—thighs can get too greasy. I grab mine from Costco for bulk savings, but any supermarket will do. The buttermilk marinade is non-negotiable for that tender bite. Full-fat buttermilk (like from Kroger) gives the best results. For the panko, Kikkoman is my go-to brand—consistently crispy and widely available.
No buttermilk? Whole milk plus 1 tbsp vinegar per cup works in a pinch. Swap the panko for regular breadcrumbs if needed, but the texture won’t be as shatteringly crisp. The seasoning mix can be homemade—just blend paprika, garlic powder, onion powder, salt, and a pinch of cayenne. Lawry’s Seasoned Salt adds a nice touch too. For frying, peanut oil is ideal, but vegetable or canola oil are solid substitutes.
Marinate the chicken for at least 4 hours (overnight is best). Fried crispers keep warm in a 200°F oven for 30 minutes if you’re batch cooking. Leftovers? They’re best fresh but reheat in a 350°F oven for 10-12 minutes to revive the crunch.
Why You’ll Love This Recipe
- One Pan Magic: I love that I only need a bowl, a pan, and 20 minutes to get these crispy. No fancy equipment, just simple dredging and frying.
- That Buttermilk Crunch: The buttermilk soak makes the chicken so juicy, while the panko gives it that restaurant-style crunch I crave.
- Crowd Pleaser: Honestly, these disappear faster than I can make them—whether it’s game night or a casual dinner with friends.
- Budget Friendly: Between us, chicken breasts and panko stretch further than you’d think, making this a wallet-friendly meal.
Step-by-Step Instructions for Chili’s-Style Chicken Crispers
This method delivers that signature crunch and juicy interior you love from the restaurant.
Step 1: Marinate the Chicken in Buttermilk
Cut the 1.5 lb Boneless, Skinless Chicken Breasts into 1-inch strips and place them in a large bowl. Pour over the 2 cups Buttermilk and gently stir to ensure all pieces are coated. The buttermilk tenderizes the meat while adding a subtle tang that balances the richness.
Cover the bowl and refrigerate for at least 2 hours, though I prefer overnight for maximum flavor penetration. You’ll notice the chicken plumps slightly as it absorbs the liquid—this is the buttermilk working its magic to guarantee juiciness even after frying.
Step 2: Prepare the Breading Stations
Set up three shallow dishes in a row. In the first, combine the 1.5 cups All-Purpose Flour with 1 tbsp Paprika, 1 tsp Garlic Powder, 1 tsp Onion Powder, 1 tsp Salt, 0.5 tsp Black Pepper, and 0.25 tsp Cayenne Pepper. Whisk thoroughly to distribute the spices evenly.
In the second dish, beat the 2 whole Large Eggs until smooth. In the third, mix the 2 cups Panko Breadcrumbs with the 1 cup Seasoned Breading Mix. This dual-crumb layer creates that signature extra-crispy coating that sets these crispers apart from regular fried chicken.
Step 3: Dredge and Coat the Chicken
Working with one piece at a time, remove chicken from the buttermilk, letting excess drip off. Dredge it in the flour mixture, pressing gently to adhere. Shake off any excess—you want a thin, even coating, not a thick paste.
Next, dip it in the beaten eggs, allowing any excess to drip back into the dish. Finally, press it firmly into the panko-breading mix, turning to coat completely. The panko’s coarse texture creates those craggy bits that get super crispy. Place the coated pieces on a wire rack to rest for 10 minutes while you finish the batch.
Step 4: Fry to Golden Perfection
Heat the 4 cups Vegetable Oil in a deep, heavy pot to 350°F. Use a thermometer for accuracy—oil that’s too cool makes greasy chicken, while too hot burns the outside before the inside cooks. Carefully lower 3-4 pieces at a time into the oil to avoid overcrowding.
Fry for 4-5 minutes per side until the coating is deep golden brown and the internal temperature reaches 165°F. You’ll hear the sizzle turn from aggressive to steady as the chicken cooks through. Drain on a wire rack or paper towels to maintain crispness.
Step 5: Make the Zesty Ranch for Dipping
While the chicken cooks, whisk together the 0.5 cup Mayonnaise and 0.5 cup Sour Cream in a small bowl until smooth. The full-fat versions create that rich, creamy texture that clings perfectly to the crispy chicken.
Taste and adjust seasoning if needed, though the breading mix’s spices carry through beautifully. Serve the crispers immediately while hot and crispy, with the zesty ranch on the side for dipping.
Pro Tips For Making Chili’S Original Chicken Crispers
- Pound the Chicken: Use a meat mallet to flatten the chicken breasts to an even 1/2-inch thickness—this guarantees even cooking and prevents dry, overdone edges while the center catches up.
- Double Dredge: After the buttermilk soak, coat the chicken in flour, dip in beaten egg, then press into panko for maximum crunch; I learned this the hard way when my first batch had bald spots.
- Rest Before Frying: Let the breaded chicken rest for 10 minutes before frying so the coating sets—skipping this means breading sliding off into the oil.
- Hot Oil Test: Drop a pinch of panko into the oil first; if it sizzles immediately, it’s ready—after burning three batches, I finally figured out this simple check.
Creative Variations of These Flavors
Spicy Kick
Add ½ tsp cayenne pepper to your seasoned flour mix for heat lovers. I also stir 1 tbsp hot sauce into the buttermilk marinade. The spice builds gradually without overwhelming the crispy texture. 🌶️
Air Fryer Method
Spray coated crispers lightly with oil and air fry at 375°F for 12-14 minutes, flipping halfway. You won’t get the same deep-fry crunch, but it’s a great lighter option. I use my Ninja Foodi for this.
Baked Alternative
Arrange on a wire rack over a baking sheet and bake at 400°F for 20-25 minutes. Brush with oil halfway through for extra crispiness. This method works well when feeding a crowd.
Gluten-Free Version
Replace all-purpose flour with 1:1 gluten-free flour and use gluten-free panko. I recommend King Arthur’s brand for best results. The texture is nearly identical to the original.
Extra Crunchy
Add ½ cup crushed cornflakes to your panko mixture for even more crunch. Press firmly when coating to ensure the extra layer adheres. This was my kids’ favorite variation last summer. 💛
Honey Mustard Twist
Swap the ranch for a honey mustard dipping sauce. Mix ¼ cup mayonnaise, 2 tbsp yellow mustard, and 2 tbsp honey. The sweet-tangy combo pairs perfectly with the savory chicken.
Nutrition Facts
Frequently Asked Questions
What’s the best oil for frying these?
Use vegetable or peanut oil for the best results. They have a high smoke point and neutral flavor. Avoid olive oil—it can impart a strong taste and burn at frying temps.
Can I use chicken tenders instead of breasts?
Chicken tenders are actually ideal since they’re already uniform in size. Just reduce the marinating time to 1-2 hours since they’re thinner and absorb flavors faster.
How do I keep them crispy after frying?
Drain on a wire rack, not paper towels, to prevent steam from making them soggy. Keep warm in a 200°F oven for up to 30 minutes while finishing batches.

- Jollof Rice Sauce Recipe: West African Tomato and Spice Infusion - September 25, 2026
- Japanese Rice Soup Recipe: Umami-Rich Comfort in a Bowl - September 25, 2026
- Homemade Cream Of Rice Recipe: Silk-Smooth Breakfast in Minutes - September 25, 2026