
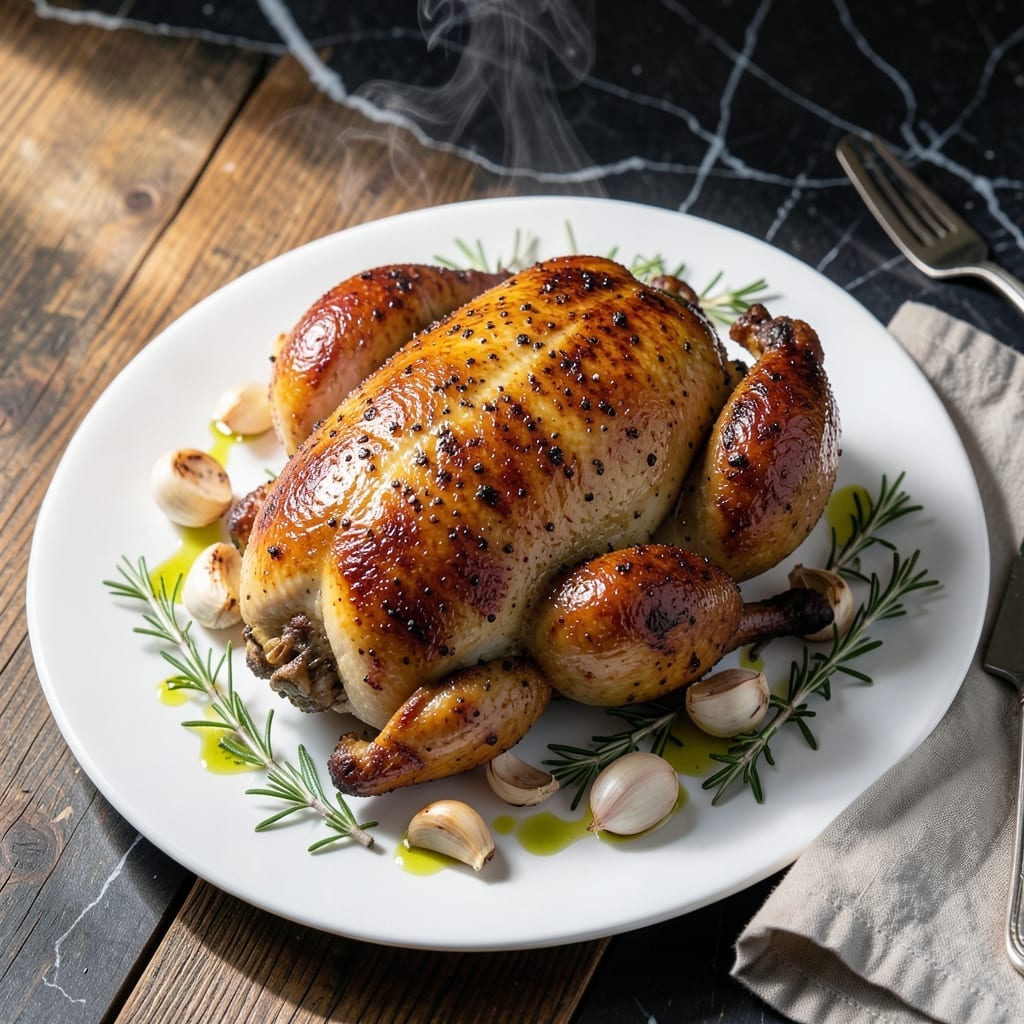
This method guarantees moist chicken that falls off the bone while staying perfectly tender. I developed this technique after years of experimenting with different cooking methods in my professional kitchen.
The steam roast process locks in natural juices, creating meat that’s never dry. By starting with steam and finishing with a roast, you achieve a golden skin and succulent interior without extra fat.
What you get is chicken with a subtle depth of flavor and a texture that’s impossible to achieve with traditional roasting alone. The meat stays juicy from edge to edge, with skin that’s crisp yet delicate.
Perfect for family dinners or special occasions, this approach transforms an ordinary bird into something extraordinary. The results speak for themselves every time.
Ingredients for Chicken Steam Roast
Simple ingredients transform into extraordinary chicken with this method every time.
| Ingredient | Amount | Notes |
|---|---|---|
| Whole Chicken 🍗 | 1 whole | 3-4 lb, giblets removed |
| Kosher Salt 🧂 | 1 tbsp | Diamond Crystal preferred |
| Black Pepper 🌶️ | 1 tsp | Freshly ground preferred |
| Garlic Cloves 🧄 | 6 cloves | Smashed, unpeeled |
| Fresh Thyme Sprigs 🌿 | 4 pieces | Plus 1 tbsp chopped |
| Fresh Rosemary Sprigs 🌿 | 2 pieces | Plus 1 tbsp chopped |
| Lemon 🍋 | 1 whole | Sliced in half |
| Onion 🧅 | 1 whole | Quartered, skin on |
| Carrots 🥕 | 2 whole | Peeled, cut into chunks |
| Celery Stalks 🌿 | 2 pieces | Cut into chunks |
| Chicken Stock 💧 | 1 cup | Low-sodium preferred |
| Olive Oil 🫒 | 1 tbsp | For finishing skin |
| Unsalted Butter 🧈 | 2 tbsp | Melted, for basting |
The chicken itself is the star—look for a plump 3-4 lb bird with unbroken skin. I always grab organic or air-chilled from Whole Foods when I can, but a standard bird from your usual market works perfectly fine. The key is even size so it cooks uniformly. Don’t skip the giblet removal (that little bag inside the cavity), or you’ll get bitter notes in your steam.
No fresh herbs? Dried work at one-third the amount—just add them directly to the cavity. Short on stock? Water plus a bouillon cube gets you close. The lemon can be omitted, but it adds brightness to the meat. For extra flavor, toss in a few bay leaves or fennel fronds if you’ve got them lying around.
Leftovers keep beautifully—carve and store in airtight containers for up to 4 days. The meat actually gets more flavorful overnight. Freezes well too for 3 months. Use the bones for stock if you’re feeling thrifty (worth the extra minute).
Why You’ll Love This Recipe
- I’ll be real: this whole chicken stretches for dinner, then sandwiches the next day.
- One Pan Magic: Honestly, I just toss everything in one pan—chicken, garlic, thyme—and let the oven do the work.
- Juicy Perfection: The steam keeps it so moist, and that garlic-thyme combo? Ridiculously good every time.
- Feeds the Crew: I’ll be real: this whole chicken stretches for dinner, then sandwiches the next day.
Step-by-Step Instructions for Chicken Steam Roast
This method locks in moisture while building layers of flavor you’ll taste in every bite.
Step 1: Season and Prepare the Chicken
Pat the whole chicken completely dry inside and out with paper towels. This ensures the skin will crisp properly. Season the cavity and exterior generously with the 1 tbsp Kosher Salt and 1 tsp Black Pepper, making sure to get some under the skin of the breast for maximum flavor penetration.
Stuff the cavity with the 6 cloves garlic cloves, 4 pieces fresh thyme sprigs, 2 pieces fresh rosemary sprigs, and both halves of the 1 whole lemon. These aromatics will infuse the meat with fragrance as it cooks.
Step 2: Create the Aromatic Bed
Scatter the 1 whole onion (quartered with skin on), 2 whole carrots (peeled and chunked), and 2 pieces celery stalks (chunked) in the bottom of your roasting pan. This creates a natural rack that elevates the chicken, allowing steam to circulate while adding depth to your pan juices.
Pour the 1 cup chicken stock into the pan—it should come about halfway up the vegetables but not touch the chicken. This liquid will generate the steam that keeps the meat moist throughout the cooking process.
Step 3: Roast with Steam
Place the chicken breast-side up on the vegetable bed. Brush the skin with the 1 tbsp olive oil for a golden finish. Roast in a preheated 425°F oven for 30 minutes to start the browning process.
After 30 minutes, reduce the heat to 375°F and baste the chicken with the 2 tbsp unsalted butter (melted). Continue roasting for another 45-60 minutes, basting every 15 minutes, until the internal temperature reaches 165°F in the thickest part of the thigh.
Step 4: Rest and Serve
Transfer the chicken to a cutting board and let it rest for 15-20 minutes. This crucial step allows the juices to redistribute, ensuring every slice stays moist. Tent loosely with foil to keep it warm.
Serve the chicken with the pan vegetables and juices spooned over the top. The meat should be tender and juicy, with skin that’s crispy from the initial high-heat roast and infused with the bright flavors of garlic, herbs, and lemon from the steam.
Pro Tips For Making Chicken Steam Roast
- Dry the Chicken: Pat the whole chicken completely dry with paper towels before seasoning—this guarantees crispier skin when it finishes in the oven.
- Salt Under the Skin: Gently loosen the skin and rub kosher salt, crushed garlic, and thyme directly onto the meat; it seasons deeper and keeps the breast juicy.
- Skip the Overcrowding: Use a roasting rack so the chicken sits above the liquid in the pan, otherwise it steams instead of roasts and the skin turns soggy.
- Rest Before Carving: Let the chicken rest 10–15 minutes after roasting so the juices redistribute—cutting too soon means dry meat, and nobody wants that.
Common Mistakes When Making This Dish
Skipping the Drying Step
Never skip patting the chicken completely dry before seasoning. Wet skin steams instead of crisps, leaving you with a pale, rubbery exterior. I learned this the hard way early in my career. 💡
Overcrowding the Pan
Don’t cram the pan with too many vegetables or the chicken won’t sit properly above the liquid. The 1 cup chicken stock needs space to create steam, and the bird needs room for air circulation to develop that golden skin.
Under Seasoning
Be bold with your seasoning—1 tbsp Kosher Salt is the minimum for a 3-4 lb bird. The salt penetrates deeply during the long cook, but if you’re shy with it, you’ll end up with bland meat. Trust the process.
Skipping the Baste
Basting every 15 minutes with 2 tbsp unsalted butter isn’t optional. It builds layers of flavor and helps the skin brown evenly. I use a silicone brush for this—it’s heat-resistant and easy to clean.
Ignoring Internal Temp
Don’t rely on cooking time alone. The only way to guarantee perfectly cooked chicken is to check the internal temperature in the thickest part of the thigh—it must reach 165°F. I keep a ThermoWorks thermometer in my apron pocket for this exact reason.
Pull it at 160°F and let it rest—it’ll coast to 165°F while carrying over. 🌡️
Nutrition Facts
Frequently Asked Questions
What size chicken works best?
A 3-4 lb bird is ideal for even cooking. Smaller chickens may dry out, while larger ones need adjusted timing. Always check the internal temperature reaches 165°F.
Can I use a different liquid besides stock?
Yes! White wine, apple cider, or even water with bouillon works. Each adds unique flavor notes. Avoid acidic liquids like vinegar which can toughen the meat.
How do I prevent soggy skin?
Pat the chicken completely dry before seasoning and start at 425°F for 30 minutes. Basting with 2 tbsp butter every 15 minutes builds crispiness.
What can I use if I don’t have fresh herbs?
Dried herbs work at one-third the amount. Add them directly to the cavity. You can also use herb-infused butter for basting to boost flavor.

- Jollof Rice Sauce Recipe: West African Tomato and Spice Infusion - September 25, 2026
- Japanese Rice Soup Recipe: Umami-Rich Comfort in a Bowl - September 25, 2026
- Homemade Cream Of Rice Recipe: Silk-Smooth Breakfast in Minutes - September 25, 2026