
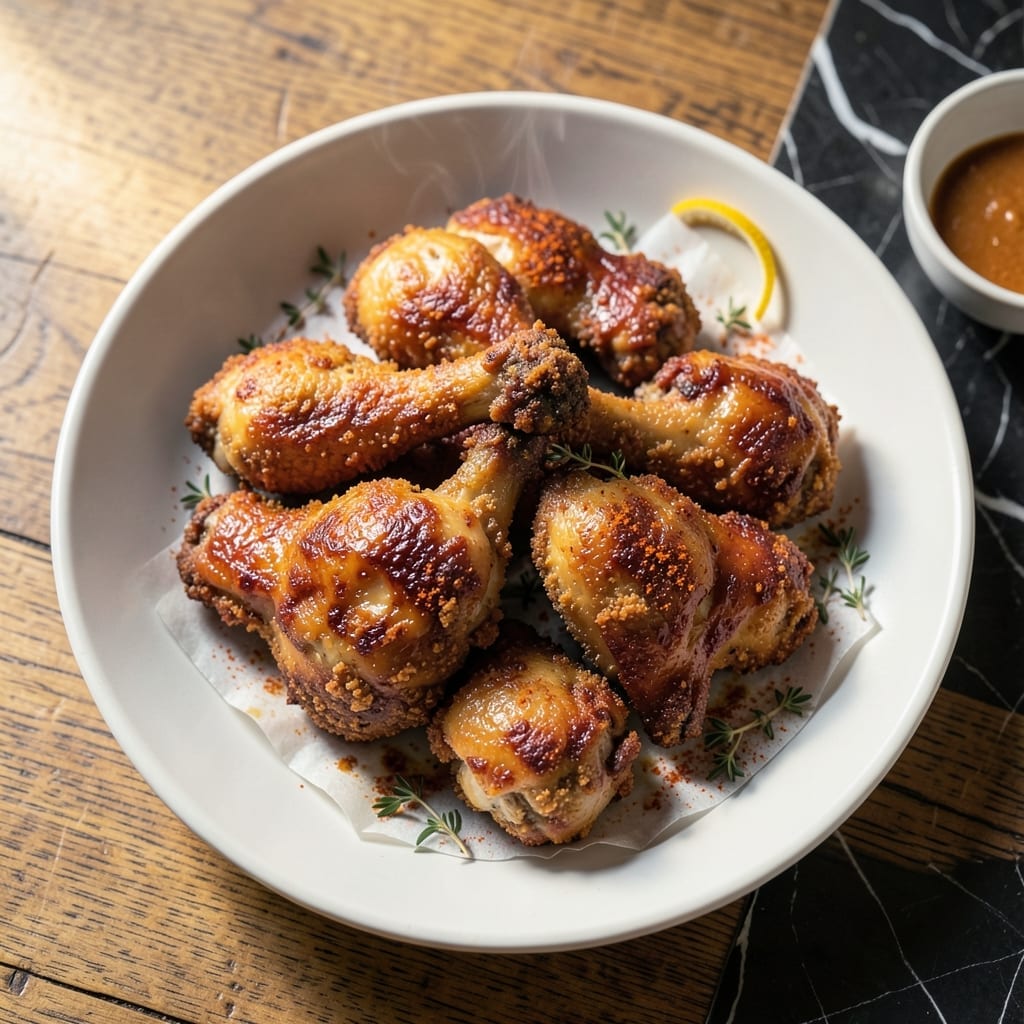
Achieving golden crisp chicken at home requires one essential technique: buttermilk marination. This method tenderizes while creating the perfect base for a crispy coating that holds up to frying or baking.
The key is allowing the buttermilk to work its magic for at least 4 hours. This creates a juicy interior that contrasts beautifully with the shatteringly crispy exterior. The coating adheres better to the marinated surface, ensuring every bite delivers that satisfying crunch.
Whether you choose to deep-fry, pan-fry, or bake, the result is consistently impressive. The buttermilk creates a reaction with the flour coating that produces an extra-crispy texture without drying out the meat.
This method delivers restaurant-quality results with simple ingredients and proven techniques. The crispiness speaks for itself with the first bite.
Ingredients for Crisp Chicken
Buttermilk, flour, and spices transform chicken into golden, crisp perfection with every bite.
| Ingredient | Amount | Notes |
|---|---|---|
| Chicken Thighs 🍗 | 2 lb | Boneless, skinless, patted dry |
| Buttermilk 🥛 | 2 cups | Full-fat for best tenderness |
| All-Purpose Flour 🌾 | 2 cups | Divided for dredging and coating |
| Cornstarch 🌽 | ½ cup | For extra crispiness |
| Baking Powder 🧂 | 1 tbsp | Helps coating puff and crisp |
| Paprika 🌶️ | 2 tsp | Sweet or smoked variety |
| Garlic Powder 🧄 | 1 ½ tsp | Fresh ground preferred |
| Onion Powder 🧅 | 1 ½ tsp | Enhances savory depth |
| Salt 🧂 | 1 ½ tsp | Diamond Crystal kosher preferred |
| Black Pepper 🌶️ | 1 tsp | Freshly ground for best flavor |
| Cayenne Pepper 🔥 | ½ tsp | Adjust for heat preference |
| Vegetable Oil 🫒 | 4 cups | For deep-frying, high smoke point |
| Large Eggs 🥚 | 2 whole | For egg wash binding |
The chicken thighs are non-negotiable here—bone-in, skin-on works too but boneless ensures even cooking and maximum crisp surface area. Buttermilk from a local dairy or Whole Foods (full-fat, never low-fat) provides the lactic acid needed for tenderization. For the flour, King Arthur or Gold Medal all-purpose yields the most reliable, consistent coating. Cornstarch is critical—Argo or Clabber Girl brands are widely available.
No buttermilk? Mix 2 cups milk with 2 tbsp lemon juice and let sit 5 minutes. Swap cornstarch for arrowroot powder at equal ratio. For a gluten-free version, rice flour or almond flour works but may require additional egg wash for adhesion. The spices can be adjusted—smoked paprika adds depth, while cayenne can be omitted for milder heat. Vegetable oil can be substituted with peanut oil for a neutral flavor.
Marinate the chicken in buttermilk for up to 24 hours for maximum tenderness. Coated chicken can rest in the fridge for 1 hour before frying. Leftovers keep in the fridge for 3-4 days—reheat in the oven at 375°F for 10-12 minutes to restore crispiness. Do not freeze cooked chicken, as it loses texture.
Why You’ll Love This Recipe
- No-Fuss Coating: I just dip the thighs in buttermilk, then the flour mix—no fancy steps, and the cornstarch gives it that extra crunch.
- That Buttermilk Magic: Honestly, the tangy buttermilk makes the chicken so juicy inside while the baking powder in the coating puffs it up just right.
- Crowd-Pleasing Dinner: Between us, this is my go-to for picky eaters—crispy outside, tender inside, and everyone clears their plate.
- Budget-Friendly Feast: Chicken thighs stay cheap, and one batch feeds my family of four with leftovers for lunch the next day.
Step-by-Step Instructions for Buttermilk Marinated Crisp Chicken
Master this technique for golden, crunchy perfection that stays juicy inside every time.
Step 1: Marinate the Chicken in Buttermilk
Place the 2 lb Chicken Thighs in a large bowl and pour over the 2 cups Buttermilk. Ensure each piece is fully submerged. The buttermilk’s acidity breaks down proteins, guaranteeing tender meat even after frying.
Cover and refrigerate for at least 4 hours, or ideally overnight. I’ve found the longer it marinates, the more flavorful and juicy the final product. This also helps the coating adhere better. Don’t skip this step—it’s the secret to moist chicken beneath that crisp shell.
Step 2: Prepare the Crisp Coating
In a large bowl, whisk together 2 cups All-Purpose Flour, 0.5 cup Cornstarch, 1 tbsp Baking Powder, 2 tsp Paprika, 1.5 tsp Garlic Powder, 1.5 tsp Onion Powder, 1.5 tsp Salt, 1 tsp Black Pepper, and 0.5 tsp Cayenne Pepper.
The cornstarch and baking powder are crucial for that extra crunch. The baking powder creates tiny air pockets that crisp up beautifully when fried. Set aside ¼ cup of this mixture for later use in the egg wash.
Step 3: Create the Egg Wash and Coat the Chicken
In a separate bowl, beat the 2 whole Large Eggs with the reserved ¼ cup of flour mixture. This creates a thick, glue-like wash that helps the coating cling tenaciously to the chicken during frying.
Remove each piece of chicken from the buttermilk (let excess drip off), dip it in the egg wash, then coat thoroughly in the remaining flour mixture. Press gently to ensure full coverage. Place on a wire rack to rest for 10 minutes—this allows the coating to set.
Step 4: Deep-Fry to Golden Perfection
Heat the 4 cups Vegetable Oil in a deep, heavy-bottomed pot to 350°F. Use a thermometer for accuracy—oil temperature is critical. Too cool, and the chicken absorbs oil and becomes greasy; too hot, and the outside burns before the inside cooks.
Fry the chicken in batches to avoid crowding, which lowers the oil temperature. Cook for 12-15 minutes, turning occasionally, until the coating is deep golden brown and the internal temperature reaches 165°F. The coating should be crisp and audibly crunchy when tapped.
Step 5: Drain and Serve Immediately
Transfer fried chicken to a wire rack set over a baking sheet or paper towels to drain. This prevents the bottom from becoming soggy. Season lightly with additional salt while still hot—the warmth helps it adhere better.
Serve immediately while the coating is at its crispiest. The contrast between the shatteringly crisp exterior and the juicy, buttermilk-tender interior is what makes this dish exceptional. This method ensures every piece maintains its crunch even after plating.
Pro Tips For Making Crisp Chicken
- Double-Dredge Thighs: Dip the buttermilk-soaked thighs in flour once, let rest 2 minutes, then dredge again—this builds a shatteringly crisp shell that actually stays put.
- Heat the Oil First: I learned this the hard way—get that oil to 350°F before the chicken goes in, or you’ll end up with greasy, sad crust instead of golden.
- Skip the Skin Trimming: Sounds weird, but it works: leave the skin on the thighs for extra fat and crunch—just score it lightly so the buttermilk can penetrate.
- Rest on a Rack: After frying, let the chicken drain on a wire rack, not paper towels, so the bottom stays crisp instead of turning soggy.
Common Mistakes When Making Great crisp chicken
Skipping the Marinade
Buttermilk marination is non-negotiable for tender, juicy chicken. Skipping it results in dry meat and a coating that doesn’t adhere well. I always marinate for at least 4 hours—overnight is even better for maximum tenderness. 💡
Incorrect Oil Temperature
Oil that’s too cool (below 325°F) makes chicken greasy as it absorbs oil. Too hot (above 375°F) burns the coating before the inside cooks. Use a thermometer—I recommend ThermoWorks for accuracy.
Overcrowding the Fryer
Frying too many pieces at once lowers oil temperature, leading to uneven cooking. Fry in batches with space between pieces. I typically do 3-4 pieces at a time in my 5-quart Dutch oven.
Skipping the Rest
Let coated chicken rest for 10 minutes before frying. This allows the coating to set, preventing it from falling off during cooking. I place mine on a wire rack for even air circulation.
Improper Draining
Draining on paper towels can make the bottom soggy. Use a wire rack set over a baking sheet instead. This maintains crispiness on all sides while allowing excess oil to drip away.
Serving Too Late
This dish is best served immediately while hot and crispy. Waiting even 5-10 minutes causes the coating to lose its crunch. I always plate and serve right from the fryer.
Nutrition Facts
Frequently Asked Questions
Can I use chicken breasts instead?
Yes, but thighs stay juicier. If using breasts, reduce cooking time to 10-12 minutes and pound to even thickness. The buttermilk marinade helps prevent dryness.
Why add baking powder to the coating?
Baking powder creates tiny air pockets that crisp up during frying. This gives the coating extra crunch without changing the flavor. It’s a game-changer for texture!
How do I keep it crispy for longer?
Drain on a wire rack, not paper towels. To reheat, use an oven at 375°F for 10-12 minutes. Microwaves will make it soggy.
Can I bake instead of fry?
Yes! Bake at 400°F for 25-30 minutes on a wire rack. Spray with oil first for extra crispiness. Turn halfway through for even browning.

- Jollof Rice Sauce Recipe: West African Tomato and Spice Infusion - September 25, 2026
- Japanese Rice Soup Recipe: Umami-Rich Comfort in a Bowl - September 25, 2026
- Homemade Cream Of Rice Recipe: Silk-Smooth Breakfast in Minutes - September 25, 2026