
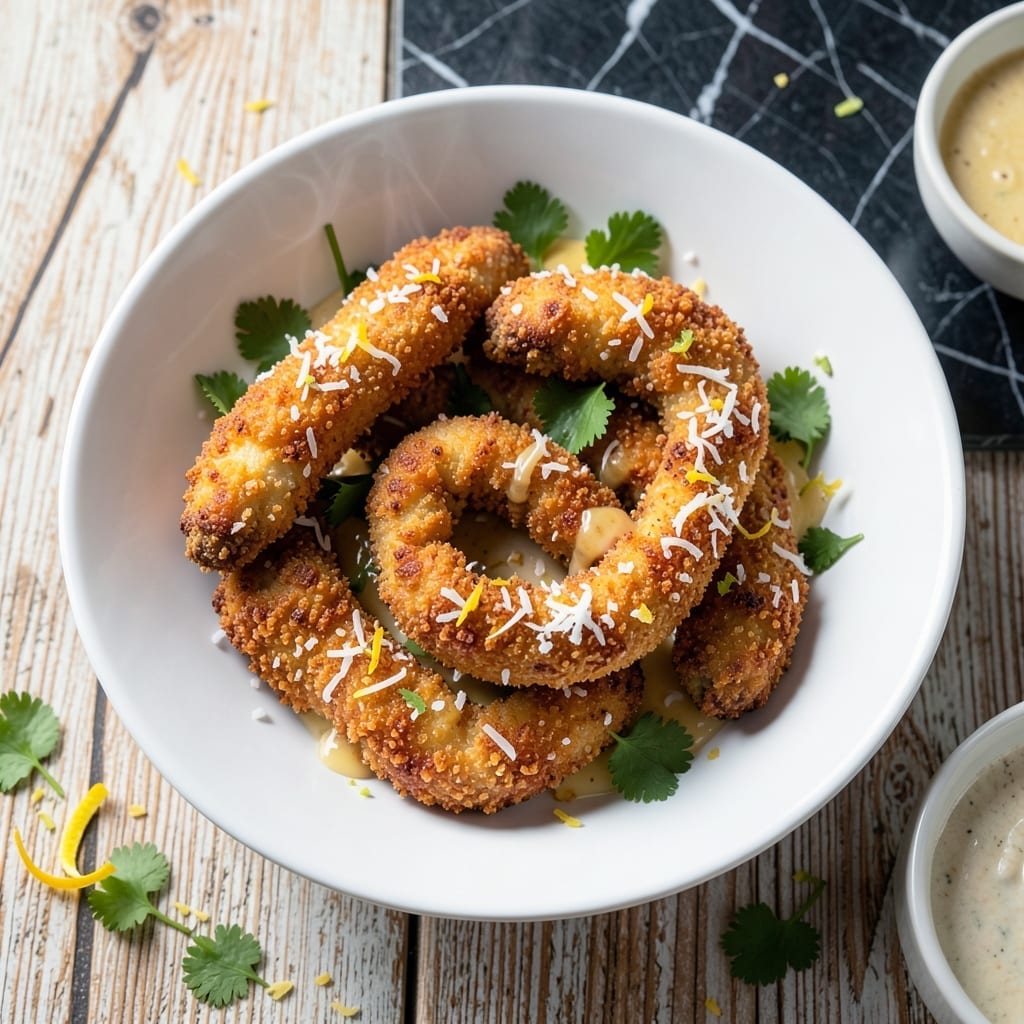
This coconut chicken delivers crispy perfection with every bite, transforming simple ingredients into a tropical-inspired main course. The secret lies in the double-coating technique that ensures a golden, crunchy exterior.
I developed this method after countless attempts to achieve that ideal texture. The shredded coconut creates a naturally sweet, nutty crust that stays crispy even after baking. Each piece emerges from the oven with a beautiful golden hue.
What sets this dish apart is the balance of textures—tender chicken inside, shatteringly crispy coconut outside. The coconut flakes toast to a perfect crunch while the chicken remains juicy and flavorful.
Serve with sweet chili sauce or mango salsa for dipping. This recipe guarantees a satisfying crunch in every mouthful.
Ingredients for Crispy Coconut Chicken
Transform everyday chicken into a tropical showstopper with these pantry-friendly ingredients and a clever double-coat technique.
| Ingredient | Amount | Notes |
|---|---|---|
| Boneless Skinless Chicken Breasts 🍗 | 1 ½ lb | Cut into strips or bite-sized pieces |
| Shredded Coconut 🥥 | 2 cups | Sweetened or unsweetened, flaked variety |
| All-Purpose Flour 🌾 | 1 cup | For initial dredging layer |
| Large Eggs 🥚 | 2 whole | Beaten for binding coating |
| Panko Breadcrumbs 🍞 | 1 cup | For extra crispy texture |
| Cornstarch 🌾 | 2 tbsp | Mixed with flour for crunch |
| Salt 🧂 | 1 tsp | Divided for seasoning layers |
| Black Pepper 🌶️ | ½ tsp | Freshly ground preferred |
| Garlic Powder 🧄 | 1 tsp | For savory depth in coating |
| Onion Powder 🧅 | 1 tsp | Complements tropical flavors |
| Sweet Chili Sauce 🍯 | ½ cup | For dipping or drizzling |
| Vegetable Oil 🫒 | ½ cup | High smoke point for frying |
The coconut is non-negotiable for that signature crunch. Unsweetened shredded coconut (like Bob’s Red Mill) lets the chicken flavor shine, while sweetened adds a caramelized edge. For the panko, Kikkoman is the gold standard—larger flakes mean more crunch. Buy it in the Asian aisle or at H Mart for bulk savings. The chicken should be uniform in size for even cooking; trim any thick pieces.
No shredded coconut? Quick oats or crushed cornflakes (at one-to-one ratio) work in a pinch, though the flavor shifts. Swap panko for regular breadcrumbs, but expect less crunch. For dairy-free versions, aquafaba replaces eggs beautifully—3 tbsp per egg. The sweet chili sauce can be homemade (chili paste, vinegar, sugar, garlic) or store-bought—Maesri is a top pick.
Prep the chicken and coatings just before frying to avoid sogginess. Leftovers? Re-crisp in a 400°F oven for 5-7 minutes. Stores in fridge for 3-4 days—best eaten fresh but still tasty reheated. Freezing isn’t ideal; the coating loses its shatter.
Why You’ll Love This Recipe
- One Bowl Wonder: I just dump flour, egg, and coconut in one bowl—no fancy prep, no mess to stress over.
- Crunch in Every Bite: That panko and coconut coating stays crispy outside while the chicken stays juicy inside. Honestly, it’s the texture that hooks me.
- Weeknight MVP: I’ve served this for quick dinners, packed it for lunches, and even made it for picky nieces—always a hit.
- Budget Stretcher: Chicken breasts and panko go further than you’d think, and leftovers reheat surprisingly well.
Step-by-Step Instructions for Crispy Coconut Chicken
Master this technique for golden, crunchy chicken with a tropical twist in every bite.
Step 1: Prepare and Season the Chicken
Begin by cutting the 1.5 lb boneless skinless chicken breasts into uniform strips or bite-sized pieces. This ensures even cooking throughout. Pat each piece completely dry with paper towels—moisture is the enemy of crispiness.
Season the chicken lightly with ½ tsp salt and the ½ tsp black pepper. This initial seasoning enhances the flavor of the meat itself. Set the seasoned pieces aside while you prepare the breading stations.
Step 2: Set Up the Breading Stations
In a shallow bowl, whisk the 2 whole large eggs until thoroughly combined and slightly frothy. In a second bowl, mix the 1 cup all-purpose flour with the 2 tbsp cornstarch, ½ tsp salt, 1 tsp garlic powder, and 1 tsp onion powder. This flour mixture creates the base layer for maximum crunch.
In a third bowl, combine the 2 cups shredded coconut and 1 cup panko breadcrumbs. The panko adds extra texture while the coconut delivers that signature tropical flavor. Having all stations ready before breading prevents the coating from becoming soggy.
Step 3: Bread Each Piece Thoroughly
Dredge each piece of chicken in the flour mixture, pressing gently to ensure full coverage. Shake off any excess—you want a thin, even layer. Next, dip the floured piece into the beaten eggs, allowing any excess to drip off for 5 seconds.
Finally, press each piece firmly into the coconut-panko mixture, turning to coat all sides completely. The pressure helps the coating adhere. Place breaded pieces on a wire rack set over a baking sheet. This setup allows air circulation, preventing the coating from becoming steamy before frying.
Step 4: Fry to Golden Perfection
Heat the ½ cup vegetable oil in a large skillet over medium-high heat until it reaches 350°F. To test readiness, drop in a pinch of the coconut mixture—it should sizzle immediately. Carefully place several breaded chicken pieces in the hot oil, leaving space between them to avoid crowding.
Fry for 3-4 minutes per side until the coating is deep golden brown and the internal temperature reaches 165°F. The coconut should appear toasted and fragrant. Transfer cooked pieces to a wire rack or paper towels to drain excess oil.
Step 5: Serve with Sweet Chili Sauce
Let the chicken rest for 2 minutes to allow the coating to set fully. This brief rest maintains crispiness. Warm the ½ cup sweet chili sauce slightly in a small saucepan or microwave for 15-20 seconds to enhance its glossy texture and vibrant flavor.
Serve the crispy coconut chicken immediately with the warm sweet chili sauce for dipping or drizzling. The contrast of the crunchy, savory-sweet coating with the tender chicken and spicy-sweet sauce creates an irresistible combination. Enjoy while hot for the best texture.
Pro Tips For Making Crispy Coconut Chicken
- Use Room-Temp Chicken: Take the chicken out of the fridge 20-30 minutes before cooking—cold meat seizes up and the coating won’t stick as well, leaving you with sad, patchy coconut bits.
- Press the Coconut Hard: After dredging in egg and flour, really press the shredded coconut into the chicken so it clings tight; I learned this the hard way after losing half the topping in the pan.
- Skip the Overcrowding: Fry in batches with at least an inch between pieces—steam from crowded pans turns that crispy coconut coating soggy, and nobody wants that.
- Toast the Coconut First: Spread the shredded coconut on a tray and toast at 350°F for 5-7 minutes until golden—it deepens the flavor and guarantees extra crunch without overcooking the chicken.
Best Sauces and Condiments for This Dish
Sweet Chili Sauce
This classic pairing enhances the tropical flavors beautifully. I warm ½ cup sweet chili sauce for 15-20 seconds to bring out its glossy texture. The balanced sweetness and mild heat complement the crispy coconut perfectly. 🌟
Mango Salsa
For a fresh contrast, I make a quick mango salsa with diced ripe mango, red bell pepper, and red onion, finished with lime juice. The acidity cuts through the richness of the coconut coating.
Creamy Lime Dipping Sauce
Blend ½ cup Greek yogurt with 2 tbsp lime juice, 1 tbsp honey, and a pinch of salt. This creamy dip adds a tangy brightness that balances the dish’s sweetness and crunch.
Spicy Sriracha Mayo
Mix ¼ cup mayonnaise with 1 tbsp sriracha and 1 tsp lime zest. The creamy spice adds a kick that contrasts wonderfully with the coconut’s natural sweetness.
Pineapple Chutney
Simmer 1 cup diced pineapple with 2 tbsp apple cider vinegar, 1 tbsp brown sugar, and ½ tsp red pepper flakes for 10 minutes. This chutney offers a sweet-tangy depth. 💫
Teriyaki Glaze
Thicken ½ cup teriyaki sauce with 1 tsp cornstarch slurry for a glossy finish. The umami-rich glaze adds an Asian-inspired twist to the tropical coconut chicken.
Nutrition Facts
Frequently Asked Questions
Why does my coating fall off during frying?
This usually happens if the chicken isn’t dry before breading. Pat pieces thoroughly with paper towels first. Also, let breaded pieces rest for 5-10 minutes before frying to help the coating adhere better.
Can I bake instead of frying?
Yes! Bake at 400°F for 18-20 minutes, flipping halfway. For extra crispiness, spray pieces lightly with oil before baking and use a wire rack to allow air circulation underneath.
What’s the best oil for frying?
Use oils with a high smoke point like vegetable, peanut, or canola. Avoid olive oil as it can burn at the required 350°F temperature. Always heat oil to temperature before adding chicken.
How do I keep it crispy for leftovers?
Store in a single layer on a wire rack in the fridge. To reheat, place in a 400°F oven for 5-7 minutes until hot and crisp. Microwaving will make the coating soggy.

- Jollof Rice Sauce Recipe: West African Tomato and Spice Infusion - September 25, 2026
- Japanese Rice Soup Recipe: Umami-Rich Comfort in a Bowl - September 25, 2026
- Homemade Cream Of Rice Recipe: Silk-Smooth Breakfast in Minutes - September 25, 2026