
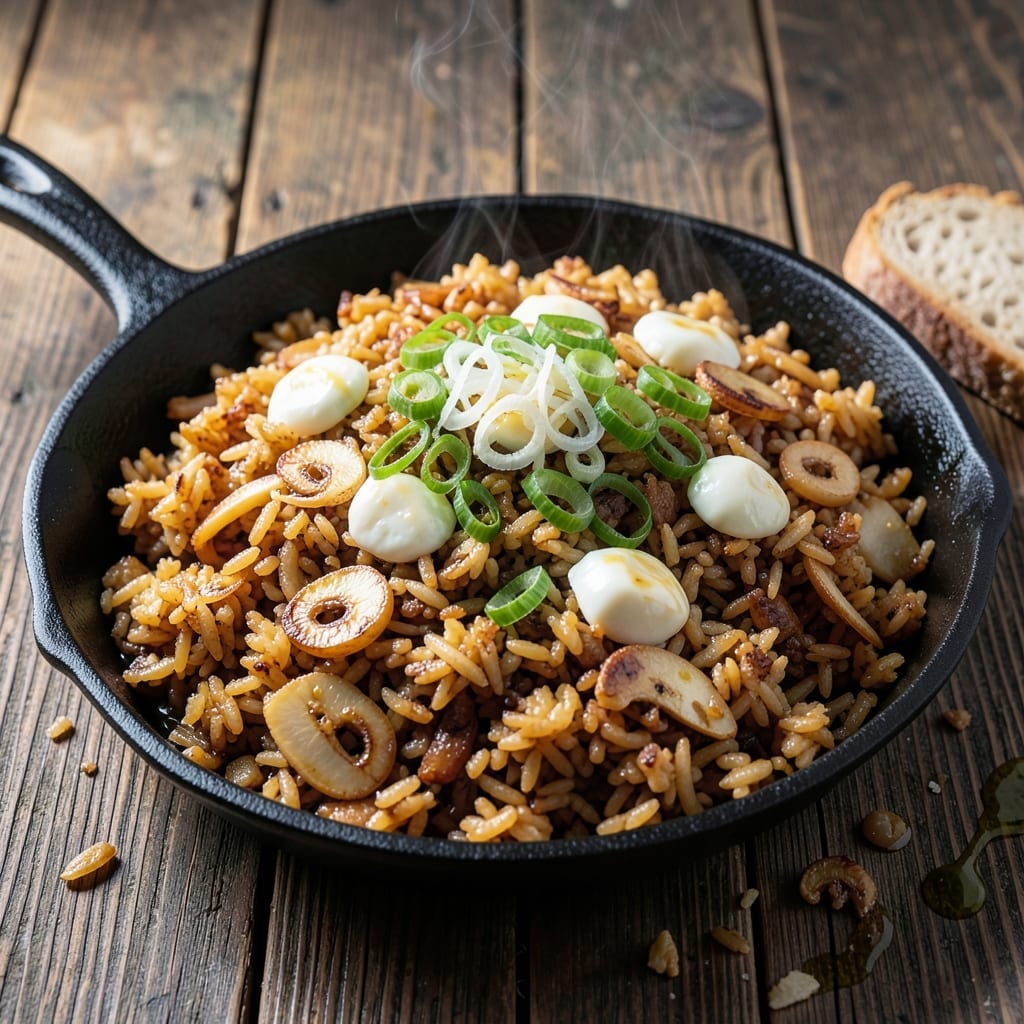
I’ve spent years perfecting fried rice that delivers crispy texture in every bite. The secret lies in day-old rice and high heat that creates golden edges while keeping the centers fluffy.
This proven method transforms simple ingredients into restaurant-quality results. Each grain stays separate, with just the right amount of char for that signature wok-tossed perfection.
Ingredients for Crispy Fried Rice
Cold rice, bold seasonings, and a screaming-hot wok transform humble ingredients into restaurant-grade results.
| Ingredient | Amount | Notes |
|---|---|---|
| Day-Old Cooked White Rice 🍚 | 4 cups | Cold, preferably overnight, broken up |
| Large Eggs 🥚 | 3 whole | Beaten for scrambling |
| Peanut Oil 🫒 | 3 tbsp | High smoke point preferred |
| Garlic Cloves 🧄 | 4 cloves | Minced finely for even distribution |
| Fresh Ginger Root 🌿 | 1 tbsp | Peeled and grated |
| Green Onions 🧅 | 4 whole | Thinly sliced, whites and greens separated |
| Carrot 🥕 | 1 whole | Finely diced for even cooking |
| Frozen Green Peas 🌱 | ¾ cup | Thawed before using |
| Soy Sauce 💧 | 3 tbsp | Low-sodium for controlled seasoning |
| Oyster Sauce 🫒 | 1 tbsp | For depth of flavor |
| Sesame Oil 🫒 | 1 tsp | Toasted variety for aroma |
| Kosher Salt 🧂 | ½ tsp | Adjust to taste at end |
| Ground White Pepper 🌶️ | ¼ tsp | Freshly ground preferred |
| Shaoxing Wine 🍶 | 1 tbsp | Dry sherry as substitute |
The rice is non-negotiable—day-old, cold, and fully broken up (fresh rice turns to mush). For the oil, peanut oil handles high heat without smoking, but avocado oil works too. Asian markets carry Shaoxing wine and quality oyster sauce, but most Whole Foods have them too. The ginger and garlic should be fresh; pre-minced lacks the punch. Carrots and peas add color and texture without overwhelming.
No Shaoxing wine? Dry sherry is nearly identical. Vegetarian? Swap oyster sauce for vegetarian stir-fry sauce. Missing peas? Frozen corn or bell peppers work (just dice small). For extra crisp, press the rice into the wok after initial stir-fry to create a golden crust. The soy sauce should be low-sodium—you can always add salt, but you can’t take it out.
Prep all ingredients before heating the wok (mise en place is critical). Cooked rice holds in the fridge for 3-4 days, but flavors peak within 24 hours. Leftover fried rice? Reheat in a skillet with a splash of oil to revive the texture. Never microwave—it’ll turn soggy.
Why You’ll Love This Recipe
- One Pan Wonder: I toss everything into a single skillet—day-old rice, eggs, garlic, ginger—and let the peanut oil work its magic.
- That Crunch: Honestly, the crispy edges from the hot oil and the fluffy egg bits? I could eat it straight from the pan.
- Leftover Hero: Between us, this is my sneaky way to use up last night’s rice and turn it into something way better.
- Budget Stretch: Peanut oil and a handful of pantry staples make this my go-to when I need to feed a crowd without breaking the bank.
Step-by-Step Instructions for Crispy Fried Rice
Master the wok technique for perfectly crispy grains and golden texture every time.
Step 1: Prepare and Heat the Wok
Begin by breaking up the 4 cups Day-Old Cooked White Rice with your hands to ensure no clumps remain. The rice must be cold and completely dry—this is essential for achieving that signature crispy texture. I always use day-old rice straight from the refrigerator for this reason.
Place a wok or large skillet over high heat and add 2 tbsp Peanut Oil. Swirl to coat the surface evenly. Heat the oil until it shimmers and just begins to smoke—this indicates it’s at the optimal temperature for creating crispy, golden bits without burning.
Step 2: Scramble the Eggs and Aromatics
Push the oil to one side of the wok and pour in the 3 whole Large Eggs. Scramble quickly with a spatula, breaking them into small, soft curds. Once just set but still slightly runny, add the 4 cloves Garlic Cloves, 1 tbsp Fresh Ginger Root, and the white parts of the 4 whole Green Onions.
Stir-fry for 20-30 seconds until the aromatics become fragrant and the eggs are fully cooked. The garlic should turn light golden brown—not dark, or it will impart a bitter flavor. Remove this mixture and set aside; it will be added back later.
Step 3: Stir-Fry the Vegetables and Rice
Add the remaining 1 tbsp Peanut Oil to the wok, then toss in the 1 whole Carrot (finely diced) and 0.75 cup Frozen Green Peas. Stir-fry for 2-3 minutes until the carrots begin to soften slightly but retain a slight bite.
Add the broken-up rice to the wok, pressing it firmly into the hot surface with your spatula. Let it sit undisturbed for 30-45 seconds to develop a crispy crust, then toss and repeat. You’ll hear a sizzling sound—that’s the crispiness forming.
Step 4: Season and Combine All Elements
Return the scrambled egg and aromatics to the wok. Drizzle the 3 tbsp Soy Sauce, 1 tbsp Oyster Sauce, and 1 tbsp Shaoxing Wine around the edges of the wok, allowing them to sizzle and caramelize slightly before stirring into the rice.
Add the 0.5 tsp Kosher Salt and 0.25 tsp Ground White Pepper, then toss everything together vigorously. Cook for another 2 minutes until the rice is evenly coated and the grains are golden brown and crispy.
Step 5: Finish with Sesame Oil and Garnish
Remove from heat and stir in the 1 tsp Sesame Oil, then fold in the green parts of the Green Onions. The sesame oil adds a final layer of aroma, while the green onions provide a fresh, vibrant finish.
Serve immediately while the rice is still crispy and hot. Each bite should offer a mix of tender grains with golden, slightly crunchy edges—the hallmark of perfect wok-tossed fried rice.
Pro Tips For Making Crispy Fried Rice
- Use Cold Rice: Day-old rice from the fridge works best—freshly cooked rice is too moist and will steam instead of crisp. I learned this the hard way after my first three attempts turned out soggy.
- Crank the Heat: Peanut oil smokes at high temperatures, so don’t be shy—get your wok or pan screaming hot before adding anything. Sounds aggressive, but it’s the only way to get that signature crispy texture.
- Skip the Overcrowding: Cook the eggs separately, then set aside, and work in batches if needed. Steer clear of dumping everything in at once, or you’ll end up with a greasy, limp mess instead of crispy fried rice.
- Press and Pause: After adding the rice, press it firmly into the pan with your spatula and let it sit undisturbed for 30-45 seconds. This builds that golden, crunchy layer that makes the dish—yes, even if you’re impatient like me.
Creative Variations of This crispy fried rice
Thai Basil Twist
Swap green onions for ½ cup fresh Thai basil leaves, adding them at the very end. The anise-like aroma pairs beautifully with 1 tsp fish sauce in place of soy sauce. I love this version with a fried egg on top. 🌿
Kimchi Fusion
Add 1 cup chopped kimchi with its juices when stir-frying the vegetables. The tangy, spicy kick transforms the dish. Use gochujang instead of oyster sauce for extra depth. This Korean-inspired take is my go-to comfort food.
Pineapple Paradise
For a tropical touch, stir in 1 cup diced fresh pineapple with the peas. The sweetness balances the savory soy sauce. I like to finish with toasted macadamia nuts for crunch. 🍍
Bacon Lovers
Cook 4 slices chopped bacon first, then use the rendered fat instead of peanut oil. The smoky flavor infuses every bite. Add a dash of smoked paprika for extra depth. This is my favorite weekend brunch upgrade.
Curry Crisp
Mix 1 tbsp curry powder into the rice before adding sauces. The warm spices create an aromatic base. I use Madras curry powder from Penzeys for its bold flavor. Garnish with cilantro instead of green onions.
Nutrition Facts
Frequently Asked Questions
Why does the rice need to be cold?
Cold rice has less moisture, allowing it to crisp up in the hot wok. Fresh rice steams instead of frying, resulting in mushy texture.
Can I use a regular skillet instead of a wok?
Yes, a large skillet works, but a wok’s high sides make tossing easier. Use high heat and cook in batches to avoid overcrowding.
How do I get extra crispy bits?
Press the rice firmly into the hot wok and let it sit undisturbed for 30-45 seconds before tossing. Repeat to build layers of crispiness.
What if my rice turns out soggy?
This usually means the heat wasn’t high enough or the rice was too wet. Use day-old rice and ensure your wok is screaming hot before adding ingredients.

- Jollof Rice Sauce Recipe: West African Tomato and Spice Infusion - September 25, 2026
- Japanese Rice Soup Recipe: Umami-Rich Comfort in a Bowl - September 25, 2026
- Homemade Cream Of Rice Recipe: Silk-Smooth Breakfast in Minutes - September 25, 2026