
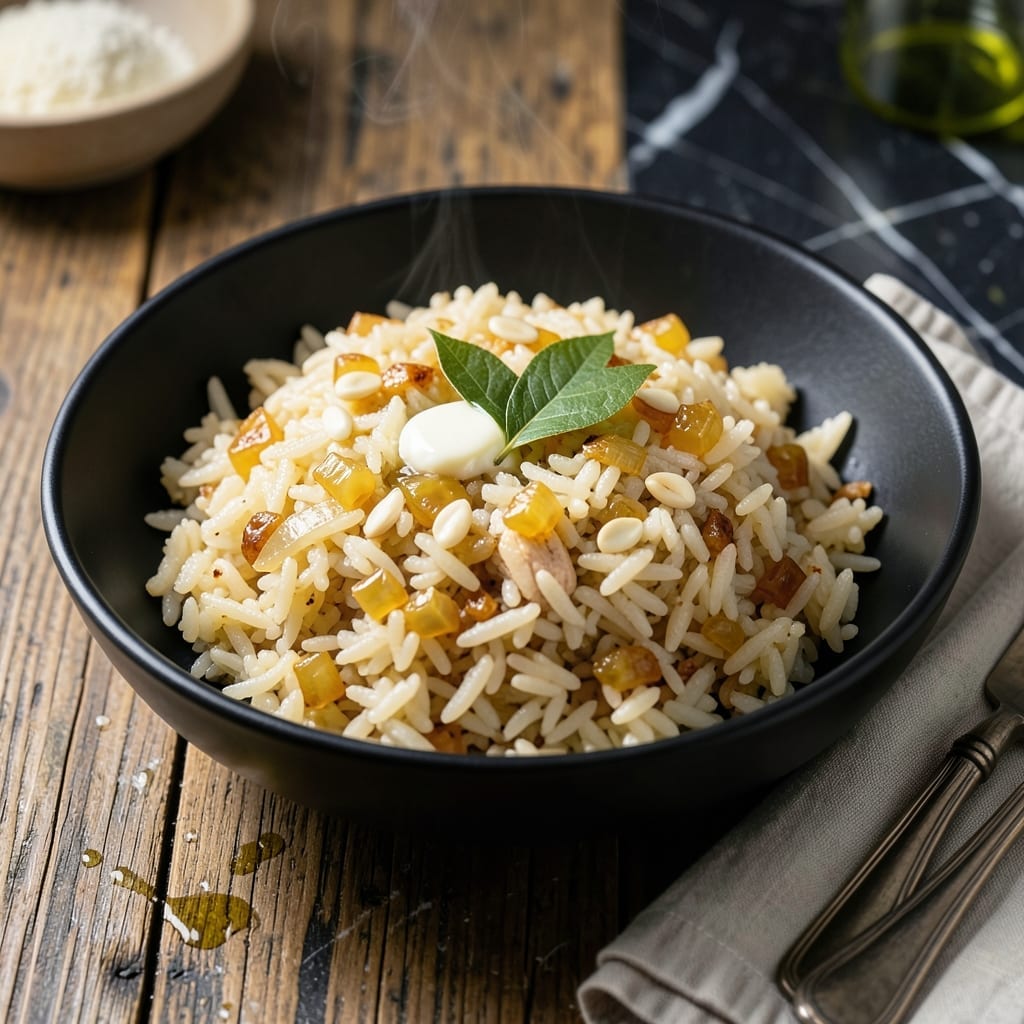
This enriched rice delivers buttery flavor and nutty depth that elevates any meal. A simple technique transforms basic grains into something extraordinary.
With just a few ingredients and 20 minutes, you’ll have perfectly cooked rice with rich, satisfying texture. It pairs seamlessly with proteins, vegetables, or as a stand-alone dish.
Ingredients for Enriched Rice
Transform basic rice with enriched ingredients for buttery, nutty depth in every bite.
| Ingredient | Amount | Notes |
|---|---|---|
| Long-Grain White Rice 🍚 | 2 cups | Rinsed until water runs clear |
| Unsalted Butter 🧈 | 4 tbsp | High-fat content preferred |
| Chicken Stock 🍲 | 4 cups | Low-sodium for control |
| Yellow Onion 🧅 | 1 whole | Finely diced for even distribution |
| Garlic Cloves 🧄 | 3 cloves | Minced to release aromatics |
| Bay Leaf 🌿 | 1 whole | Dried, removed before serving |
| Kosher Salt 🧂 | 1 ½ tsp | Diamond Crystal preferred |
| Freshly Ground Black Pepper 🌶️ | ½ tsp | Coarse grind for texture |
| Dried Thyme 🍃 | ½ tsp | Rubbed between fingers to release oils |
| Turmeric 🌶️ | ¼ tsp | For color and earthiness |
| Heavy Cream 🥛 | ¼ cup | Optional for extra richness |
| Fresh Parsley 🌿 | 2 tbsp | Chopped, for garnish |
The rice selection is critical here. Long-grain white rice provides the ideal texture—avoid instant or Minute Rice as they lack the necessary structure. For the stock, homemade chicken stock yields the richest flavor, but a quality low-sodium brand like Swanson works well. The butter should be European-style for its higher fat content, which enhances the nutty depth mentioned in the introduction.
Substitutions are straightforward but impactful. Vegetable stock can replace chicken stock for a vegetarian version (though flavor will differ). Shallots at half the quantity work instead of onion. If avoiding dairy, olive oil replaces butter, though the flavor profile shifts. The turmeric is optional but adds a subtle warmth—a pinch of saffron (if available) creates a luxurious variation.
Store uncooked rice in an airtight container for up to 2 years. Once cooked, this rice keeps 4-5 days refrigerated or 3 months frozen. Reheat gently with a splash of stock to restore moisture. The fresh parsley garnish should be added just before serving to preserve its vibrant color (don’t skip this part).
Why You’ll Love This Recipe
- One Pot Wonder: I love that everything cooks together—rice, onions, garlic, and stock—no extra pans to wash.
- Buttery Comfort: The butter and chicken stock make the rice so rich, it’s like a warm hug in every bite.
- Meal Prep Hero: This rice keeps beautifully for days, so I can make a big batch and pair it with anything.
- Budget Friendly: Long-grain rice and simple pantry staples mean I can feed my family without breaking the bank.
Step-by-Step Instructions for Buttery Grains With Nutty Depth
This method ensures perfectly tender rice with rich, layered flavor in every bite.
Step 1: Toast the Rice and Aromatics
Melt 4 tbsp unsalted butter in a heavy pot over medium heat. Add the finely diced yellow onion and cook for 3-4 minutes until soft and translucent—this builds the flavor base. Stir in the minced garlic cloves and cook for 30 seconds until fragrant.
Add the 2 cups long-grain white rice to the pot and stir constantly for 2 minutes. You’ll notice the grains turn slightly opaque and emit a nutty aroma—that’s your signal the rice is properly toasted. This step prevents a gummy texture and enhances the depth of flavor.
Step 2: Deglaze and Simmer with Stock
Pour in the 4 cups chicken stock, then add the 1 whole bay leaf, 1.5 tsp kosher salt, 0.5 tsp freshly ground black pepper, 0.5 tsp dried thyme, and 0.25 tsp turmeric. Stir well to combine, ensuring the rice is fully submerged.
Bring the mixture to a boil, then reduce the heat to low. Cover the pot with a tight-fitting lid and maintain a gentle simmer. You should see occasional bubbles breaking the surface, but not a rolling boil—this ensures even cooking and prevents scorching.
Step 3: Cook Until Tender and Absorb Liquid
Let the rice cook undisturbed for 18-20 minutes. Resist the urge to lift the lid—releasing steam interrupts the cooking process and can lead to uneven results. The rice is done when the liquid is fully absorbed and the grains are tender with a slight bite.
Remove the pot from heat and let it sit, covered, for an additional 5 minutes. This resting period allows the rice to steam in its own moisture, plumping the grains and ensuring uniform texture. Discard the bay leaf before proceeding.
Step 4: Finish with Cream and Garnish
Stir in the 0.25 cup heavy cream gently, folding it into the rice until fully incorporated. The cream adds a luxurious richness and ties all the flavors together. Taste and adjust seasoning with a pinch of kosher salt or freshly ground black pepper if needed.
Transfer the rice to a serving dish and garnish with the 2 tbsp chopped fresh parsley. The parsley adds a bright, fresh contrast to the rich, savory rice. Serve immediately while warm for the best texture and flavor.
Pro Tips For Making Enriched Rice
- Toast the Rice: Cook the rice in butter for 2-3 minutes before adding liquid—this brings out a nutty depth that plain rice just can’t match. I learned this the hard way after making bland batches for years.
- Use Warm Stock: Pour in chicken stock that’s hot from the stove, not cold from the fridge. It keeps the cooking temperature steady and cuts 5-10 minutes off the simmer time.
- Skip Unmelted Butter: Make sure the butter is fully melted and foaming before adding onions and garlic, or they’ll steam instead of sizzle and turn mushy.
- Rest Before Serving: Let the rice sit covered for 10 minutes off the heat—it absorbs the last bit of stock and fluffs up perfectly. Sounds weird, but it works.
Pro Cooking Tips for enriched rice
Perfect Toasting Technique
Toast the rice in melted butter for exactly 2 minutes over medium heat until it turns opaque and releases that signature nutty aroma. I use a heavy-bottomed pot like Le Creuset for even heat distribution. This prevents gumminess and builds deep flavor. 🔥
Steam Control Matters
Never lift the lid during the 18-20 minute simmer. Each peek releases precious steam, extending cook time by 5-10 minutes and creating uneven texture. The tight seal is what transforms the dish from good to extraordinary.
Resting Secret
After cooking, let it rest covered for 5 full minutes off heat. This final steam bath plumps the grains and lets them absorb any remaining liquid. I’ve found this step makes the difference between decent and restaurant-quality rice.
Cream Integration
When adding the ¼ cup heavy cream, fold it in gently with a silicone spatula to avoid breaking the tender grains. The cream should create a silky coating, not a sauce. Warm the cream slightly first for better incorporation.
Bay Leaf Removal
Always fish out the bay leaf before serving—no one wants that bitter surprise. I use a tongs to remove it cleanly. The leaf infuses flavor during cooking but becomes unpleasantly strong if left in too long.
Garnish Timing
Add the 2 tbsp fresh parsley right before serving to preserve its vibrant color and crisp texture. The parsley’s freshness cuts through the richness beautifully. This small touch elevates the presentation dramatically.
Nutrition Facts
Frequently Asked Questions
Can I use brown rice instead of white?
Yes, but adjust the liquid to 4.5 cups and cook for 40-45 minutes. Brown rice needs more water and time to soften its bran layer.
Why toast the rice first?
Toasting deepens the nutty flavor and prevents gumminess. The 2 minutes in butter enhances aroma and texture significantly.
Can I make this ahead?
Cooked rice keeps 4-5 days refrigerated. Reheat with a splash of stock to restore moisture.
What if my rice is undercooked?
Add 1/4 cup hot stock, cover, and cook 5 more minutes. Avoid stirring to prevent mushiness.

- Gobi Fried Rice Recipe: Spiced Cauliflower Wok Delight - October 8, 2026
- Glutinous Rice Roll Recipe: Chewy Pillows With Savory Fillings - October 8, 2026
- Garlic Jasmine Rice Recipe: Fragrant Grains with Aromatic Depth - October 8, 2026