
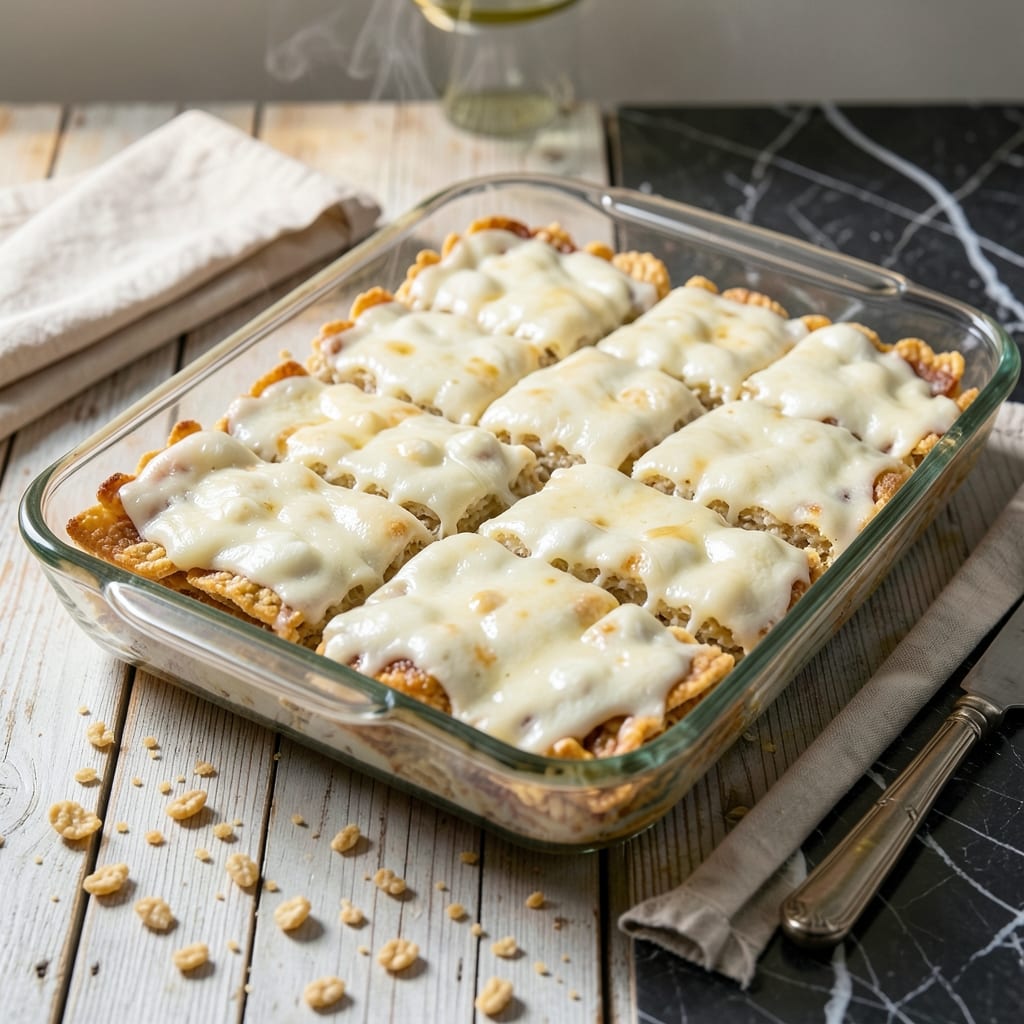
This recipe transforms classic Rice Krispie treats by doubling the marshmallows for an ultra-gooey texture that still maintains that signature snappy crunch. The extra marshmallow creates a cloud-like consistency while keeping the cereal crisp.
With just a few simple ingredients and 10 minutes of active time, you’ll have a batch of treats that are richer and more indulgent than the original. The key is melting the marshmallows slowly to achieve the perfect sticky, stretchy texture.
Ingredients for Extra Marshmallow Rice Krispie Treat
Six simple ingredients create these indulgent treats with cloud-like texture and signature crunch.
| Ingredient | Amount | Notes |
|---|---|---|
| Rice Krispies Cereal 🥣 | 6 cups | Fresh, crisp cereal preferred |
| Mini Marshmallows 🍬 | 16 oz | Doubled for ultra-gooey texture |
| Unsalted Butter 🧈 | ½ cup | For melting with marshmallows |
| Vanilla Extract 🌿 | 2 tsp | Pure extract for best flavor |
| Salt 🧂 | ½ tsp | Fine sea salt preferred |
| Neutral Cooking Oil 🛢️ | 1 tsp | For greasing pan and utensils |
The marshmallows are the star here—Jet-Puffed or Kraft brands melt beautifully and consistently. For the cereal, fresh Rice Krispies make all the difference in achieving that snappy crunch (stale cereal won’t crisp up). Unsalted butter gives you control over the salt content. Plugra or European-style adds extra richness if you’re feeling fancy.
No mini marshmallows? Regular marshmallows cut into quarters work in a pinch (they melt slightly slower). Vegetable oil can substitute for the butter if you need a dairy-free version. The vanilla extract is optional but adds depth to the marshmallow flavor. Skip the salt if using salted butter. For extra indulgence, try adding a pinch of flaky sea salt on top after pressing.
Store in an airtight container at room temperature for up to 3 days. For longer storage, wrap individual treats in plastic wrap and freeze for up to 6 weeks. Let thaw at room temperature before serving. The texture is best the day they’re made, but they’ll still taste great.
Why You’ll Love This Recipe
- One Pot Wonder: I melt the butter, dump in the mini marshmallows, and stir—no extra bowls, no fuss.
- Gooy Goodness: The extra marshmallows make them softer and sweeter, with that perfect pull-apart stretch.
- Party Ready: I bring these to potlucks and they’re always the first to disappear.
- Budget Stretcher: A box of cereal and a bag of marshmallows feed a crowd for pennies.
Step-by-Step Instructions for Extra Marshmallow Rice Krispie Treats
Master this technique for consistently perfect treats with maximum gooeyness and crisp texture.
Step 1: Prepare the Pan and Measure Ingredients
Begin by lightly greasing a 9×13-inch baking dish with the 1 tsp Neutral Cooking Oil. Use a paper towel to spread it evenly across the bottom and sides, ensuring no spots are missed. This prevents sticking and makes cutting easier later.
Measure out all ingredients precisely: the 6 cups Rice Krispies Cereal, 16 oz Mini Marshmallows, 0.5 cup Unsalted Butter, 2 tsp Vanilla Extract, and 0.5 tsp Salt. Having everything ready to go streamlines the process and prevents the marshmallow mixture from hardening prematurely.
Step 2: Melt the Butter and Marshmallows
In a large, heavy-bottomed pot, melt the 0.5 cup Unsalted Butter over low heat. Once fully melted, add the entire 16 oz Mini Marshmallows and stir continuously with a silicone spatula. The marshmallows will begin to soften and collapse after 2-3 minutes.
Continue stirring until the mixture is completely smooth and no marshmallow lumps remain. Remove from heat immediately once melted to avoid scorching. Stir in the 2 tsp Vanilla Extract and 0.5 tsp Salt—the residual heat will distribute them evenly without cooking the vanilla.
Step 3: Combine with Rice Krispies Cereal
Add the 6 cups Rice Krispies Cereal to the pot all at once. Using the same spatula, fold gently but thoroughly until every piece is evenly coated with the marshmallow mixture. Work quickly—the mixture thickens as it cools, and you want to maintain its fluidity for proper distribution.
Watch for the cereal to lose its crispness slightly as it absorbs the marshmallow—this indicates it’s fully incorporated. Avoid pressing down on the mixture in the pot, as this can make the treats dense rather than light and airy.
Step 4: Press and Shape the Treats
Transfer the mixture to the prepared baking dish. Using the greased spatula or lightly oiled hands, press the mixture evenly into the pan. Apply gentle, even pressure to create a uniform layer without compacting it too tightly—this preserves the airy texture.
Focus on the corners and edges to ensure they’re filled completely. The surface should be smooth and level, with no gaps or thin spots. Let the treats sit at room temperature for 30 minutes to set completely before cutting.
Step 5: Cut and Serve
Once fully set, use a sharp knife (lightly oiled if needed) to cut into squares. For clean cuts, press straight down rather than sawing. The treats should hold their shape but still feel slightly soft to the touch.
Serve immediately for the best texture—the exterior will have a slight crispness while the interior remains wonderfully gooey. Store any leftovers in an airtight container at room temperature for up to 2 days, though they’re best enjoyed fresh.
Pro Tips For Making Extra Marshmallow Rice Krispie Treat
- Melt Butter Low: Keep the heat at medium-low when melting butter for the marshmallows—I learned this the hard way after scorching a batch on high. The sugar in marshmallows burns fast.
- Use Fresh Marshmallows: Skip the old, dried-out mini marshmallows; they won’t melt as smoothly. Fresh ones blend into that perfect gooey consistency with the cereal.
- Press While Warm: Don’t wait for the mixture to cool before pressing it into the pan. Warm marshmallow mix sticks together better and holds its shape when set.
- Add Vanilla Last: Stir in the vanilla extract after removing the marshmallow-butter mix from heat. Adding it too early can make the vanilla flavor bake off instead of staying bright.
Pro Cooking Tips for extra marshmallow rice krispie treat
Low and Slow Melting
Use low heat when melting butter and marshmallows to prevent scorching. I set my burner to 2 out of 10 and stir constantly. A heavy-bottomed pot like All-Clad distributes heat evenly. Patience is key—rushing creates burnt bits that ruin the texture. 🌡️
Butter First Method
Always melt the ½ cup butter completely before adding marshmallows. This creates a fat barrier that prevents sticking. I use European-style butter for richer flavor. Once melted, immediately add all 16 oz marshmallows at once for even melting.
Fold Don’t Stir
When combining with 6 cups cereal, use a folding motion to avoid crushing the Rice Krispies. A silicone spatula works best. Press the mixture gently in the pan—over-compacting removes the air that gives treats their signature snap.
The 30-Minute Rule
Let treats set for a full 30 minutes before cutting. This allows the marshmallow to fully bind with the cereal. I test by pressing lightly—if it bounces back slightly, it’s ready. Cut with a sharp chef’s knife dipped in hot water for clean edges.
Pan Prep Perfection
Grease your 9×13-inch pan thoroughly with 1 tsp oil using a paper towel. Don’t miss the corners! I also grease my spatula and hands for pressing. This prevents sticking and makes removal effortless.
Vanilla Timing
Add the 2 tsp vanilla extract off heat to preserve its flavor. The residual warmth will incorporate it perfectly. Stir just until combined, then immediately add your cereal. This small step makes a noticeable difference in taste. 💡
Nutrition Facts
Frequently Asked Questions
Why use mini marshmallows instead of regular?
Mini marshmallows melt faster and more evenly, creating a smoother texture. Regular marshmallows work but require cutting into smaller pieces first. The mini size also distributes better throughout the cereal.
How do I prevent treats from sticking to the pan?
Grease the pan thoroughly with 1 tsp oil using a paper towel. Also grease your spatula and hands before pressing. This creates a barrier that makes removal effortless.
Can I make these treats ahead of time?
Yes, but they’re best enjoyed fresh. Store in an airtight container at room temperature for up to 2 days. For longer storage, freeze for up to 6 weeks and thaw before serving.

- Glutinous Rice Flour Bread Recipe: Soft Pillows with Nutty Depth - October 12, 2026
- Green Rice Casserole Recipe: Cheesy Baked Comfort with Vibrant Herbs - October 12, 2026
- Glutinous Rice Coconut Milk Recipe: Chewy Sweetness With Tropical Depth - October 12, 2026