
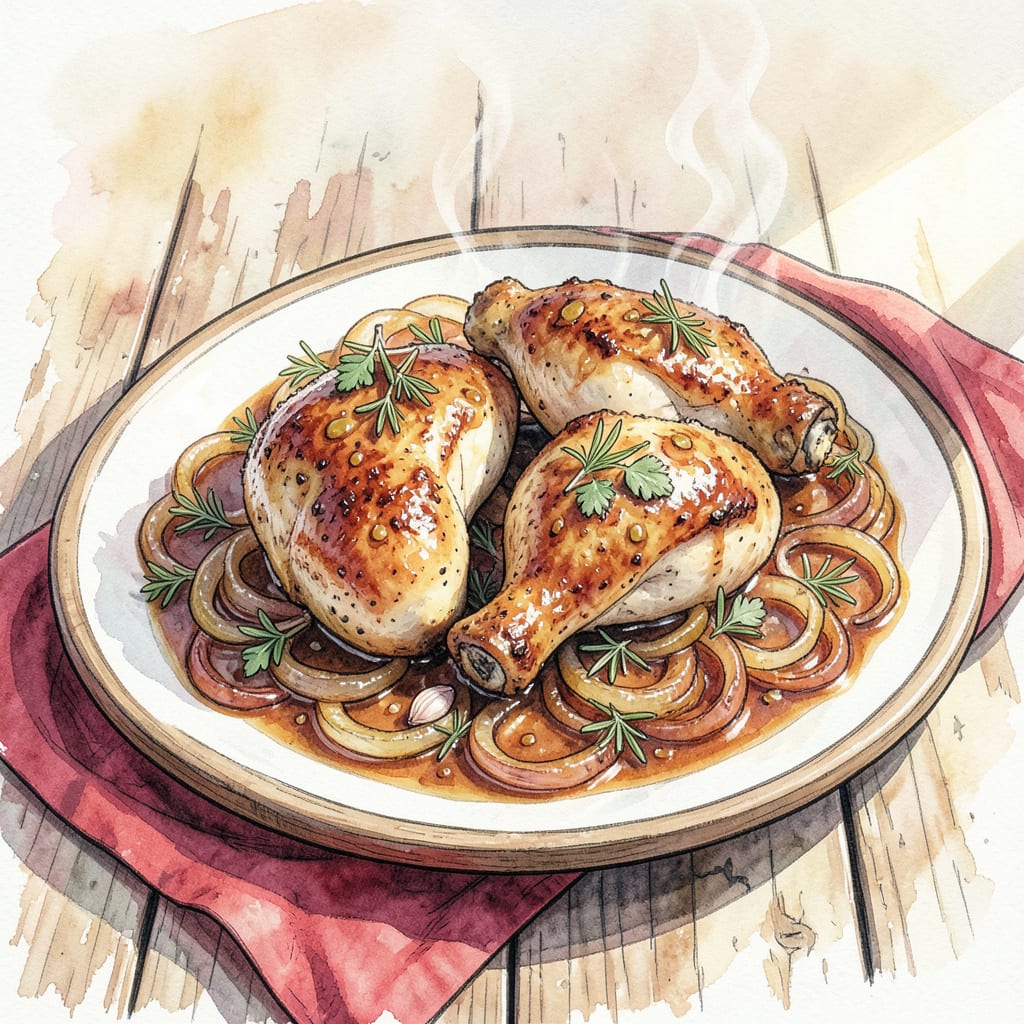
I’ve perfected a fall off the bone chicken recipe that’s both tender and juicy. This slow-cooked dish is achieved through a simple technique that requires minimal effort but delivers maximum flavor.
Cooking the chicken low and slow at 300°F ensures it reaches tender perfection. The result is meat that’s so juicy it practically falls apart at the touch of a fork, making it a true comfort food classic.
Ingredients for Fall Off the Bone Chicken
These premium ingredients create tender, fall-off-the-bone chicken with rich flavor profile.
| Ingredient | Amount | Notes |
|---|---|---|
| Chicken Thighs 🍗 | 2 ½ lb | Bone-in, skin-on preferred |
| Olive Oil 🫒 | ¼ cup | Extra-virgin for richness |
| Garlic Cloves 🧄 | 6 cloves | Peeled, smashed |
| Onion 🧅 | 1 whole | Sliced into wedges |
| Chicken Broth 🍜 | 1 cup | Low-sodium preferred |
| Apple Cider Vinegar 🍎 | ¼ cup | Or white wine vinegar |
| Brown Sugar 🍮 | 2 tbsp | Packed light brown |
| Smoked Paprika 🌶️ | 1 tbsp | For smoky flavor |
| Dried Thyme 🌿 | 1 tsp | Or 1 tbsp fresh thyme |
| Black Pepper 🌶️ | 1 tsp | Freshly ground preferred |
| Kosher Salt 🧂 | 1 tsp | Or sea salt |
| Bay Leaves 🌿 | 2 whole | Optional, for aroma |
The chicken quality matters. Costco and Whole Foods have great bone-in thighs. Look for pieces with good marbling—more tender results. I prefer organic when available, but regular works too. For the onions, any variety works—just make sure they’re sliced into wedges so they hold their shape during slow cooking.
No apple cider vinegar? White wine vinegar or lemon juice are good substitutes. For the smoked paprika, regular paprika works in a pinch, but the smoky flavor elevates the dish. If using fresh thyme, double the amount since dried is more concentrated. The bay leaves add a subtle depth—remove them before serving as they can be bitter if eaten whole.
This dish reheats beautifully—keeps for 4-5 days in the fridge. Freeze portions for up to 3 months. When reheating, add a splash of chicken broth to maintain moisture. I portion into containers so meals are ready for the week—perfect for meal prep.
Step-by-Step Instructions for Tender and Juicy Chicken
Follow these precise steps to achieve fall-off-the-bone perfection with your chicken dish.
Step 1: Prepare the Chicken and Aromatics
Start by preheating your oven to 300°F. While it’s heating up, prepare the 2.5 lb Chicken Thighs by patting them dry with paper towels—this helps the skin crisp up during cooking. Next, peel and smash the 6 cloves Garlic Cloves to release their natural oils and flavor compounds. Slice the 1 whole Onion into wedges, making sure they’re substantial enough to hold their shape during the long cooking process.
In a large Dutch oven or heavy oven-safe pot, heat the 0.25 cup Olive Oil over medium-high heat. Once the oil shimmers, add the chicken thighs, skin-side down. Sear them for 5-7 minutes on each side until they develop a deep golden-brown crust. Remove the chicken from the pot and set it aside.
Step 2: Build the Braising Liquid
Reduce the heat to medium and add the sliced onion wedges to the same pot. Cook for 8-10 minutes, stirring occasionally, until they’re caramelized and golden brown. Add the smashed garlic cloves and cook for another 1-2 minutes until fragrant. Be careful not to burn the garlic, as it can quickly become bitter.
Pour in the 1 cup Chicken Broth, 0.25 cup Apple Cider Vinegar, and 2 tbsp Brown Sugar. Scrape up all the browned bits from the bottom of the pan with a wooden spoon—these contain concentrated flavor. Bring the mixture to a simmer, then stir in the 1 tbsp Smoked Paprika, 1 tsp Dried Thyme, 1 tsp Black Pepper, and 1 tsp Kosher Salt. Let it cook for 2-3 minutes to allow the flavors to meld together.
Step 3: Braise the Chicken to Perfection
Return the chicken thighs to the pot, making sure they’re mostly submerged in the braising liquid. If necessary, add a bit more chicken broth or water to cover them. Add the 2 whole Bay Leaves on top for extra aroma. Cover the pot with a tight-fitting lid and transfer it to the preheated oven.
Braise the chicken for 2 ½ to 3 hours until it’s tender enough to fall off the bone. The meat should be so tender that it easily shreds with a fork. Remove the pot from the oven and let it cool slightly before serving. Serve the chicken hot, spooning some of the rich braising liquid over the top.
Troubleshooting This Recipe
Common Braising Mistakes
One of the most frequent issues with slow-cooked chicken is inconsistent temperature. If your oven runs hot or cold, it can affect the final result. I recommend using an oven thermometer to ensure accuracy. Another mistake is not properly browning the chicken first – this step creates essential flavor compounds.
Fixing Tough Chicken
If your chicken isn’t falling off the bone after 3 hours, check your oven temperature first. Sometimes continuing to cook for another 30 minutes makes all the difference. If it’s still tough, the chicken might be overcrowded – try separating pieces into two pots for better braising liquid circulation.
Liquid Level Issues
Too little braising liquid can cause dry chicken. Ensure your chicken is mostly submerged – add more chicken broth or water if needed. Too much liquid can make the dish taste bland, so adjust seasoning accordingly. I like to check liquid levels halfway through cooking and adjust as needed.
Rescuing Overcooked Chicken
If your chicken becomes too tender and starts to shred during cooking, don’t worry. Simply remove it from the heat earlier next time. For the current batch, shred the chicken and mix it back into the braising liquid to create a delicious pulled chicken variation. 🔥
Preventing Bland Flavor
A common issue with slow-cooked dishes is flavor melding into blandness. To prevent this, ensure you’re using enough salt and acid (from the apple cider vinegar). Taste and adjust seasoning halfway through cooking – this helps maintain a balanced flavor profile.
Equipment Troubleshooting
If using a Dutch oven, ensure it’s truly oven-safe to 300°F. Some materials can’t handle that temperature. If your pot lacks a tight-fitting lid, cover it with heavy-duty foil before adding the lid to prevent steam escape. I prefer using a Le Creuset Dutch oven for its heat retention.
Nutrition Facts

- Jollof Rice Sauce Recipe: West African Tomato and Spice Infusion - September 25, 2026
- Japanese Rice Soup Recipe: Umami-Rich Comfort in a Bowl - September 25, 2026
- Homemade Cream Of Rice Recipe: Silk-Smooth Breakfast in Minutes - September 25, 2026