
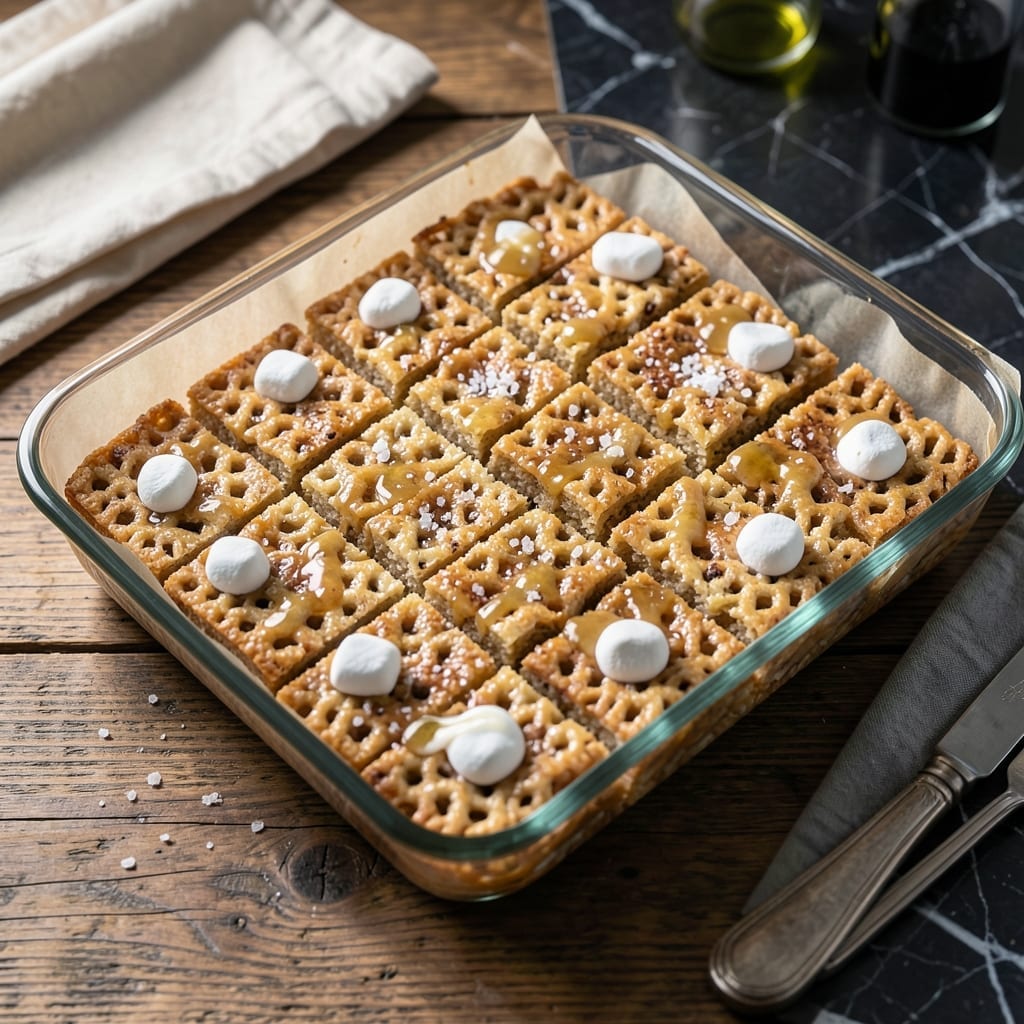
This recipe delivers perfectly firm Rice Krispie treats that hold their shape without sagging or falling apart.
Using the right ratio of butter to marshmallows and precise timing creates squares with a satisfying snap and consistent texture every time.
Ingredients for Firm Rice Krispie Treat
Seven ingredients create these perfectly structured, no-sag treats with ideal texture and hold.
| Ingredient | Amount | Notes |
|---|---|---|
| Rice Krispies Cereal 🥣 | 6 cups | Fresh, uncrushed flakes preferred |
| Mini Marshmallows ⚪ | 10 oz | About 5 cups volume |
| Unsalted Butter 🧈 | ½ cup | 1 stick, for precise melting |
| Vanilla Extract 💧 | 1 tsp | Pure extract for best flavor |
| Fine Sea Salt 🧂 | ¼ tsp | Balances sweetness precisely |
| Light Corn Syrup 💛 | 2 tbsp | Adds structural integrity |
| Neutral Cooking Spray 🫙 | 1 can | For pan preparation |
The marshmallows are critical here. Kraft Jet-Puffed mini marshmallows melt most consistently for even distribution. Fresh Rice Krispies (not stale) ensure maximum crispness in the final product. Use real unsalted butter—margarine or salted butter will alter the texture. For professional results, weigh your ingredients: 10 oz marshmallows, 8 oz cereal by weight.
No mini marshmallows? Regular marshmallows chopped into quarters work but require longer melting time. Out of corn syrup? Honey or agave at same volume substitutes well. For extra firmness, add an additional 0.5 cup of cereal. The vanilla extract is optional but recommended—use pure, not imitation for best flavor profile.
Store in an airtight container at room temperature for up to 3 days. For longer storage, wrap individual squares in parchment and freeze for up to 6 weeks. Bring to room temperature before serving for best texture. Avoid refrigeration as it creates condensation that softens the treats.
Why You’ll Love This Recipe
- One Pot Wonder: I melt the butter and marshmallows in a single pot, stir in the cereal, and we’re done—no fancy equipment, no mess.
- Buttery Vanilla Magic: The combo of unsalted butter and vanilla extract gives these treats a rich, warm flavor that’s way better than the basic version.
- Party or Lunchbox: I’ve packed these in school lunches and served them at birthday parties—equally loved by kids and adults.
- Stays Fresh for Days: Honestly, they hold their shape and stay chewy for up to a week in an airtight container, which is rare for homemade treats.
Step-by-Step Instructions for Firm Rice Krispie Treats
Achieve professional-quality results with this precise method for no-sag, perfectly held squares.
Step 1: Prepare the Pan and Melt the Fat Components
Begin by thoroughly coating an 8×8-inch baking pan with neutral cooking spray, ensuring every surface is covered. This prevents sticking and allows for clean removal of the treats. I then line the pan with parchment paper, leaving an overhang on two sides for easy lifting.
In a large, heavy-bottomed saucepan, melt the 0.5 cup unsalted butter over low heat. The gradual melting prevents separation and ensures even incorporation with the other ingredients. Watch for the butter to fully liquefy without browning—this should take about 2-3 minutes.
Step 2: Combine and Dissolve the Sweetener Base
Once the butter is melted, add the 10 oz mini marshmallows all at once. Stir continuously with a silicone spatula, pressing down gently to submerge the marshmallows in the butter. This promotes even melting and prevents scorching.
After the marshmallows begin to soften (about 3-4 minutes), add the 2 tbsp light corn syrup and 0.25 tsp fine sea salt. The corn syrup adds structure and prevents crystallization, while the salt balances the sweetness. Continue stirring until the mixture is completely smooth and no marshmallow lumps remain.
Step 3: Incorporate Flavor and Cereal
Remove the saucepan from heat and immediately stir in the 1 tsp vanilla extract. The residual heat will distribute the vanilla evenly without cooking off its delicate flavor compounds. This step is critical—adding vanilla over direct heat can cause it to evaporate, leaving your treats lacking depth.
Now, working quickly, add all 6 cups Rice Krispies Cereal at once. Use a folding motion to ensure every flake is thoroughly coated with the marshmallow mixture. The cereal should glisten slightly but not appear soggy. If the mixture seems too stiff, return the pan to low heat for 10-15 seconds to loosen it slightly.
Step 4: Press and Set for Structural Integrity
Transfer the mixture to your prepared pan. Using the back of your spatula or a piece of parchment paper, press down firmly and evenly. Apply consistent pressure for 30 seconds to compact the mixture—this is the key to firm, no-sag squares. Pay special attention to the corners and edges, where the mixture tends to be less dense.
For maximum firmness, I press the top with the flat bottom of a greased measuring cup, rotating to ensure uniform compression. The surface should be smooth and level, with no visible gaps between the cereal pieces. Allow the treats to set at room temperature for at least 1 hour before cutting.
For even better results, refrigerate the pan for 20-30 minutes to accelerate the setting process. This chilling step solidifies the structure, making it easier to cut clean squares that hold their shape.
Pro Tips For Making Firm Rice Krispie Treat
- Melt Butter Slowly: Use low heat and stir constantly—burnt butter will turn your treats bitter. I learned this the hard way after ruining a batch with impatient high heat.
- Use Fresh Marshmallows: Stale mini marshmallows won’t melt as smoothly and can make your treats grainy. Check the bag’s expiration date before starting.
- Press While Warm: Work quickly to press the mixture into the pan while it’s still warm and pliable—waiting too long makes it crumbly and hard to shape.
- Add Extra Salt: Sprinkle an extra pinch of fine sea salt over the top after pressing. It balances the sweetness and makes the flavor pop.
Make-Ahead Tips for This Dish
Prep Ahead Strategy
You can measure and set out all dry ingredients the night before. I place 6 cups Rice Krispies Cereal in a large bowl and have 10 oz mini marshmallows ready in their bag. This saves 5-10 minutes on cooking day. 💡
Butter Pre-Measure
Cut the 0.5 cup unsalted butter into small cubes and store in a covered container at room temperature. Cubed butter melts faster and more evenly than cold sticks straight from the fridge.
Pan Preparation
Line and spray your 8×8-inch baking pan up to 12 hours ahead. Cover with plastic wrap to keep it dust-free. I use Reynolds parchment paper for reliable non-stick performance.
Marshmallow Melting
For absolute precision, weigh your marshmallows the day before. 10 oz on a kitchen scale ensures perfect consistency every time. Store in an airtight container to prevent drying out.
Flavor Mix
Pre-measure the 1 tsp vanilla extract and 0.25 tsp fine sea salt in a small ramekin. Having these ready prevents frantic searching while your marshmallow mixture waits. 🔥
Storage Ready
Set out your neutral cooking spray and spatula the night before. I keep mine near the stove so everything is within reach when it’s time to press the mixture into the pan.
Nutrition Facts
Frequently Asked Questions
Why do my treats fall apart when cutting?
Insufficient pressing is the most common cause. Press firmly for 30 seconds using a greased measuring cup for even compression. Chill for 20-30 minutes before cutting for cleaner squares.
Can I use regular marshmallows instead of mini?
Yes, but chop them into quarters first for even melting. They may take slightly longer to dissolve completely in the butter mixture.
How do I store these for maximum freshness?
Keep in an airtight container at room temperature for up to 3 days. For longer storage, freeze wrapped squares for up to 6 weeks.
What can I use instead of corn syrup?
Honey or agave work as 1:1 substitutes. These alternatives maintain structure while adding subtle flavor variations.

- Cream of Wild Rice Soup Recipe: Earthy Grains in Silky Broth - October 9, 2026
- Filipino Garlic Rice Recipe: Crispy Fried Aroma With Every Bite - October 9, 2026
- Gobi Manchurian Rice Recipe: Indo-Chinese Fusion in One Bowl - October 9, 2026