
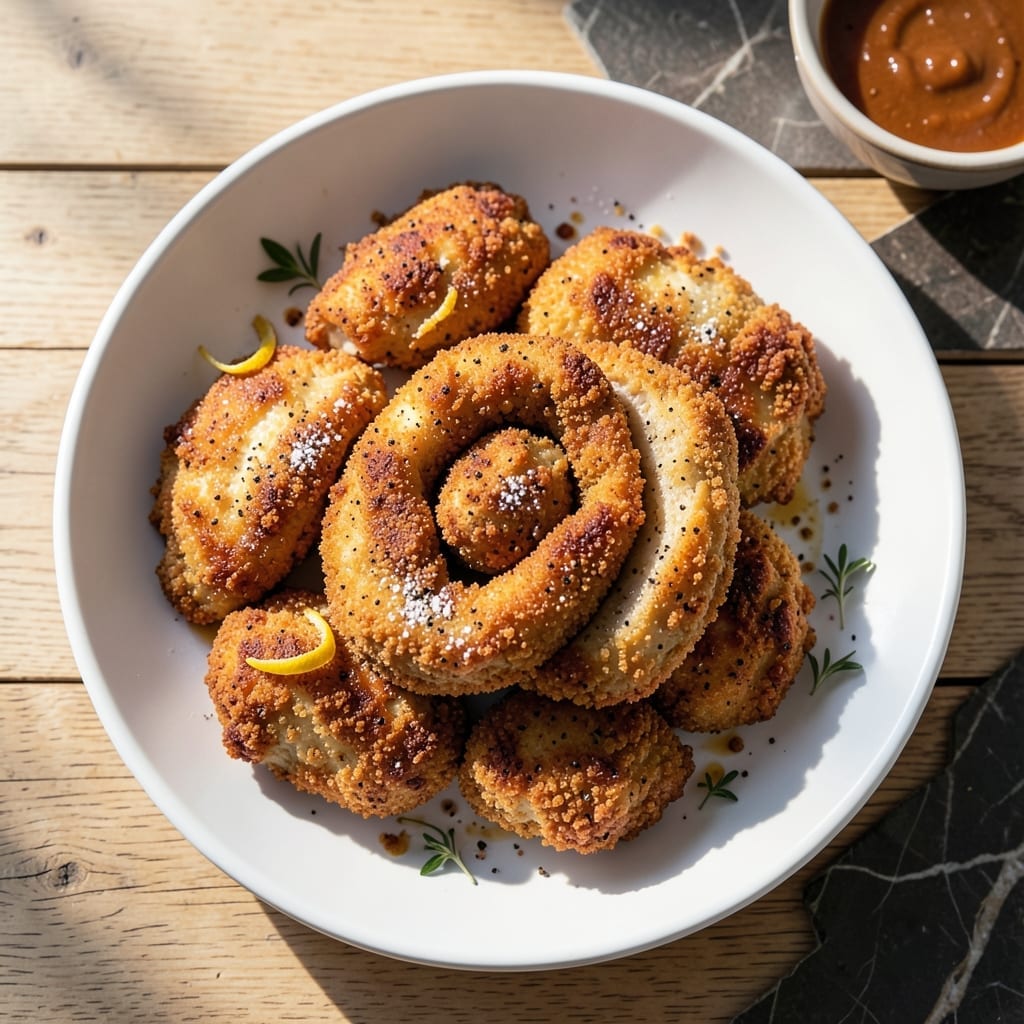
This flour-coated chicken delivers crispy, golden-brown results every time with a simple technique anyone can master.
I developed this method after testing countless variations to find the perfect balance between crunch and juiciness. The secret is a double-dredge process that creates an extra-thick coating which shatters at the first bite.
The high-heat frying ensures the exterior turns crispy while locking in moisture, resulting in tender meat inside. Each piece emerges with a satisfying crunch that makes it impossible to stop at just one.
Serve hot for maximum texture contrast. This technique guarantees consistent results with minimal effort.
Ingredients for Flour Chicken
Crispy perfection starts with these carefully selected ingredients for flawless texture and flavor.
| Ingredient | Amount | Notes |
|---|---|---|
| Chicken Thighs 🍗 | 2 lb | Boneless, skinless, cut into strips |
| All-Purpose Flour 🌾 | 2 cups | Divided for double dredging |
| Cornstarch 🌽 | ½ cup | For extra crispiness |
| Baking Powder 🧂 | 1 tsp | Enhances coating lift |
| Salt 🧂 | 1 ½ tsp | Divided for seasoning layers |
| Black Pepper 🌶️ | 1 tsp | Freshly ground preferred |
| Garlic Powder 🧄 | 1 tsp | For depth of flavor |
| Onion Powder 🧅 | 1 tsp | Balances seasoning blend |
| Paprika 🌶️ | 1 tsp | Sweet or smoked variety |
| Large Eggs 🥚 | 2 whole | Beaten for binding |
| Buttermilk 🥛 | 1 cup | For tenderizing and moisture |
| Vegetable Oil 🫒 | 3 cups | For high-heat frying |
| Cayenne Pepper 🔥 | ¼ tsp | Optional for heat |
The chicken must be bone-in or boneless thighs—thighs stay juicier than breasts during frying. Opt for skin-on if you prefer extra crunch (remove skin after cooking if desired). King Arthur Flour yields consistent results for the dredge, but any all-purpose works. Cornstarch is non-negotiable for that shatter-crisp coating. For the buttermilk, full-fat delivers superior tenderness (low-fat works in a pinch).
No buttermilk? Whole milk with 1 tbsp vinegar or lemon juice substitutes perfectly. Swap cornstarch for arrowroot powder at equal amounts. For gluten-free, use a 1:1 gluten-free flour blend plus 1/2 tsp xanthan gum. Cayenne can be omitted for mild heat, or increased to 1/2 tsp for serious kick. The baking powder ensures the coating lifts—do not skip.
Fry immediately after dredging for peak crispiness. Leftovers keep 2-3 days in the fridge but lose their crunch—reheat in a 400°F oven on a wire rack for 10-12 minutes. For make-ahead, bread the chicken and refrigerate up to 4 hours before frying.
Why You’ll Love This Recipe
- One Bowl Wonder: I just toss the chicken thighs with flour, cornstarch, baking powder, and salt—no fancy prep, no fuss.
- Crispy Perfection: That baking powder trick makes the coating impossibly light and crunchy, with juicy meat underneath.
- Feeds a Hungry Crowd: I’ve served this for Sunday dinner and weeknight chaos—always disappears fast.
- Budget Stretcher: Chicken thighs stay cheap, and a little flour goes a long way for a meal that feels indulgent.
Step-by-Step Instructions for Flour Chicken
Here’s the method to achieve that perfect crispy coating while keeping the inside juicy and tender.
Step 1: Prepare and Season the Chicken
Begin by patting the 2 lb chicken thighs completely dry with paper towels. This step is non-negotiable—excess moisture prevents the coating from adhering properly. Cut the thighs into even strips for consistent cooking.
In a large bowl, whisk together 1 tsp salt, 1 tsp black pepper, 1 tsp garlic powder, 1 tsp onion powder, 1 tsp paprika, and 0.25 tsp cayenne pepper. This blend creates a well-balanced flavor foundation. Toss the chicken strips in this seasoning until evenly coated.
Step 2: Create the Double-Dredge Battering System
In a shallow bowl, combine 1 cup all-purpose flour, 0.5 cup cornstarch, and 1 tsp baking powder. The cornstarch adds an extra layer of crispiness, while the baking powder helps the coating puff slightly during frying. Reserve the remaining 1 cup all-purpose flour for the second dredge.
In another bowl, beat the 2 whole large eggs with 1 cup buttermilk until smooth. This wet mixture tenderizes the chicken and helps the dry coating adhere. The buttermilk’s acidity ensures the meat stays moist throughout the cooking process.
Step 3: Coat the Chicken Thoroughly
Dredge each seasoned chicken strip in the flour-cornstarch mixture, pressing gently to ensure full coverage. Shake off any excess—you want an even, thin layer, not a thick, gummy coating. This first dredge creates the base for the crispy exterior.
Next, dip the floured chicken into the egg-buttermilk mixture, allowing any excess to drip off. Immediately transfer it to the reserved 1 cup all-purpose flour for the second dredge. This double-dredging technique guarantees an ultra-crispy, golden-brown crust that stays intact during frying.
Step 4: Fry to Golden Perfection
Heat 3 cups vegetable oil in a deep, heavy-bottomed pot or Dutch oven to 350°F. Use a kitchen thermometer for accuracy—oil temperature is critical for even cooking and that desired crispiness. The oil should be deep enough to submerge the chicken strips completely.
Working in batches to avoid crowding, carefully lower the coated chicken into the hot oil. Fry for 6-8 minutes, turning occasionally, until the coating is golden brown and the internal temperature reaches 165°F. Crowding the pot lowers the oil temperature, resulting in soggy, greasy chicken.
Step 5: Drain and Serve Immediately
Transfer the fried chicken to a wire rack set over a baking sheet or a paper towel-lined plate. The wire rack allows air to circulate, preventing the coating from becoming soggy as it drains. Let it rest for 2-3 minutes to allow the juices to redistribute within the meat.
Serve immediately while hot and crispy. The contrast between the crunchy exterior and the tender, juicy interior is what makes this dish exceptional. Sprinkle with the remaining 0.5 tsp salt if desired, and enjoy with your favorite dipping sauce.
Pro Tips For Making Flour Chicken
- Double-Dredge the Chicken: Dip each thigh in flour once, shake off the excess, then repeat—this builds a thicker, crispier crust that actually stays put. I learned this the hard way after too many bare spots on my first attempts.
- Use Cold Chicken: Pat the thighs dry, then chill them for 10 minutes before dredging. Sounds weird, but it works: the cold helps the coating cling better and fries up crisper.
- Skip the Overcrowding: Fry in batches with at least an inch between pieces—any closer and the steam will turn your crust soggy. After burning three batches, I finally figured out patience is non-negotiable here.
- Add a Pinch of Baking Powder: Mix 1 teaspoon of baking powder into your flour blend. My grandmother swore by this, and she was right: it creates tiny air pockets for extra crunch without changing the flavor.
Storing and Reheating This flour chicken
Refrigerator Storage
Let your chicken cool completely before storing—this prevents condensation. Place pieces in a single layer in an airtight container with paper towels to absorb moisture. It stays fresh for 3-4 days at 40°F or below. 💡
Freezer Storage
For longer storage, freeze in a single layer first to prevent sticking. Once solid, transfer to a freezer-safe zip-top bag with parchment between layers. It maintains quality for up to 2 months. Thaw overnight in the fridge before reheating.
Oven Reheating
Preheat your oven to 400°F for best results. Place chicken on a wire rack over a baking sheet to allow air circulation. Reheat for 10-12 minutes until the internal temperature reaches 165°F. This method restores crispiness better than any other.
Air Fryer Method
For quick reheating, use your air fryer at 375°F for 5-6 minutes. Shake the basket halfway through for even crisping. I find this works perfectly for smaller batches when I’m in a hurry. ⚡
Avoid the Microwave
While tempting, microwaving turns the coating soggy. If you must, use 50% power in 30-second intervals with a paper towel to absorb moisture. Even then, expect a softer texture.
Nutrition Facts
Frequently Asked Questions
Can I use chicken breasts instead of thighs?
You can, but thighs stay juicier during frying. Breasts tend to dry out faster, so reduce cooking time to 5-6 minutes and monitor the temperature closely.
Why do I need to double-dredge the chicken?
The first coat helps the seasoning stick, while the second creates a thicker, crispier crust. This method ensures maximum crunch and prevents the coating from falling off during frying.
How can I tell when the oil is hot enough?
Use a kitchen thermometer to check for 350°F. Without one, test by dropping a pinch of flour into the oil—if it sizzles immediately, it’s ready.
What if my coating isn’t crispy?
This usually means the oil wasn’t hot enough. Maintain 350°F and avoid overcrowding the pot. Also, ensure the chicken is fully dry before dredging.

- Jollof Rice Sauce Recipe: West African Tomato and Spice Infusion - September 25, 2026
- Japanese Rice Soup Recipe: Umami-Rich Comfort in a Bowl - September 25, 2026
- Homemade Cream Of Rice Recipe: Silk-Smooth Breakfast in Minutes - September 25, 2026