
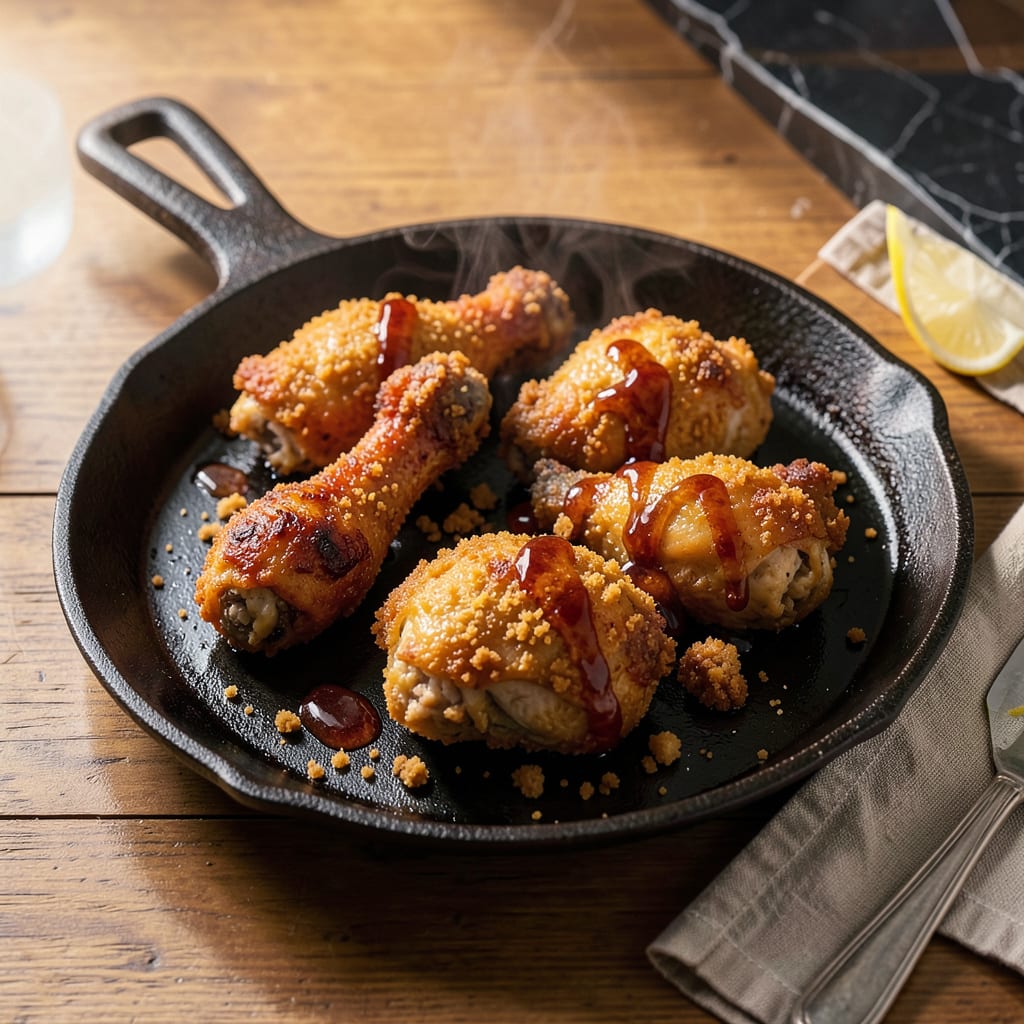
Achieving perfectly crispy fried chicken directly from frozen is not only possible—it’s a game-changer for busy cooks. This oven method eliminates the need for thawing while delivering golden, crunchy results every time. The technique relies on high heat circulation and a two-step breading process that locks in moisture while creating that signature crisp exterior.
The secret lies in the preparation: a light dusting of flour followed by an egg wash and seasoned breadcrumb coating ensures maximum crunch. Unlike traditional frying, this method uses the oven’s dry heat to achieve even browning without excess oil. The result is juicy chicken with a shatteringly crispy crust that rivals deep-fried versions.
What sets this approach apart is its reliability. No more guessing oil temperatures or dealing with splatter—just consistent, restaurant-quality chicken with minimal effort. The oven method also allows for cooking larger batches simultaneously, making it ideal for family meals or entertaining.
Serve with classic sides like mashed potatoes and coleslaw, or pair with honey mustard for dipping. This technique transforms frozen chicken into a meal worth celebrating—without the hassle of thawing or deep-frying.
📚 In This Guide
- What You’ll Need
- Instructions
- Tips and Common Mistakes
What Youll Need
- ● Frozen chicken pieces – 4–6 lbs (legs, thighs, wings, or breasts) thawed slightly (10–15 mins at room temp for even cooking) 🍗
- ● Cooking oil – 2–3 tbsp (avocado, vegetable, or canola oil for high-heat tolerance)
- ● Baking sheet – Heavy-duty, rimmed (prevents oil spills)
- ● Wire rack – Fits inside baking sheet (for airflow = extra crispiness!) 🔥
- ● Mixing bowls – 2 medium (one for dry mix, one for wet if marinating)
- ● 1 cup all-purpose flour (or gluten-free alternative)
- ● 2 tsp paprika (smoked for depth)
- ● 1 tsp each: garlic powder, onion powder, salt, black pepper
- ○ ½ tsp cayenne (optional for heat 🌶️)
- ● Meat thermometer (for 165°F internal temp safety)
- ● Tongs (to flip chicken without piercing)
- ● Pastry brush (for even oil coating)
Step-by-Step Instructions for Frying Frozen Chicken in the Oven
This method delivers perfectly crispy skin while ensuring the meat cooks evenly and thoroughly.
Preheat Oven and Prepare Baking Sheet
Set your oven to 425°F and allow it to fully preheat for at least 20 minutes. This high temperature is crucial for achieving that golden-brown crispiness without drying out the meat. I always use the convection setting if available, as it promotes even browning and faster cooking.
Line a large baking sheet with parchment paper or a silicone baking mat, then place a wire rack on top. The rack elevates the chicken, allowing hot air to circulate underneath and crisp the skin on all sides. Lightly coat the rack with nonstick cooking spray to prevent sticking during cooking.
Prepare the Frozen Chicken for Cooking
Remove the frozen chicken pieces from their packaging and pat them completely dry with paper towels. Even frozen chicken can have surface moisture that will steam instead of crisp. Arrange the pieces on the prepared wire rack, leaving at least 1 inch of space between each piece to ensure proper air circulation.
Lightly brush or spray the chicken with a thin layer of neutral oil (like vegetable or canola). This helps the skin crisp up beautifully while preventing it from drying out during the longer cooking time required for frozen meat. Season generously with salt and pepper, or use your preferred seasoning blend for added flavor.
Bake Using the Two-Stage Temperature Method
Place the baking sheet in the preheated oven and bake for 30 minutes at 425°F. This initial high heat helps render fat from the skin and start the crisping process. After the first 30 minutes, reduce the oven temperature to 375°F and continue baking for an additional 20-30 minutes.
The temperature reduction allows the interior to cook through without burning the exterior. You’ll know the chicken is done when the internal temperature reaches 165°F in the thickest part of the meat (use a meat thermometer) and the skin is deep golden brown and crispy to the touch.
Rest and Serve for Optimal Texture
Transfer the cooked chicken to a wire rack set over a clean baking sheet or plate. Let it rest for 5-10 minutes before serving. This brief resting period allows the juices to redistribute throughout the meat, ensuring each bite is moist and flavorful rather than having all the juices spill out when cut.
Serve immediately while the skin is still at its crispiest. The contrast between the shatteringly crisp exterior and the tender, juicy meat inside is what makes this method so satisfying. If you need to keep the chicken warm before serving, place it in a 200°F oven for no more than 15 minutes to maintain crispness.
Tips and Common Mistakes for Perfectly Crispy Oven-Fried Frozen Chicken
The two-stage cooking method in Step 3 is what makes this technique foolproof—here’s how to maximize every detail.
Temperature Precision: The initial 425°F blast for 30 minutes is non-negotiable for rendering skin fat and initiating the Maillard reaction. I’ve found that reducing to 375°F for the final 20-30 minutes creates the ideal environment for even cooking without compromising crispness. Use an oven thermometer to verify accuracy—many home ovens run 25°F hotter or cooler than their settings.
Airflow Optimization: The 1-inch spacing between pieces in Step 2 isn’t arbitrary—it prevents steam pockets that would soften the skin. For larger batches, use two racks positioned in the upper and lower thirds of the oven, rotating pans halfway through. Convection settings (if available) reduce total cooking time by about 10% while improving evenness.
Moisture Control: The paper towel drying in Step 2 removes surface ice crystals that would otherwise create steam. For bone-in pieces, pay special attention to joints where moisture collects. A light oil application acts as a conductor for heat transfer while creating that coveted crisp texture—vegetable or canola oil’s high smoke points make them ideal for this high-heat method.
Doneness Verification: While the 165°F internal temperature is the safety standard, visual cues matter too. Properly cooked chicken will have skin that audibly crackles when pressed and meat that pulls slightly away from the bones. The 5-10 minute rest in Step 4 isn’t just for juices—it allows the collagen to relax for optimum tenderness.
Pro Tips for Fry Frozen Chicken
- The two-stage cooking method in Step 3 is what makes this technique foolproof—here’s how to maximize every detail.
- Temperature Precision: The initial 425°F blast for 30 minutes is non-negotiable for rendering skin fat and initiating…
- Airflow Optimization: The 1-inch spacing between pieces in Step 2 isn’t arbitrary—it prevents steam pockets that woul…
Frequently Asked Questions
Got questions about frying frozen chicken? You’re not alone! Here are the most common concerns—and quick answers—to help you nail that crispy, golden result every time.
Can I fry frozen chicken without thawing it first?
Yes! The oven method works great for frozen chicken—just add 10–15 extra minutes to the cooking time. For food safety, ensure the internal temp hits 165°F (use a meat thermometer!). Skip thawing to avoid soggy breading.
Why is my fried frozen chicken soggy instead of crispy?
Sogginess usually happens if you overcrowd the pan or skip patting the chicken dry (even when frozen). Try baking on a wire rack over a tray for airflow, and avoid flipping too soon—let that crust set!
What’s the fastest way to fry frozen chicken?
For speed, use an air fryer (20–25 mins at 400°F) or deep fryer (8–10 mins at 375°F). Oven-baking takes longer (35–45 mins) but is hands-off. Pro tip: Preheat your oil/oven to lock in crispiness fast!
Can I use flour or cornstarch instead of breadcrumbs?
Absolutely! Flour gives a thinner, classic crust, while cornstarch creates an extra-crispy coating. For gluten-free options, try crushed pork rinds or almond flour. Mix with spices for flavor!
How do I know when frozen chicken is fully cooked?
Use a meat thermometer—165°F in the thickest part is safe. No thermometer? Cut into the center: juices should run clear (not pink), and the breading should be golden-brown. Never guess!
Frying frozen chicken in the oven is a game-changer—crispy skin, juicy meat, and zero deep-fry mess! 🍗 Whether you’re whipping up a quick weeknight dinner or meal prepping for the week, this method delivers restaurant-quality results with minimal effort. Just remember: patience with preheating and even spacing are your secret weapons for that perfect crunch.
Ready to level up your chicken game? Grab a bag of frozen chicken, fire up that oven, and get cooking! For extra flavor, try experimenting with different seasonings or dipping sauces next time. Happy frying! 😋

- Jollof Rice Sauce Recipe: West African Tomato and Spice Infusion - September 25, 2026
- Japanese Rice Soup Recipe: Umami-Rich Comfort in a Bowl - September 25, 2026
- Homemade Cream Of Rice Recipe: Silk-Smooth Breakfast in Minutes - September 25, 2026