
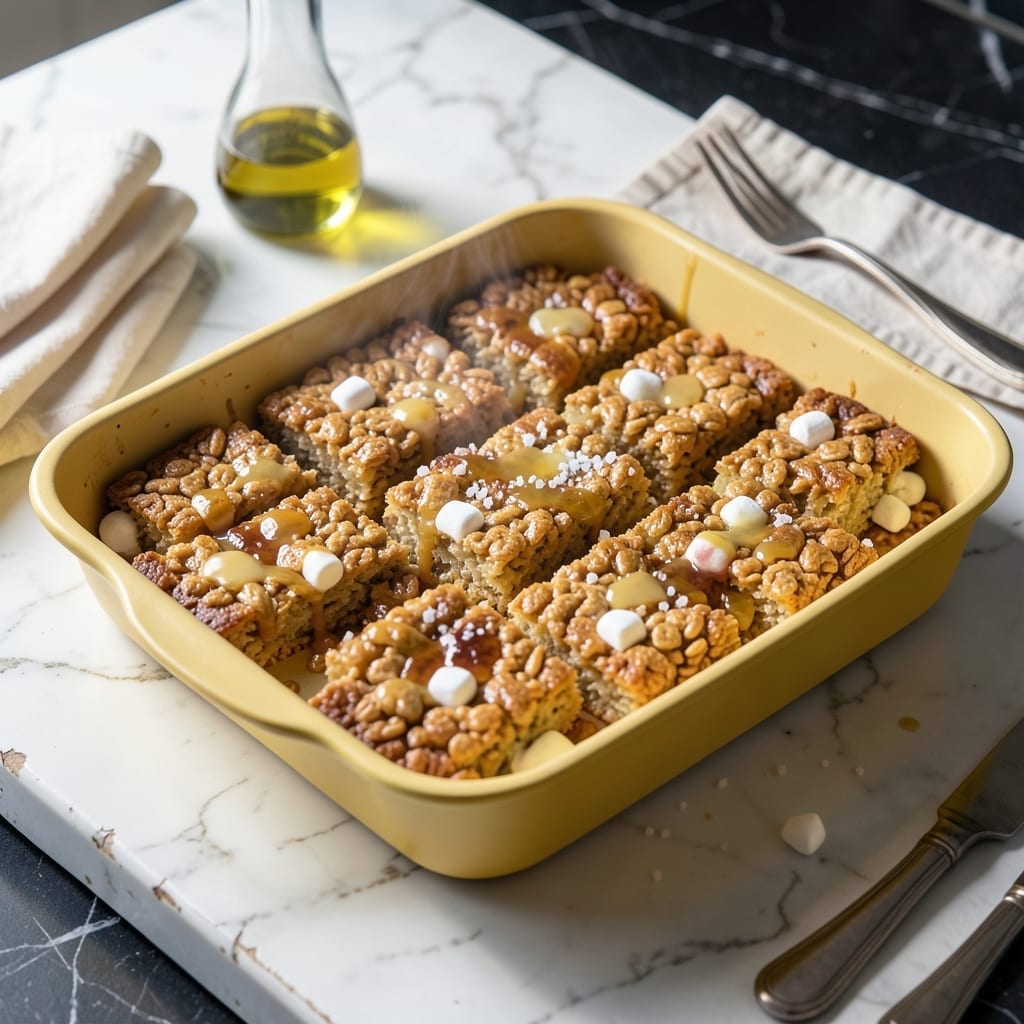
There’s a reason these treats have stood the test of time—perfectly balanced buttery sweetness with that signature crispy texture. I’ve tested countless variations to nail this version that stays soft yet holds its shape.
The secret lies in precise melting and timing. Too much heat and the marshmallows turn tough; too little and the mixture won’t bind properly. This method delivers restaurant-quality results every time.
You’ll get golden, glossy squares with a satisfying crunch in every bite. The buttery aroma alone will have everyone gathering in the kitchen before they’re even cool.
Ideal for bake sales, lunchboxes, or a quick sweet fix. This recipe proves simplicity often tastes the best.
Ingredients for Fuddruckers Rice Krispie Treat
Six simple ingredients create that nostalgic buttery crunch everyone loves in these timeless treats.
| Ingredient | Amount | Notes |
|---|---|---|
| Crispy Rice Cereal 🥣 | 6 cups | Kellogg's Rice Krispies recommended |
| Mini Marshmallows 🍬 | 10 oz | Fresh for best melt |
| Unsalted Butter 🧈 | ½ cup | Cut into 1-inch pieces |
| Vanilla Extract 🌿 | 1 tsp | Pure extract preferred |
| Fine Sea Salt 🧂 | ¼ tsp | Balances sweetness |
| Light Corn Syrup 💧 | 2 tbsp | Optional for extra chew |
| Neutral Cooking Spray 🫒 | 1 can | For greasing pan |
The butter quality matters here—Plugrá or Kerrygold give that rich, restaurant-style flavor. Use fresh marshmallows (they melt smoother than stale ones). For the cereal, Kellogg’s Rice Krispies are standard, but generic brands work in a pinch. I’ve found the name-brand holds its crisp texture slightly better after mixing. Look for marshmallows without waxy coatings.
Need to adjust? Regular marshmallows can replace minis at a 1:1 ratio by weight. For a vegan version, use Dandies brand marshmallows and plant-based butter. The corn syrup is optional but adds that signature chew—honey or agave work too (though texture varies slightly). Salt is non-negotiable—it cuts through the sweetness beautifully.
Store in an airtight container at room temperature for up to 3 days (if they last that long). For longer storage, freeze for up to 6 weeks—thaw at room temp before serving. Cutting tip: use a plastic knife for clean squares without sticky residue.
Why You’ll Love This Recipe
- One Pot Wonder: I melt the butter, toss in the mini marshmallows, and stir—no fancy equipment, just a saucepan and a spatula.
- Vanilla Kiss: The vanilla extract cuts through the sweetness, giving that warm, nostalgic bakery flavor.
- Party Ready: I bring these to every potluck, and they’re the first thing gone—kids and adults alike.
- Budget Friendly: A box of cereal and a bag of marshmallows feed a crowd for pennies. Honestly, it’s my go-to when I need a win without spending much.
Step-by-Step Instructions for Fuddruckers Rice Krispie Treats
Here’s the method. Straightforward, tested, works every time.
Step 1: Prepare the Pan and Melt the Butter
Lightly coat a 9×13-inch baking pan with the neutral cooking spray. This prevents sticking and makes cleanup effortless. I always use the spray liberally on the bottom and sides, even if it seems like overkill—it’s worth it.
In a large, heavy-bottomed pot, melt the 0.5 cup unsalted butter over medium-low heat. Cutting the butter into 1-inch pieces speeds up the process and ensures even melting without hot spots. Watch for the foam to subside and the butter to turn pale golden yellow.
Step 2: Dissolve the Marshmallows and Corn Syrup
Add the 10 oz mini marshmallows and 2 tbsp light corn syrup to the melted butter. Stir constantly with a silicone spatula or wooden spoon to prevent scorching. The mini marshmallows melt faster and more evenly than regular ones, creating a smoother texture.
Continue stirring until the mixture is completely smooth and glossy, with no visible marshmallow lumps. This should take about 5-7 minutes. If the mixture starts to darken or smell caramelized, reduce the heat immediately—you want a creamy base, not a burnt one.
Step 3: Add Flavorings and Incorporate the Cereal
Remove the pot from heat and stir in the 1 tsp vanilla extract and 0.25 tsp fine sea salt. The vanilla adds depth, while the salt balances the sweetness perfectly. Mix thoroughly to distribute the flavors evenly.
Working quickly, add all 6 cups crispy rice cereal to the pot. Gently fold the cereal into the marshmallow mixture using the spatula, ensuring every piece is evenly coated. The cereal should glisten with the marshmallow mixture, and the texture should be sticky but not soupy.
Step 4: Press and Shape the Treats
Transfer the mixture to the prepared baking pan. Using the spatula or buttered hands, press the mixture evenly into the pan. Apply firm, even pressure to compact the treats—this ensures they hold together when cut.
For that classic Fuddruckers texture, press the mixture into the corners and edges of the pan, creating a uniform layer about 1-inch thick. Avoid overworking the mixture, as this can make the treats dense rather than light and crispy.
Step 5: Cool and Cut into Squares
Let the treats cool at room temperature for 30 minutes to 1 hour, or until they’re completely set and firm to the touch. Resist the urge to cut them too soon—this can cause the squares to lose their shape.
Once cooled, use a sharp knife to cut into 16 equal squares. For clean cuts, dip the knife in warm water between slices. Store in an airtight container at room temperature for up to 3 days, though they’re best enjoyed fresh.
Pro Tips For Making Fuddruckers Rice Krispie Treat
- Melt Butter Low: Use medium-low heat when melting the butter to prevent browning—burnt butter will make your treats taste bitter. I learned this the hard way after ruining a batch with overzealous heat.
- Use Fresh Marshmallows: Skip the stale mini marshmallows; fresh ones melt smoother and give that perfect gooey texture. After burning three batches with old marshmallows, I finally figured out they were the culprit.
- Press Lightly: When pressing the mixture into the pan, use a buttered spatula and apply gentle pressure—packing too hard makes the treats dense and chewy instead of crisp. Sounds weird, but it works.
- Add Salt Last: Sprinkle the fine sea salt over the top after pressing the mixture into the pan, not while melting—this keeps the salt from dissolving and lets you taste it in every bite. My grandmother swore by this, and she was right.
Storing and Reheating This Recipe
Room Temperature Storage
Once completely cooled, I store these in an airtight container at room temperature. They’ll stay fresh and maintain that perfect chewy-crispy texture for up to 3 days. Line the container with parchment paper to prevent sticking.
Freezing for Longevity
For longer storage, I wrap individual squares in plastic wrap, then place them in a freezer bag. They freeze beautifully for up to 6 weeks. This is perfect when I want to make a big batch for future cravings. ❄️
Thawing Method
When ready to enjoy, I simply pull squares from the freezer and let them thaw at room temperature for about 30 minutes. No reheating needed—they’ll soften naturally while keeping their shape.
Reviving Stale Treats
If your treats lose their freshness after a day or two, place them in a 300°F oven for 5-8 minutes. This brings back that just-made softness. Watch closely to avoid over-toasting.
Portion Control Tip
I always cut the batch into 16 squares before storing. This makes it easy to grab one or two when a sweet craving hits. The squares keep their shape better when pre-cut.
Avoiding Common Mistakes
Never store these in the fridge—it makes them rock hard. Also, keep them away from humidity, which can make the cereal soggy. A cool, dry pantry is ideal. 💡
Nutrition Facts
Frequently Asked Questions
Can I use regular marshmallows instead of mini?
Yes! Use the same weight (10 oz). Regular ones take slightly longer to melt, so stir patiently over low heat to avoid scorching.
Why add corn syrup to the recipe?
It adds chewiness and helps prevent crystallization. Skip it if you prefer a firmer texture, but the 2 tbsp makes them extra gooey.
How do I prevent sticky cuts?
Dip your knife in warm water between slices. For cleanest edges, use a plastic knife or buttered metal knife.

- Gobi Fried Rice Recipe: Spiced Cauliflower Wok Delight - October 8, 2026
- Glutinous Rice Roll Recipe: Chewy Pillows With Savory Fillings - October 8, 2026
- Garlic Jasmine Rice Recipe: Fragrant Grains with Aromatic Depth - October 8, 2026