
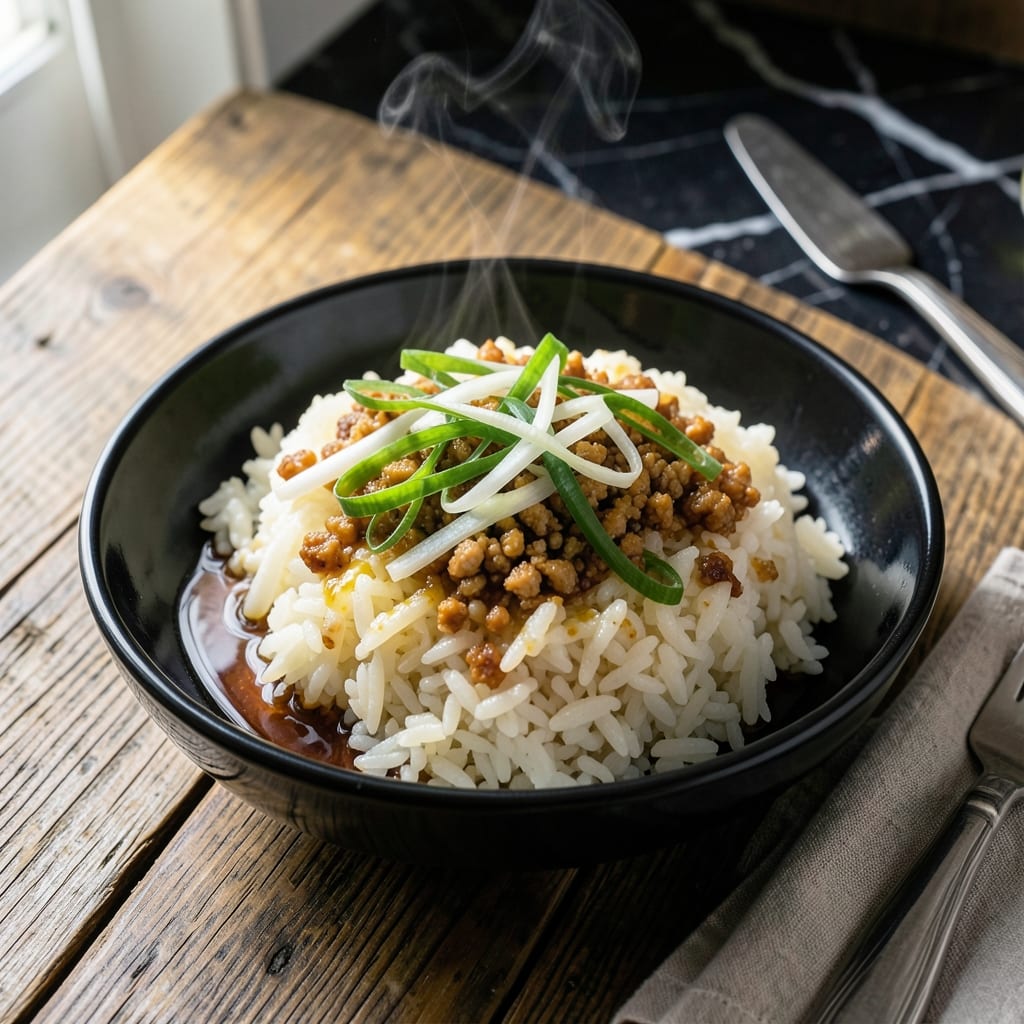
This Japanese-style garlic rice delivers an aromatic kick that perfectly complements grilled meats. The dish transforms simple ingredients into a savory side with deep, layered flavors.
Golden, buttery rice gets its signature taste from minced garlic and a touch of soy sauce. It pairs beautifully with any protein for a complete, restaurant-worthy meal at home.
Ingredients for Gyu Kaku Garlic Rice
Simple pantry staples transform into a restaurant-worthy Japanese side with aromatic depth.
| Ingredient | Amount | Notes |
|---|---|---|
| Jasmine Rice 🍚 | 2 cups | Rinsed until water runs clear |
| Unsalted Butter 🧈 | 4 tbsp | Divided for cooking and finishing |
| Garlic Cloves 🧄 | 8 cloves | Minced finely for even distribution |
| Soy Sauce 🥢 | 2 tbsp | Japanese variety preferred for authenticity |
| Green Onions 🧅 | 4 whole | Thinly sliced for garnish |
| Chicken Stock 🍲 | ½ cup | Low-sodium for controlled seasoning |
| Sesame Oil 🫒 | 1 tsp | Toasted for nutty aroma |
| Granulated Sugar 🍚 | 1 tsp | Balances savory flavors |
| Ground White Pepper 🌶️ | ¼ tsp | Traditional for subtle heat |
| Nori Seaweed Sheet 🌊 | 1 sheet | Crumbled for umami depth |
| Sesame Seeds 🌰 | 1 tbsp | Toasted for garnish |
The rice foundation demands quality. Jasmine rice from Thai brands like Elephant or Three Ladies delivers the right texture—avoid instant varieties. Unsalted butter allows precise seasoning control; Plugrá or Organic Valley are reliable choices. Fresh garlic is non-negotiable—pre-minced lacks the pungent kick. For soy sauce, Kikkoman or Yamasa provide authentic Japanese flavor without overpowering saltiness.
No jasmine rice? Short-grain sushi rice works but requires 10% less water. Substitute green onions with chives or scallions at a 1:1 ratio. If avoiding dairy, coconut oil mimics butter’s richness. For extra umami, add 1 tsp miso paste to the cooking liquid. White pepper can be replaced with black pepper in a pinch, though the flavor profile shifts slightly.
Cooked rice holds in the fridge for 3-4 days but loses freshness quickly. Store garlic in a cool, dark place for up to 3 months. Toasted sesame seeds keep in an airtight container for 1 month. Reheat rice with a splash of water to restore moisture.
Why You’ll Love This Recipe
- One Pot Wonder: I just throw jasmine rice, butter, and minced garlic in a pot—no fancy steps, no stress.
- Umami Bomb: The soy sauce and caramelized garlic make every bite ridicously rich and savory.
- Feeds a Crowd: Between us, this is my go-to for potlucks—doubles easily and disappears fast.
- Budget Hero: Jasmine rice and a few pantry staples stretch into a filling side for under five bucks.
Step-by-Step Instructions for Japanese-Style Garlic Rice
Master this technique for perfectly fragrant rice with balanced umami and sweetness every time.
Step 1: Prepare and Cook the Jasmine Rice
Rinse the 2 cups jasmine rice under cold water until the water runs completely clear. This removes excess starch and prevents a gummy texture. I always use a fine-mesh strainer for this step to make it easier.
Combine the rinsed rice with 0.5 cup chicken stock and enough water to reach the standard rice-to-liquid ratio in your rice cooker or pot. Cook according to your usual method until tender. The grains should be distinct and fluffy when done, not mushy or clumped together.
Step 2: Infuse the Rice with Garlic and Butter
While the rice cooks, melt 2 tbsp unsalted butter in a large skillet over medium heat. Add the 8 cloves minced garlic and sauté for 1-2 minutes until fragrant but not browned—burnt garlic turns bitter and ruins the flavor.
Add the cooked jasmine rice to the skillet, breaking up any clumps with a wooden spoon. Stir in the remaining 2 tbsp unsalted butter, 2 tbsp soy sauce, 1 tsp granulated sugar, and 0.25 tsp ground white pepper. Mix thoroughly to ensure every grain is coated with the garlicky butter mixture.
Step 3: Finish with Aromatic Oils and Seasonings
Drizzle the 1 tsp sesame oil over the rice and stir to incorporate. The toasted sesame oil adds a nutty depth that complements the garlic beautifully. Taste and adjust seasoning if needed—remember that soy sauce is salty, so go easy on additional salt.
This is where the dish comes together. The rice should glisten with the sheen of the oils and butter, and the aroma should be irresistibly savory with a hint of sweetness from the sugar.
Step 4: Garnish and Serve
Transfer the garlic rice to a serving dish. Crumble the 1 sheet nori seaweed sheet over the top for a subtle oceanic umami that’s characteristic of Japanese flavors. Then sprinkle with the 4 whole thinly sliced green onions and 1 tbsp toasted sesame seeds for freshness and crunch.
Serve immediately while hot. The contrast of textures—soft rice, crispy nori, and crunchy sesame seeds—combined with the layered flavors makes this dish truly special. The garlic should be mellow and sweet, not overpowering, with each bite offering a perfect balance of savory, sweet, and umami notes.
Pro Tips For Making Gyu Kaku Garlic Rice
- Toast the Garlic: Cook minced garlic in butter over medium-low heat until just golden—about 2-3 minutes—then pull it off immediately. Burnt garlic turns bitter and ruins the flavor.
- Use Day-Old Rice: I learned this the hard way—freshly cooked jasmine rice turns mushy. Spread leftover rice on a tray and refrigerate overnight for the perfect texture.
- Salt the Butter: Since you’re using unsalted butter, add a pinch of salt to it as it melts. Soy sauce alone won’t season the rice evenly.
- Finish with Raw Onions: Skip cooking the green onions—add them fresh at the end for a bright, crisp contrast to the rich garlic butter rice.
Make-Ahead Tips for This gyu kaku garlic rice
Prep Rice Ahead
Cook the 2 cups jasmine rice up to 2 days in advance. Spread it on a tray to cool completely, then store in an airtight container in the fridge. This prevents clumping and preserves texture for stir-frying later. ❄️
Garlic Butter Mix
Prepare the garlic butter mixture the night before. Melt 4 tbsp unsalted butter and mix with 8 cloves minced garlic. Store in a jar in the fridge. The flavors meld overnight, creating a more robust taste when you cook.
Pre-Toasting Garnishes
Toast the 1 tbsp sesame seeds and crumble the 1 sheet nori seaweed up to 3 days ahead. Keep them in separate airtight containers at room temperature. This saves time and ensures your garnishes are ready to go.
Reheating Method
Reheat the rice in a skillet over medium heat with a splash of water or chicken stock. Add the pre-made garlic butter and other seasonings. Stir-fry for 3-4 minutes until hot and fragrant. 🔥
Garnish Before Serving
Always add the sliced green onions and toasted garnishes just before serving. This keeps them fresh and crisp. The contrast of textures is what makes this dish shine.
Freezing Options
Cooked, seasoned rice freezes well for up to 1 month. Portion into freezer bags, squeeze out air, and label. Thaw overnight in the fridge before reheating on the stovetop.
Nutrition Facts
Frequently Asked Questions
Can I use a different type of rice?
Yes! While jasmine rice is traditional, short-grain sushi rice works too. Just reduce water by 10% to avoid mushiness.
How do I prevent the garlic from burning?
Sauté over medium heat for only 1-2 minutes. Stop when fragrant but not browned—burnt garlic tastes bitter.
What can I substitute for nori seaweed?
Use 1 tsp fish sauce or 1 tbsp bonito flakes for similar umami depth. Both add that essential oceanic flavor.
Can this be made vegan?
Replace butter with coconut oil and chicken stock with vegetable broth. The flavor stays rich.

- Ground Beef Rice and Beans Recipe: Slow-Simmered Savory Harmony - October 17, 2026
- Guyanese Fried Rice Recipe: Caribbean Spice With Wok-Charred Aromatics - October 17, 2026
- Hakka Thunder Tea Rice Recipe: Wok-Charred Herbal Infusion - October 17, 2026