
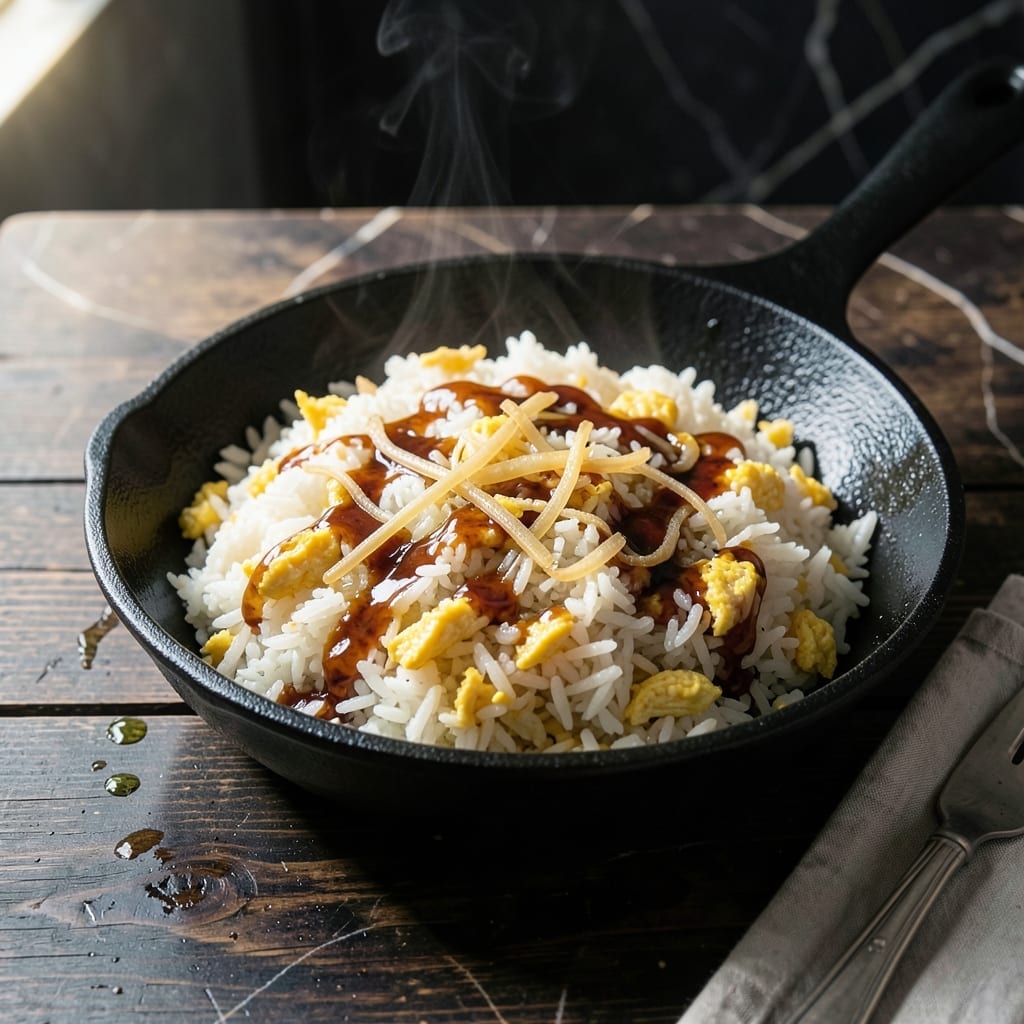
This hibachi-style fried rice delivers authentic Japanese flavor without the vegetables, focusing on the essential elements that make it irresistible. I developed this recipe after countless trials in my small kitchen, perfecting the balance of umami and simplicity.
Using high heat and a well-seasoned wok, this dish comes together quickly with minimum ingredients. The key is cooking the rice a day ahead to achieve that signature dry texture that absorbs flavors beautifully.
Each bite offers tender grains, scrambled egg richness, and a subtle soy-based seasoning that defines hibachi cooking. The absence of vegetables lets the rice and protein shine, creating a dish that’s both comforting and authentic.
Serve it as a side or main dish with your choice of protein. This method ensures consistent, restaurant-quality results every time.
Ingredients for Hibachi Fried Rice Recipe No Vegetables
Day-old rice, eggs, and soy sauce create this wok-seared classic with authentic Japanese flavor.
| Ingredient | Amount | Notes |
|---|---|---|
| Jasmine Rice 🍚 | 2 cups | Day-old, cooked and chilled |
| Large Eggs 🥚 | 3 whole | Lightly beaten for scrambling |
| Soy Sauce 🫙 | 3 tbsp | Low-sodium preferred for balance |
| Neutral Oil 🛢️ | 2 tbsp | High smoke point, like vegetable or canola |
| Sesame Oil 🛢️ | 1 tsp | Toasted, for finishing aroma |
| Garlic Cloves 🧄 | 2 cloves | Minced for umami depth |
| White Granulated Sugar 🍚 | 1 tsp | Balances soy saltiness |
| White Pepper 🌶️ | ¼ tsp | Ground, traditional hibachi flavor |
| Green Onions 🧅 | 3 whole | Thinly sliced for garnish |
| Sesame Seeds 🌰 | 1 tsp | Toasted, for final garnish |
| Salt 🧂 | ½ tsp | Adjust to taste after cooking |
| Butter 🧈 | 1 tbsp | Optional, for richer egg flavor |
Jasmine rice is non-negotiable here—its subtle floral notes and slightly sticky texture are what restaurant chefs use. Cook it a day ahead and spread it on a sheet pan to dry out completely (this is key). For soy sauce, Kikkoman low-sodium is the standard, but Yamasa or Pearl River Bridge bring more depth. The neutral oil needs a high smoke point—avocado oil works beautifully if you’re avoiding seed oils.
No jasmine rice? Short-grain white rice is the only acceptable substitute—long-grain gets too dry. Skip the white pepper? Black pepper works, but it won’t look as clean. The sugar might seem odd, but it’s essential for balancing the soy’s saltiness. For extra umami, a splash of msg or dashi powder (found at Asian markets) takes this to the next level.
Leftover fried rice actually improves overnight as flavors meld. Store in an airtight container in the fridge for up to 4 days. Reheat in a skillet with a splash of water to restore moisture—microwaving works but can make it soggy. Freezes well for up to 3 months if you’ll actually use it.
Why You’ll Love This Recipe
- One Pan Wonder: I love that this comes together in a single skillet—no chopping, just rice, eggs, and sauces.
- Rich Umami Hit: The combo of soy and sesame oil gives it that deep, savory flavor I crave without any fuss.
- Weeknight Savior: Between us, I make this on busy nights when I need something fast and filling.
- Budget Stretch: A handful of pantry staples turns leftover jasmine rice into a meal that feeds the whole family.
Step-by-Step Instructions for Hibachi Fried Rice
Master the technique for restaurant-quality results with precise timing and heat control.
Step 1: Prepare the Rice and Aromatics
Begin by breaking up the 2 cups jasmine rice with your hands to ensure no clumps remain. The rice should be cold and dry—this prevents it from turning mushy during cooking. I recommend spreading it on a tray and refrigerating uncovered for 1 hour if it’s freshly cooked.
Mince the 2 cloves garlic cloves finely and thinly slice the 3 whole green onions, keeping the white and green parts separate for layered flavor. Have all ingredients measured and within reach—this dish moves quickly once the cooking begins.
Step 2: Scramble the Eggs with Butter
Heat a wok or large skillet over medium-high heat until a drop of water sizzles and evaporates instantly. Add the 1 tbsp butter and swirl to coat the surface. Pour in the 3 whole large eggs and let them set for 10 seconds before gently scrambling with a spatula.
Cook the eggs until just set but still slightly runny, about 30-45 seconds. The residual heat will finish cooking them as you proceed. Transfer the eggs to a plate and set aside—they’ll be folded back in at the end for a tender, distinct texture.
Step 3: Sear the Rice and Season
Increase the heat to high and add the 2 tbsp neutral oil to the same wok. Once the oil shimmers, add the minced garlic and stir for 15 seconds until fragrant but not browned. Immediately add the 2 cups jasmine rice and press it into the pan with your spatula.
Let the rice sit undisturbed for 1 minute to develop a slight crust, then stir-fry for another 2-3 minutes until the grains are hot and beginning to crisp. Add the 0.5 tsp salt, 0.25 tsp white pepper, and 1 tsp white granulated sugar, tossing to distribute evenly. The sugar balances the saltiness of the soy sauce, while the white pepper adds authentic hibachi flavor.
Step 4: Combine with Soy Sauce and Finish
Drizzle the 3 tbsp soy sauce around the edges of the wok, allowing it to sizzle before stirring it into the rice. This prevents the sauce from pooling in one spot and ensures even distribution. Return the scrambled eggs to the wok and fold them gently into the rice.
Cook for another 1-2 minutes until everything is heated through and the rice has a light, golden-brown hue from the soy sauce. Remove from heat and stir in the 1 tsp sesame oil. The toasted aroma will bloom immediately, signaling it’s ready.
Step 5: Garnish and Serve
Transfer the fried rice to a serving platter or individual bowls. Garnish with the sliced green onions and 1 tsp sesame seeds, scattering them evenly over the top for a pop of color and texture. The green onions add a fresh, sharp contrast to the rich, savory rice.
Serve immediately while hot. The ideal bite should have distinct grains of rice, tender egg, and a glossy sheen from the soy sauce. Adjust seasoning with additional soy sauce or salt to taste if needed, though the balance should already be precise.
Pro Tips For Making Hibachi Fried Rice Recipe No Vegetables
- Use Cold Rice: Always start with day-old jasmine rice straight from the fridge—fresh rice turns to mush when stir-fried. I learned this the hard way after making gluey rice more times than I’d like to admit.
- High Heat Only: Crank your burner to max and keep the wok or pan screaming hot. After burning three batches at lower temps, I finally figured out that only high heat gives you those coveted crispy bits.
- Scramble Eggs First: Push the rice to one side, add a little more neutral oil, then scramble the eggs until just set before mixing everything together. This keeps them fluffy instead of rubbery.
- Finish With Sesame Oil: Drizzle the sesame oil at the very end, off the heat—it adds aroma without burning. Sounds weird, but it works: the flavor stays bright and doesn’t turn bitter.
Creative Variations of hibachi fried rice recipe no vegetables
Protein-Packed Chicken
Add 1 lb boneless chicken thighs, diced into ½-inch pieces, after the garlic. Cook until no longer pink, about 4-5 minutes. I prefer thighs for their juiciness, but breasts work if you monitor closely. The chicken absorbs the soy sauce beautifully. 🍗
Shrimp Hibachi Style
For seafood lovers, use 1 lb large shrimp, peeled and deveined. Cook them in the wok for just 2-3 minutes per side until pink and opaque. Remove the shrimp before adding the rice, then fold them back in at the end to prevent overcooking.
Beef and Rice
Swap in 1 lb flank steak, thinly sliced against the grain. Sear the beef in the wok first, then set aside. Add it back with the rice for a hearty, meaty version. The beef’s richness pairs perfectly with the umami seasonings.
Bacon Twist
Cook 6 slices crispy bacon first, then crumble it into the rice at the end. The smoky flavor adds depth, and the fat renders into the dish for extra richness. I tested this in my tiny Boston kitchen—it’s a crowd-pleaser.
Spicy Kick
Add 1 tbsp sriracha or 1 tsp chili oil with the soy sauce for heat. A pinch of red pepper flakes works too. Balance the spice with an extra ½ tsp sugar to keep the flavors harmonious. 🌶️
Cheesy Indulgence
Stir in ½ cup shredded cheddar or Parmesan at the very end. The cheese melts into the hot rice, creating a creamy, savory texture. This was inspired by a late-night craving in my marketing days.
Nutrition Facts
Frequently Asked Questions
Why use day-old rice?
Day-old rice is drier, which prevents mushiness when stir-fried. Fresh rice contains too much moisture and will turn to porridge in the wok. Spread it on a tray to dry out for 1 hour if freshly cooked.
Can I use a regular skillet instead of a wok?
Yes, a large skillet works fine, though a wok’s high sides and wide surface make tossing easier. Use high heat and cook in batches if needed to avoid overcrowding.
How do I keep the eggs tender?
Cook the eggs just until set but still slightly runny, about 30-45 seconds. Remove them from the pan and fold back in at the end to finish cooking. This keeps them soft and distinct.
What if my rice is too dry?
Sprinkle 1-2 teaspoons of water over the rice and stir-fry for another minute. The steam will restore moisture without making it soggy. Avoid adding oil, as it won’t rehydrate the grains.

- Ground Beef Rice and Beans Recipe: Slow-Simmered Savory Harmony - October 17, 2026
- Guyanese Fried Rice Recipe: Caribbean Spice With Wok-Charred Aromatics - October 17, 2026
- Hakka Thunder Tea Rice Recipe: Wok-Charred Herbal Infusion - October 17, 2026