
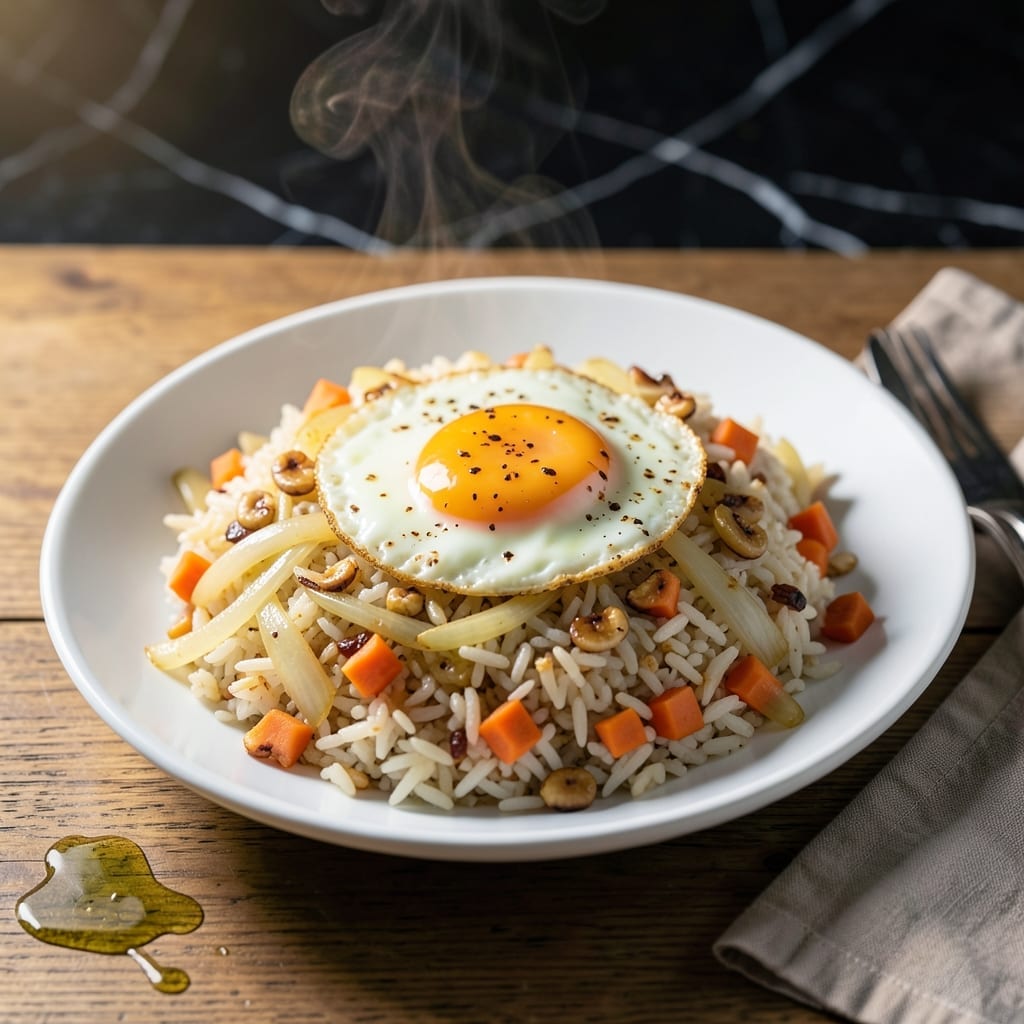
This teppanyaki-style creation brings the sizzle and aroma of hibachi restaurants straight to your home kitchen. I developed this method after years of testing to capture that signature garlic flavor and perfect texture.
The secret lies in using day-old rice, high heat, and a precise sequence of ingredients. Each component builds upon the last to create layers of flavor that define authentic hibachi fried rice.
What emerges is a dish with distinct charred bits, fragrant garlic notes, and that coveted wok hay aroma. The rice grains remain separate yet infused with savory depth from soy sauce and butter.
Serve this as a side or main course—it pairs perfectly with grilled proteins or stands beautifully on its own.
Ingredients for Hibachi Garlic Fried Rice
Day-old rice, fresh garlic, and a few pantry staples create this teppanyaki-inspired dish.
| Ingredient | Amount | Notes |
|---|---|---|
| Day-Old Cooked White Rice 🍚 | 4 cups | Cold, preferably overnight |
| Unsalted Butter 🧈 | 4 tbsp | Divided for cooking |
| Garlic Cloves 🧄 | 6 cloves | Minced for maximum flavor |
| Large Eggs 🥚 | 2 whole | Lightly beaten |
| Yellow Onion 🧅 | ½ whole | Finely diced |
| Carrots 🥕 | 2 whole | Medium, finely diced |
| Zucchini 🥒 | 1 whole | Medium, finely diced |
| Soy Sauce 💧 | 3 tbsp | Low-sodium preferred |
| Worcestershire Sauce 💧 | 1 tbsp | Adds umami depth |
| Sesame Oil 🫒 | 1 tsp | Toasted for aroma |
| Salt 🧂 | ½ tsp | Adjust to taste |
| Black Pepper 🌶️ | ¼ tsp | Freshly ground |
| Green Onions 🌿 | 3 whole | Thinly sliced for garnish |
The rice must be day-old and cold—freshly cooked rice will turn mushy under high heat. Jasmine or short-grain white rice works best for that authentic hibachi texture. For the garlic, fresh cloves are non-negotiable; mince them finely to distribute the flavor evenly. Butter quality matters here—European-style unsalted butter has a higher fat content, which helps achieve that signature sizzle.
No Worcestershire? Oyster sauce at half the amount adds similar depth (though not strictly traditional). Frozen peas or corn can replace the zucchini if preferred. For a gluten-free version, use tamari instead of soy sauce. The sesame oil should be toasted—it has a deeper, nuttier flavor that defines the aroma. Skip the pre-minced garlic in jars; it lacks the freshness needed.
This reheats well but tastes best fresh off the heat. Store leftovers in an airtight container in the fridge for up to 4 days. Freeze portions for 1 month if needed (reheat from frozen in a skillet with a splash of water).
Why You’ll Love This Recipe
- 20-Minute Meal: I can get this on the table faster than takeout arrives—just toss day-old rice with butter, garlic, and eggs.
- Garlic Lovers’ Dream: The butter-toasted garlic and sweet onion make every bite so rich I’ve caught myself sneaking forkfuls straight from the pan.
- Feeds the Fam: It stretches a pot of leftover white rice into a hearty dinner that even my picky nephew cleans his plate for.
- Penny-Wise Plate: Honestly, I spend less on ingredients for a big batch of this than I would on a single restaurant portion.
Step-by-Step Instructions for Hibachi Garlic Fried Rice
Master the technique behind this restaurant favorite with precise timing and layering of flavors.
Step 1: Prepare and Sauté the Aromatics
Heat 2 tbsp unsalted butter in a large skillet or wok over medium-high heat. Add the 6 cloves minced garlic cloves and 0.5 whole finely diced yellow onion, stirring constantly for 2-3 minutes until the onion becomes translucent and the garlic releases its fragrance.
This foundation layer builds the signature hibachi aroma. Watch closely—garlic burns quickly at high heat. The moment it turns light golden, add the remaining 2 tbsp unsalted butter to the pan.
Step 2: Cook the Vegetables Until Tender-Crisp
Add the 2 whole finely diced carrots and 1 whole finely diced zucchini to the skillet. Sauté for 4-5 minutes, stirring occasionally, until the vegetables soften slightly but retain a vibrant color and slight bite.
The small, uniform dice ensures even cooking. If the pan seems dry, add a splash of water to deglaze and prevent sticking. The vegetables should glisten but not release excess moisture that could make the rice soggy.
Step 3: Scramble the Eggs and Incorporate the Rice
Push the vegetables to one side of the pan and pour the 2 whole lightly beaten large eggs into the cleared space. Scramble gently with a spatula until the eggs are just set but still moist—about 1-2 minutes.
Immediately add all 4 cups day-old cooked white rice, breaking up any clumps with your spatula. The cold rice is crucial—it fries up fluffy rather than mushy. Distribute the rice evenly and press down lightly to ensure contact with the hot surface.
Step 4: Season and Finish with Signature Flavors
Drizzle the 3 tbsp soy sauce, 1 tbsp Worcestershire sauce, and 1 tsp sesame oil evenly over the rice. Sprinkle with 0.5 tsp salt and 0.25 tsp black pepper. Stir-fry for another 3-4 minutes until the rice is heated through and the edges begin to crisp slightly.
Taste and adjust seasoning if needed. The rice should have a glossy sheen from the sauces and a subtle smoky depth from the sesame oil. Remove from heat when the grains are separate and lightly toasted.
Step 5: Garnish and Serve Immediately
Transfer to a serving platter and top with the 3 whole thinly sliced green onions. The bright green contrast adds freshness and a mild onion bite that complements the rich, savory base.
Serve while hot—the texture is best fresh from the pan, with each grain distinct yet coated in flavor. The final dish should have a balanced savory-sweet profile with a hint of umami complexity from the Worcestershire sauce.
Pro Tips For Making Hibachi Garlic Fried Rice
- Use Cold Rice: Day-old rice from the fridge works best—it’s drier and fries up fluffier instead of turning mushy. I learned this the hard way after ruining a batch with fresh rice.
- Mince Garlic Fine: Chop the garlic into tiny pieces so it distributes evenly and cooks quickly without burning. Sounds tedious, but it actually changes the outcome.
- Beat Eggs First: Whisk the eggs with a pinch of salt before adding them to the pan—this guarantees even cooking and silky texture. Skip the lazy pour-and-scramble approach.
- High Heat Only: Crank the burner to high and keep the pan screaming hot for that classic hibachi char. After burning three batches, I finally figured out low heat just steams the rice.
Health Benefits of hibachi garlic fried rice
Rich in Antioxidants
Garlic is the star here, packed with allicin and other compounds that boost your immune system. Each clove provides antioxidants that help combat oxidative stress. This dish delivers a significant dose of these benefits through its generous use of fresh garlic. 💪
Vegetable Nutrient Boost
The carrots and zucchini add vitamin A and vitamin C, supporting eye health and immune function. Carrots bring beta-carotene, while zucchini offers a light, hydrating crunch. Together, they balance the dish with essential micronutrients.
High-Quality Energy
White rice provides quick-digesting carbohydrates for immediate energy, ideal for active days. The eggs add complete protein with all nine essential amino acids. This combo keeps you full and energized without weighing you down.
Heart-Healthy Fats
Butter and sesame oil contribute healthy fats that support cell function and nutrient absorption. Sesame oil, in particular, contains sesamol, an antioxidant linked to heart health. These fats also help carry the dish’s fat-soluble vitamins.
Low-Calorie Flavor
At roughly 300-350 calories per serving, this dish packs big flavor without excess calories. The soy and Worcestershire sauces add depth while keeping sodium in check, especially if you opt for low-sodium soy sauce. It’s a guilt-free indulgence. ✨
Nutrition Facts
Frequently Asked Questions
Why use day-old rice for this recipe?
Day-old rice has dried out slightly, preventing mushiness when stir-fried. Fresh rice contains too much moisture, which steams rather than fries. For best results, spread cooked rice on a tray and refrigerate overnight.
Can I add meat to this fried rice?
Add cooked shrimp, chicken, or diced steak after the eggs but before the rice. Cook until heated through, about 2-3 minutes. This keeps the meat tender while absorbing the flavors.
What’s the best way to prevent garlic from burning?
Cook garlic over medium-high heat and stir constantly. Remove it from the pan if it starts to brown too quickly. Adding butter helps moderate the heat and prevents bitter, burnt flavors.
How do I get that restaurant-style sizzle?
Use a well-heated wok or skillet and work in small batches. High heat creates the signature char and aroma. Press the rice down lightly to encourage crisping on the edges.

- Ground Beef Rice and Beans Recipe: Slow-Simmered Savory Harmony - October 17, 2026
- Guyanese Fried Rice Recipe: Caribbean Spice With Wok-Charred Aromatics - October 17, 2026
- Hakka Thunder Tea Rice Recipe: Wok-Charred Herbal Infusion - October 17, 2026