
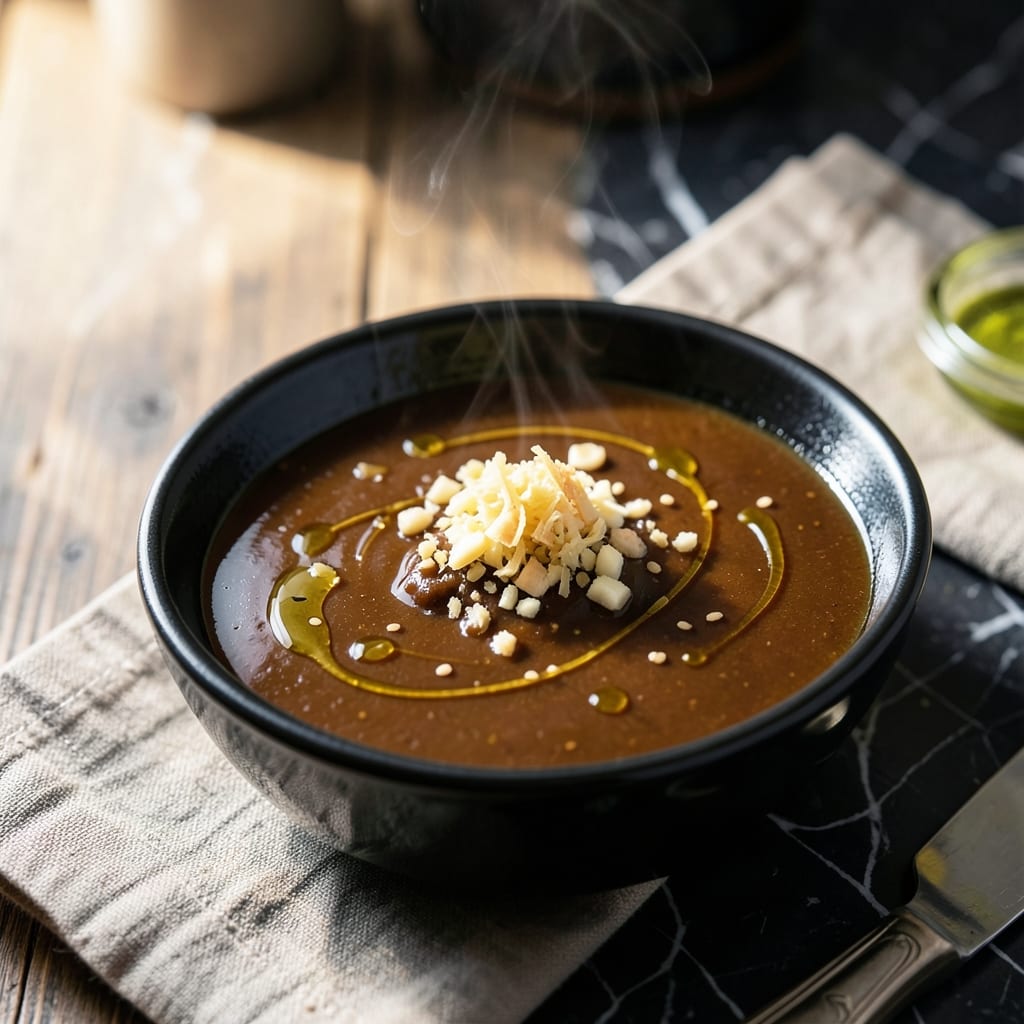
This sauce transforms plain rice into a restaurant-quality teppanyaki experience with minimal effort. The balance of savory, sweet, and umami flavors makes it irresistibly addictive.
What sets this sauce apart is its simplicity—just a handful of pantry staples like soy sauce, sesame oil, and garlic come together in minutes. No cooking required, just whisk and serve.
The result is a glossy, umami-rich drizzle that clings perfectly to steamed rice, vegetables, or grilled proteins. Its versatility makes it a staple for any home cook.
Store in the refrigerator for up to a week, or double the batch to keep on hand for quick meals. This sauce elevates every dish it touches.
Ingredients for Hibachi Rice Sauce
A handful of pantry staples creates this glossy, umami-packed teppanyaki sauce in minutes.
| Ingredient | Amount | Notes |
|---|---|---|
| Low-Sodium Soy Sauce 🫕 | ½ cup | Tamari for gluten-free option |
| Sesame Oil 🫒 | 2 tbsp | Toasted variety essential |
| Rice Vinegar 💧 | 2 tbsp | Unseasoned for balance |
| Granulated Sugar 🍚 | 2 tbsp | White or brown works |
| Garlic Cloves 🧄 | 3 cloves | Minced for even distribution |
| Fresh Ginger Root 🌿 | 1 tbsp | Finely grated for smoothness |
| Green Onions 🧅 | 2 whole | Thinly sliced for garnish |
| Toasted Sesame Seeds 🌰 | 1 tsp | Optional but recommended |
The soy sauce is the foundation here. Kikkoman low-sodium is my go-to for balance, but any quality brand works. Tamari is the gluten-free swap. Sesame oil must be toasted—Kadoya at Asian markets has the best flavor. Fresh ginger and garlic are non-negotiable; jarred versions lack the brightness. Most supermarkets carry all these in the international aisle.
No rice vinegar? Apple cider vinegar at one-to-one works in a pinch. Brown sugar can replace white (slightly deeper flavor). Out of fresh ginger? Ground ginger at one-fourth the amount—not ideal but acceptable. For extra umami, a dash of fish sauce (or vegan alternative) deepens the profile without overpowering. Skip the sesame seeds if needed, but they add texture.
This keeps beautifully. Store in an airtight container for up to one week in the fridge. For longer storage, freeze in ice cube trays for up to 3 months. The flavors meld overnight, so it tastes even better the next day.
Why You’ll Love This Recipe
- 5-Minute Mix: I just dump everything in a bowl—soy sauce, sesame oil, vinegar, sugar, and garlic—and stir. Honestly, that’s it.
- Umami Bomb: The garlic and sesame oil hit you first, then the sweetness balances it out perfectly. I could drink this straight from the spoon.
- Weeknight Hero: I toss it with rice for quick dinners, drizzle over veggies, or use as a marinade. Between us, it’s my secret for making leftovers disappear.
- Pantry Staples: No fancy ingredients here. I always have these basics on hand, so it’s ready whenever I need a flavor boost.
Step-by-Step Instructions for Hibachi Rice Sauce
Master the technique behind this umami-packed sauce with precision and professional finesse.
Step 1: Infuse the Aromatics in Oil
Heat the 2 tbsp Sesame Oil in a small saucepan over medium-low heat until it shimmers slightly. Add the 3 cloves Garlic Cloves (minced) and 1 tbsp Fresh Ginger Root (finely grated). Sauté for 2-3 minutes until the mixture becomes fragrant and just begins to turn golden.
This step extracts the essential oils and deepens the flavor profile. Watch carefully—the garlic should not brown or it will impart bitterness. The ginger will soften slightly and release its pungent, warm aroma, signaling it’s ready for the next addition.
Step 2: Balance Sweet and Acidic Components
Pour in the 0.5 cup Low-Sodium Soy Sauce, 2 tbsp Rice Vinegar, and 2 tbsp Granulated Sugar. Stir vigorously to dissolve the sugar completely. The mixture should begin to simmer gently around the edges within 1-2 minutes.
As the sugar dissolves, the sauce will take on a glossy sheen. The vinegar’s sharpness will mellow as it combines with the soy sauce’s saltiness, creating the foundational umami balance. Maintain the medium-low heat to prevent scorching while allowing the flavors to meld.
Step 3: Simmer to Optimal Consistency
Reduce heat to low and let the sauce simmer uncovered for 5-7 minutes. The liquid will reduce slightly, becoming thick enough to coat the back of a spoon without being syrupy.
During this time, stir occasionally to prevent any sugars from caramelizing on the bottom. The sauce should maintain a smooth, homogeneous appearance. The aroma will intensify, filling your kitchen with the characteristic hibachi scent that signals it’s nearly complete.
Step 4: Finish and Rest for Flavor Development
Remove from heat and let the sauce cool for 10 minutes at room temperature. This resting period allows the flavors to fully marry and the sauce to reach its ideal viscosity.
As it cools, thinly slice the 2 whole Green Onions and set aside. The sauce will thicken slightly as it cools, achieving the perfect drizzling consistency. Taste and adjust seasoning if needed, though the measured ingredients should provide perfect balance.
Step 5: Garnish and Serve
Just before serving, stir in the sliced green onions and 1 tsp Toasted Sesame Seeds. The green onions add a fresh, crisp contrast to the rich sauce, while the sesame seeds contribute nutty depth and visual appeal.
Transfer to a serving container or drizzle directly over warm hibachi rice. The sauce should glisten invitingly and pool slightly when poured, indicating its ideal texture. Use immediately for best flavor, though it keeps well refrigerated for up to one week.
Pro Tips For Making Hibachi Rice Sauce
- Bloom the Garlic: Cook the minced garlic in sesame oil for 30-45 seconds until fragrant—any longer and it turns bitter. I learned this the hard way after ruining two batches with burnt garlic.
- Dissolve the Sugar: Heat the soy sauce, vinegar, and sugar together for 2-3 minutes, stirring constantly, to fully dissolve the sugar. Sounds tedious, but it prevents that grainy texture in your finished sauce.
- Skip the High Heat: Keep the sauce at a gentle simmer, not a rolling boil, or the vinegar will evaporate too quickly and throw off the balance. After burning one batch, I finally switched to medium-low.
- Use Fresh Garlic: Pre-minced garlic from a jar lacks the punch you need for this sauce. Fresh cloves, minced fine, make a real difference in flavor depth.
Dietary Considerations for These Flavors
Gluten-Free Adaptation
For those avoiding gluten, simply swap the soy sauce for tamari—it delivers the same rich, salty depth without the wheat. I use San-J tamari as my go-to brand. The flavor profile remains nearly identical, and the texture stays perfectly glossy. 💡
Vegan Modifications
This sauce is naturally vegan as written, but you can boost the umami further with 1 tsp vegan fish sauce or a dash of liquid smoke. The sesame oil and soy base already provide plant-based richness that pairs beautifully with tofu or tempeh.
Low-Sodium Option
Cut the sodium by using low-sodium tamari and reducing the soy sauce to ⅓ cup. Balance the flavor with an extra ½ tsp sugar and 1 tsp rice vinegar. The sauce will be lighter but still packed with that signature teppanyaki taste.
Nut-Free Version
If sesame allergies are a concern, replace the sesame oil with avocado oil and skip the sesame seeds. The flavor will shift slightly, but toasted sunflower seeds can add a similar crunch without the allergen risk.
Sugar Alternatives
For a refined sugar-free version, use coconut sugar or maple syrup at a one-to-one ratio. The caramel notes in maple syrup add a subtle depth that complements the soy beautifully. I’ve tested both with great results.
Allium-Free Adjustment
Omit the garlic and green onions for those sensitive to alliums. Compensate with ½ tsp asafoetida powder (hing) for a similar savory depth. The ginger will still provide warmth, and the sauce remains aromatic and flavorful.
Nutrition Facts
Frequently Asked Questions
Can I make this ahead of time?
The flavors actually deepen after 24 hours in the fridge. Store in an airtight container for up to 1 week.
What if I don’t have rice vinegar?
Apple cider vinegar works in a pinch at a one-to-one ratio. The flavor will be slightly fruitier but still balanced.
Why did my sauce turn out too salty?
This usually means the soy sauce reduced too much. Next time, simmer for just 3-5 minutes instead of 7. A splash of water can help dilute it.
Can I use powdered ginger instead?
Yes, but use only ¼ tsp for every 1 tbsp fresh. The flavor won’t be as bright, but it’ll still work.

- Rice Pudding Recipe With Eggs and Milk: Old-Fashioned Custard-Style Comfort - September 30, 2026
- Rice Noodle Sauce Recipe: Bold Umami Depth for Authentic Stir-Fry - September 30, 2026
- Rice Pilaf Recipe: Fragrant Basmati With Toasted Vermicelli - September 30, 2026