
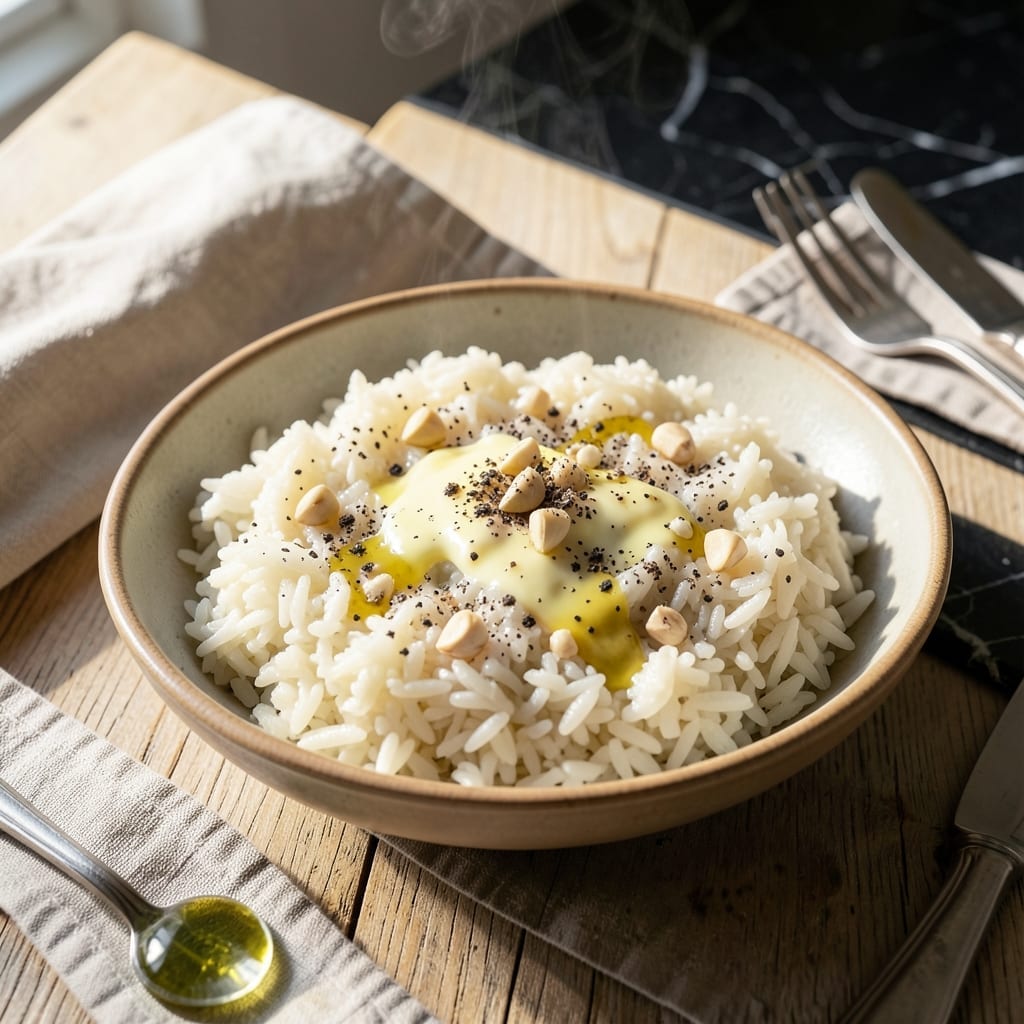
Cooking rice at high altitude presents unique challenges that most recipes don’t address. I’ve tested this method repeatedly in my own kitchen, adjusting water ratios and cooking times to account for the thinner air and lower boiling point.
The key is a precise 2:1 water-to-rice ratio and a tightly covered pot to trap steam. This ensures the grains absorb moisture evenly, preventing the dry, undercooked results that often plague altitude cooking.
What you’ll get is perfectly fluffy, separate grains every time, without the need for specialized equipment. The technique is simple but the results are consistently reliable.
No more mushy or crunchy rice—just the ideal texture you expect from a well-cooked batch.
Ingredients for High Altitude Rice
Simple ingredients, precise ratios, perfect rice every time at altitude.
| Ingredient | Amount | Notes |
|---|---|---|
| Long-Grain White Rice 🍚 | 2 cups | Rinsed until water runs clear |
| Water 💧 | 4 cups | Precise 2:1 ratio with rice |
| Unsalted Butter 🧈 | 2 tbsp | Optional for richness |
| Kosher Salt 🧂 | 1 tsp | Diamond Crystal preferred |
| Freshly Ground Black Pepper 🌶️ | ¼ tsp | To taste |
| Garlic Cloves 🧄 | 2 cloves | Minced, optional for flavor |
| Onion Powder 🧅 | ½ tsp | For depth of flavor |
| Bay Leaf 🌿 | 1 whole | Optional for aromatic note |
| Dried Thyme 🍃 | ¼ tsp | Optional seasoning |
| Chicken Broth 🍲 | ½ cup | Substitute for water for extra flavor |
The rice here is long-grain white—Jasmine or Basmati work too but may need slight water adjustments. Rinsing is non-negotiable; it removes excess starch that causes gummy grains. I grab my rice from Costco in bulk, but any grocery store brand works as long as it’s fresh. Check the expiration date; old rice takes longer to absorb water, which can throw off your timing.
Out of long-grain? Medium-grain works but expect slightly stickier results. No time to rinse? Reduce water by 2 tbsp to compensate. For extra flavor, swap half the water for chicken or vegetable broth. The butter is optional but adds a rich finish—vegan butter works the same. If you’re feeling fancy, a splash of toasted sesame oil at the end adds depth.
Uncooked rice keeps indefinitely in a cool, dark place. Once cooked, it’s good for 4-5 days refrigerated or 6 months frozen. For best results, let it cool completely before storing to prevent sogginess. Reheat with a splash of water or broth to refresh the texture.
Why You’ll Love This Recipe
- One Pot Wonder: I just dump rice, water, and a pat of butter in a pot, set a timer, and walk away—no babysitting required.
- Buttery Comfort: The butter melts into the grains while the salt and pepper give it that simple, cozy flavor I crave with every bite.
- Pairs With Everything: Honestly, it’s my blank canvas for stir-fries, stews, or even a fried egg on top for a quick lunch.
- Budget Stretch: A pound of long-grain rice and a few cents’ worth of seasonings feeds my family for days without breaking the bank.
Step-by-Step Instructions for High Altitude Rice
Here’s the method I rely on for perfectly fluffy grains, even when the air is thin.
Step 1: Rinse and Prepare the Long-Grain White Rice
Place the 2 cups long-grain white rice in a fine-mesh strainer and rinse under cold water until the water runs completely clear. This removes excess starch that can make rice gummy. I always give it a final shake to remove any lingering water droplets.
While the rice drains, combine the 4 cups water and 0.5 cup chicken broth in your cooking pot. The precise 2:1 liquid-to-rice ratio is crucial at altitude, and using broth adds depth of flavor without requiring additional salt.
Step 2: Toast the Aromatics for Maximum Flavor
In your cooking pot over medium heat, melt the 2 tbsp unsalted butter. Once it stops foaming, add the 2 cloves minced garlic cloves, 0.5 tsp onion powder, 1 whole bay leaf, and 0.25 tsp dried thyme.
Cook for 1-2 minutes, stirring constantly, until the garlic becomes fragrant but hasn’t browned. This brief toasting intensifies the aromatic compounds, giving your rice a restaurant-quality flavor base. Don’t let the garlic burn—it turns bitter quickly.
Step 3: Cook the Rice with Precision
Add the rinsed rice to the pot and stir to coat the grains with the butter and aromatics. Pour in the water and chicken broth mixture. Bring to a full boil over high heat.
Once boiling, add the 1 tsp kosher salt and 0.25 tsp freshly ground black pepper. Stir once, then reduce the heat to low, cover tightly with a lid, and cook undisturbed for 15 minutes. At altitude, this extended cooking time compensates for the lower boiling point of water.
Step 4: Rest and Fluff for Perfect Texture
After 15 minutes, remove the pot from heat but keep the lid on. Let it rest for an additional 10 minutes. This resting period allows the steam to finish cooking the rice and redistribute moisture evenly throughout the pot.
Finally, remove the bay leaf and fluff the rice gently with a fork. The grains should be tender yet distinct, with no hard centers. If any liquid remains at the bottom, return the pot to low heat for 2-3 minutes with the lid off to evaporate the excess.
Pro Tips For Making High Altitude Rice
- Increase Water Ratio: At high altitude, water evaporates faster—use 1 1/2 cups water per 1 cup rice instead of the usual 1:1 ratio. I learned this the hard way after pulling out yet another batch of crunchy, undercooked grains.
- Rinse the Rice: Always rinse long-grain white rice until the water runs clear to remove excess starch. Sounds tedious, but it prevents gummy rice, and the texture difference is worth the extra 30 seconds.
- Cover Tightly: Resist the urge to peek while cooking—every time you lift the lid, you release precious steam, and at altitude, that can mean uneven cooking. Keep it sealed for the full 15-18 minutes.
- Use a Heavy Pot: A thin pot leads to hot spots and burnt rice at the bottom. My grandmother swore by her heavy enameled cast iron, and after ruining two batches in a flimsy saucepan, I finally listened.
Perfect Pairings for This Dish
Protein Pairings
This rice pairs beautifully with grilled chicken thighs—marinate them in olive oil, lemon, and rosemary for 30 minutes before cooking. The acidity cuts through the richness perfectly. For a quick weeknight option, pan-seared cod with a squeeze of lemon works wonders. 💛
Vegetable Sides
Steamed broccoli with a sprinkle of red pepper flakes adds color and crunch. Roasted asparagus tossed in olive oil and Parmesan cheese complements the rice’s fluffiness. I often add 1 tbsp garlic powder to my roasted veggies for an extra kick.
Sauce Complements
A simple garlic butter sauce enhances the rice’s natural flavors—melt 4 tbsp butter with 3 minced garlic cloves and a pinch of salt. For a tangy twist, drizzle with lemon tahini dressing made from ¼ cup tahini, 2 tbsp lemon juice, and 1 tbsp honey. 🍋
Salad Additions
A crisp cucumber tomato salad with red onion and feta cheese brightens the plate. Toss 2 cups diced cucumbers and 1 cup cherry tomatoes with 1 tbsp olive oil and 1 tsp red wine vinegar. This combo keeps the meal light yet satisfying.
Nutrition Facts
Frequently Asked Questions
Why does rice cook differently at high altitude?
Water boils at a lower temperature in thinner air, so it cooks rice more slowly. This means you need more water and longer cooking time to compensate.
Can I use brown rice with this method?
Yes, but increase water to 2.5 cups per 1 cup rice and cook for 40-45 minutes. Brown rice’s outer bran layer requires extra hydration at altitude.
What if my rice is still crunchy after cooking?
Add 2-3 tbsp hot water, cover, and cook for another 5 minutes on low. This gives the grains time to absorb the extra moisture.
Do I need to adjust for electric rice cookers?
Most modern cookers auto-adjust, but check the manual. For older models, use the same 2:1 ratio but extend cooking by 5 minutes.

- Jamaican Jollof Rice Recipe: Island Spice in Every Bite - October 18, 2026
- Hamburger Rice Hot Dish Recipe: Midwest Comfort in One Pan - October 18, 2026
- Iranian Cabbage Rice Recipe: Aromatic Herbs and Spiced Layers - October 18, 2026