
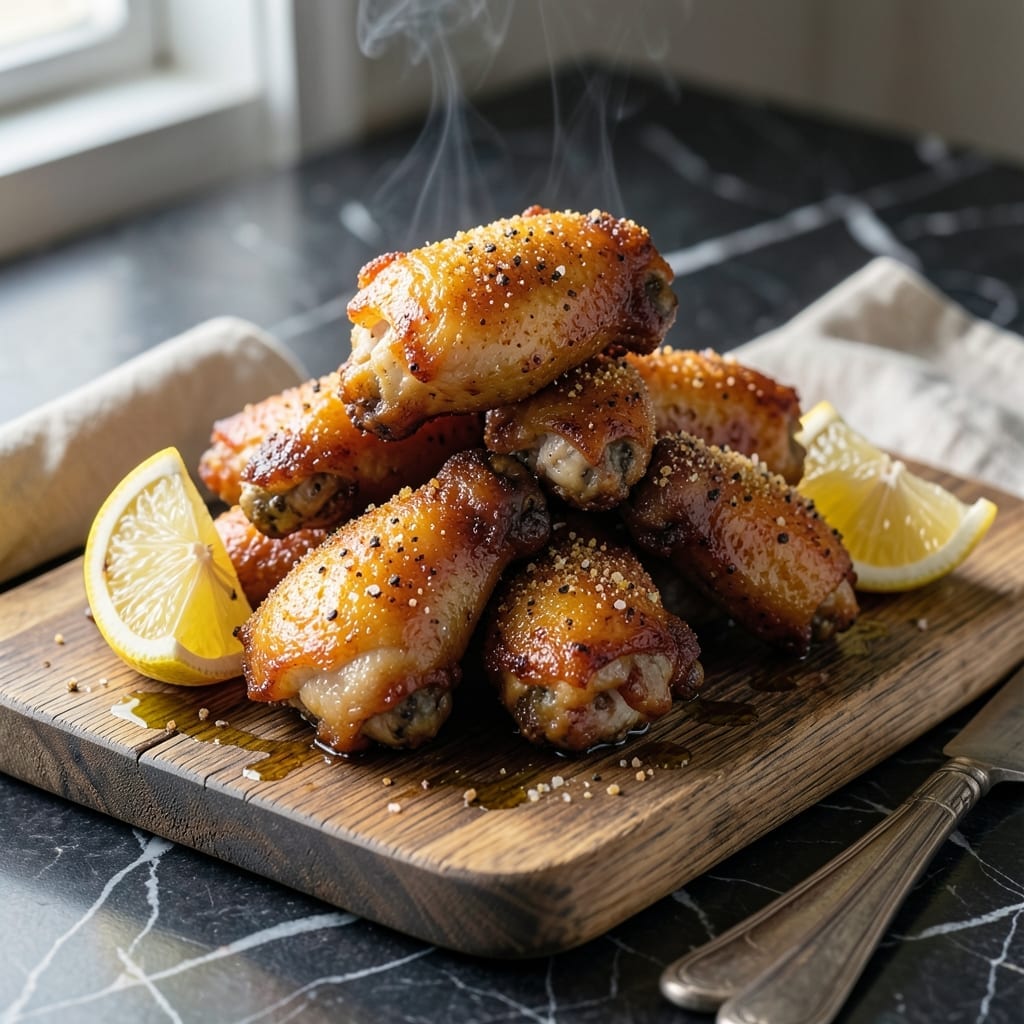
Achieving crispy chicken wings at home without deep frying is absolutely possible with the right technique. This oven-baked method delivers restaurant-quality results with minimal effort and maximum flavor.
The secret lies in patting the wings completely dry before seasoning, then baking at high heat to render the fat and create that coveted crispy skin. No special equipment required—just a baking sheet and a little patience.
What emerges from the oven is golden, shatteringly crispy wings that stay juicy inside. Toss them in your favorite sauce or serve them dry with a side of ranch or blue cheese.
This homemade approach puts you in control of the seasoning, cooking time, and overall quality. The results speak for themselves.
Ingredients for Homemade Chicken Wings
Pantry staples and a quick grocery run. Big flavor, minimal effort.
| Ingredient | Amount | Notes |
|---|---|---|
| Chicken Wings 🍗 | 2 lb | Split into drumettes and flats |
| Baking Powder 🧂 | 1 tbsp | Aluminum-free for best flavor |
| Kosher Salt 🧂 | 1 tbsp | Diamond Crystal preferred |
| Black Pepper 🌶️ | 1 tsp | Freshly ground preferred |
| Garlic Powder 🧄 | 1 tsp | Not garlic salt |
| Onion Powder 🧅 | 1 tsp | Fine ground texture |
| Paprika 🌶️ | 1 tsp | Sweet or smoked variety |
| Cayenne Pepper 🔥 | ½ tsp | Adjust for heat preference |
| Olive Oil 🫒 | 1 tbsp | For light coating |
| Buffalo Sauce 🍅 | ½ cup | Optional for tossing |
| Ranch Dressing 🥛 | ½ cup | For serving or dipping |
| Blue Cheese Dressing 🧀 | ½ cup | For serving or dipping |
| Fresh Parsley 🌿 | ¼ cup | Chopped, for garnish |
The wings are the star here—look for fresh, not frozen if possible. I grab mine from Costco (great price per pound) or the butcher counter at Whole Foods. The baking powder is the secret to extra crispiness (don’t skip it). Aluminum-free is better for flavor. Pat those wings bone-dry before seasoning—this is non-negotiable for maximum crisp.
No buffalo sauce? Frank’s RedHot is the classic, but any hot sauce works. Want to skip the spice? Just toss with melted butter and garlic. The seasoning blend can be adjusted—more paprika for smokiness, less cayenne if heat isn’t your thing. Fresh wings can be swapped for frozen, but thaw and dry them thoroughly first.
Wings are best eaten fresh, but leftovers keep in the fridge for 3-4 days. Re-crisp in the oven at 400°F for 10 minutes. The dressings? Store bought is fine—just give them a good stir before serving. Parsley garnish is optional (but pretty).
Why You’ll Love This Recipe
- One Pan Magic: Honestly, it’s just tossing wings with baking powder, salt, and spices then baking—no frying mess, no splatter.
- That Crispy Bite: The baking powder trick gives them this crazy-crispy skin while the garlic powder adds that deep, savory kick I can’t resist.
- Crowd Pleaser: I’ve served these at game nights, picnics, and even random Tuesdays—always disappear first.
- Budget Friendly: A big batch costs pennies compared to takeout, and leftovers? Still amazing the next day.
Step-by-Step Instructions for Oven-Baked Crispy Skin
Here’s the method. Straightforward, tested, works every time.
Step 1: Season and Coat the Chicken Wings
Pat the 2 lb Chicken Wings completely dry with paper towels—this is non-negotiable for achieving that coveted crispy skin. Any moisture will create steam and prevent proper browning.
In a large bowl, combine the 1 tbsp Baking Powder, 1 tbsp Kosher Salt, 1 tsp Black Pepper, 1 tsp Garlic Powder, 1 tsp Onion Powder, 1 tsp Paprika, and 0.5 tsp Cayenne Pepper. The baking powder is the secret to extra-crispy skin by raising the pH and breaking down proteins.
Add the dried wings to the bowl and toss until every piece is evenly coated with the seasoning mixture. The wings should look uniformly dusted with no bare spots. This step ensures maximum flavor penetration.
Step 2: Arrange and Bake at High Heat
Place a wire rack on a rimmed baking sheet and brush it lightly with 1 tbsp Olive Oil. This prevents sticking while allowing air to circulate underneath the wings for even crisping.
Arrange the seasoned wings on the rack in a single layer, making sure they don’t touch each other. Crowding the pan will cause steaming instead of crisping. Preheat your oven to 425°F—high heat is crucial for that golden, crackly exterior.
Bake for 45 minutes, then flip each wing and bake for an additional 20-25 minutes until the skin is deep golden brown and crispy. You’ll hear them sizzling—that’s the sound of success.
Step 3: Toss with Sauce and Garnish
Remove the wings from the oven and let them cool for 2-3 minutes on the rack. This brief rest helps the skin set so it stays crispy when tossed with sauce.
Transfer the wings to a large bowl and drizzle with 0.5 cup Buffalo Sauce. Toss gently until every wing is evenly coated. The sauce should cling to the crispy skin without making it soggy.
Arrange the wings on a serving platter and sprinkle with 0.25 cup Fresh Parsley for a pop of color and freshness. Serve immediately with 0.5 cup Ranch Dressing and 0.5 cup Blue Cheese Dressing on the side for dipping.
Pro Tips For Making Homemade Chicken Wings
- Dry the Wings: Pat the wings completely dry with paper towels before seasoning—I learned this the hard way after ending up with steamed wings instead of crispy ones.
- Use Baking Powder: Toss the wings with 1 teaspoon of baking powder (not baking soda) along with the salt and spices; it sounds weird, but it works: it guarantees that extra-crispy skin every time.
- Skip the Crowding: Arrange wings in a single layer on the baking sheet with space between each piece—resist the urge to cram them all in, or they’ll steam instead of brown.
- Crank the Heat: Roast at 425°F or higher, and don’t flip until the first side is deep golden brown, about 25 minutes. High heat and patience make a real difference here.
Health Benefits of These Flavors
High-Protein Power
These wings pack a serious protein punch—about 26 grams per 3-ounce serving—making them ideal for muscle repair and growth. The protein in chicken is complete, containing all nine essential amino acids your body can’t produce on its own. I notice I feel more satisfied after eating protein-rich meals like this. 💪
Low-Carb Friendly
With virtually no carbohydrates when served without sauce, this dish fits perfectly into keto or low-carb diets. Even with buffalo sauce, you’re looking at only about 2-3 grams of carbs per wing, most of which come from the sauce rather than the chicken itself.
Rich in B Vitamins
Chicken wings are loaded with B vitamins, particularly B6 and B12, which support energy metabolism and nervous system health. A single serving provides about 20% of your daily B12 needs and 15% of B6. These nutrients help convert food into usable energy.
Mineral Boost
You’ll get a solid dose of essential minerals from this dish. Chicken wings provide selenium (important for thyroid function), zinc (supports immune health), and iron (helps transport oxygen in your blood). The baking method helps retain these nutrients better than boiling. ✨
Healthy Fats
While wings do contain fat, much of it is the healthier unsaturated kind, especially if you leave the skin on. The oven-baking method allows some fat to render out, reducing the total fat content compared to deep-frying. A 3-ounce serving contains about 10 grams of fat.
Bone Health
Chicken wings contain small amounts of calcium and phosphorus, both crucial for maintaining strong bones. While not as high as dairy products, every bit counts toward your daily needs. The vitamin D in chicken also aids calcium absorption.
Nutrition Facts
Frequently Asked Questions
What causes soggy wings?
Moisture is the enemy of crispiness. Always pat wings completely dry before seasoning, and never crowd the baking sheet. Steam from trapped moisture or overcrowding will ruin the texture.
Can I use frozen wings?
Yes, but thaw them fully in the fridge overnight first. Pat them extra dry to remove all moisture before seasoning. Frozen wings often release more liquid, so drying is critical.
Why is baking powder used?
It raises the pH of the skin, helping it brown and crisp faster. Use aluminum-free for best flavor. Don’t confuse it with baking soda—they’re not interchangeable here.
Can I air-fry instead of bake?
Cook at 400°F for 20-25 minutes, shaking halfway. The air fryer’s circulation mimics deep-frying, giving great results with less oil.

- Jollof Rice Sauce Recipe: West African Tomato and Spice Infusion - September 25, 2026
- Japanese Rice Soup Recipe: Umami-Rich Comfort in a Bowl - September 25, 2026
- Homemade Cream Of Rice Recipe: Silk-Smooth Breakfast in Minutes - September 25, 2026