
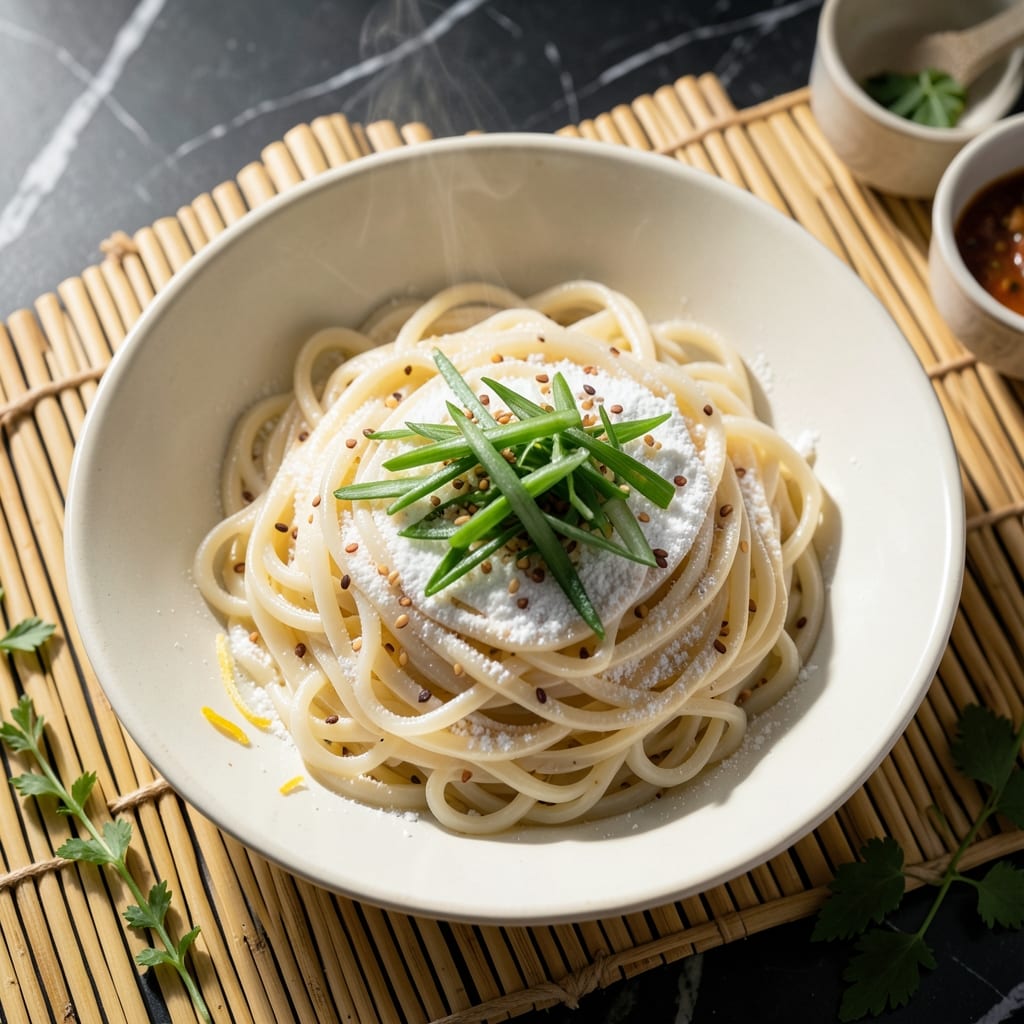
Making gluten-free rice noodles from scratch transforms your kitchen into a traditional Asian noodle house. This proven technique delivers light and springy results every time.
The process requires only rice flour, water, and patience. Soaking the rice flour batter creates the perfect texture before steaming into delicate strands. It’s the authentic method without wheat.
You’ll achieve noodles with the ideal chew and bounce that store-bought versions can’t match. The steaming process locks in freshness and ensures they hold up in stir-fries or soups.
This homemade approach is worth the effort for gluten-free pasta that’s superior in both flavor and texture.
Ingredients for Homemade Rice Noodles Recipe Gluten Free
Minimal ingredients, maximum authenticity for light and springy gluten-free rice noodles at home.
| Ingredient | Amount | Notes |
|---|---|---|
| White Rice Flour 🌾 | 2 cups | Fine, high-quality preferred |
| Tapioca Starch 🌾 | ¼ cup | For elasticity and chew |
| Water 💧 | 1 ¼ cups | Warm, not hot |
| Salt 🧂 | ½ tsp | Fine sea salt preferred |
| Neutral Oil 🫒 | 1 tsp | For greasing steamer |
| Cornstarch 🌾 | 2 tbsp | For dusting work surface |
| Xanthan Gum 🧪 | ¼ tsp | Optional, for extra springiness |
The rice flour is critical—Bob’s Red Mill or Anthony’s Goods brands deliver consistent results. Tapioca starch adds the signature bounce; skip it and your noodles may turn brittle. Asian markets often carry both at better prices than standard grocery stores. If you find super-fine rice flour (labeled ‘rice powder’), use it for the smoothest texture.
No tapioca starch? Substitute arrowroot or potato starch at the same ratio. Xanthan gum can be omitted, but it helps mimic wheat noodle elasticity. If your batter seems too thin, add 1 tbsp more rice flour. The water temperature matters—warm water activates the starches better than cold. For extra flavor, replace 1/4 cup water with coconut milk.
Fresh noodles keep 2-3 days refrigerated in a sealed container with parchment between layers. Freeze for 1 month on a tray before transferring to bags. Always steam just before using—reheated noodles lose their delicate texture. Dust with extra cornstarch if they stick.
Why You’ll Love This Recipe
- No Fuss Mixing: I just stir rice flour, tapioca starch, water, and a pinch of salt—no gluten, no guesswork, no fancy tools.
- Chewy Satisfaction: The combo of rice flour and tapioca starch gives that perfect bounce and slight pull I crave in every bite.
- Meal Prep Hero: I make a big batch on Sunday and toss them into stir-fries or soups all week—honestly, they keep beautifully.
- Pantry Friendly: Five ingredients I always have on hand, and it costs pennies compared to store-bought gluten-free noodles.
Step-by-Step Instructions for Homemade Rice Noodles
Precision and patience transform simple ingredients into delicate, springy rice noodles with authentic texture.
Step 1: Combine Dry Ingredients for the Base
In a large mixing bowl, whisk together the 2 cups White Rice Flour, 0.25 cup Tapioca Starch, and 0.5 tsp Salt until fully incorporated. The fine rice flour is essential here—coarser varieties won’t produce the smooth, elastic dough you need.
Add the 0.25 tsp Xanthan Gum to the dry mixture. This optional but recommended addition enhances the noodles’ springiness and helps them hold their shape during cooking. Whisk for another 30 seconds to ensure even distribution of all dry components.
Step 2: Form the Dough with Warm Water
Gradually add the 1.25 cups Water (warm, but not hot—around 100-110°F) to the dry ingredients while stirring with a wooden spoon. The water should be warm enough to activate the starches but not so hot that it pre-cooks the flour.
Continue mixing until a shaggy dough forms. At this point, switch to kneading by hand. The dough will be sticky initially, but resist the urge to add more flour. After 5-7 minutes of persistent kneading, it should become smooth and slightly elastic, though it won’t be as stretchy as wheat-based dough.
Step 3: Rest and Divide the Dough
Cover the bowl with a damp kitchen towel and let the dough rest at room temperature for 30 minutes. This resting period allows the starches to fully hydrate and relax the gluten-free structure, making it significantly easier to roll out.
After resting, divide the dough into 4 equal portions for manageable handling. Lightly coat each portion with some of the 2 tbsp Cornstarch to prevent sticking during the rolling process. Keep the portions you’re not working with covered to prevent drying.
Step 4: Roll and Cut the Noodles
Dust your work surface generously with the remaining cornstarch. Working with one portion at a time, roll the dough as thin as possible—aim for about 1/16-inch thickness. Rice noodle dough can be delicate, so roll gently but firmly to avoid tearing.
Once rolled, let the sheet rest for 2-3 minutes to relax slightly. Then, using a sharp knife or pasta cutter, slice the dough into ¼-inch wide strips for standard rice noodles. Dust the cut noodles with additional cornstarch to prevent sticking.
Step 5: Steam and Finish the Noodles
Lightly grease a steamer basket or bamboo steamer with the 1 tsp Neutral Oil to prevent sticking. Arrange a portion of the noodles in a single layer (don’t overlap) and steam over boiling water for 2-3 minutes until translucent and slightly springy to the touch.
Remove the noodles immediately and rinse under cold water to stop the cooking process and remove excess starch. Drain well and toss with a bit of oil if not using immediately. The noodles should be tender with a slight chew—perfect for stir-fries or soups. Repeat with remaining batches.
Pro Tips For Making Homemade Rice Noodles Recipe Gluten Free
- Steam the Batter: Spread the rice flour and tapioca starch batter thin on a greased surface and steam for 3-4 minutes—this sets the noodles without making them gummy. —
- Use Hot Water: Mix the batter with hot (not boiling) water to activate the starches properly; cold water leaves the noodles grainy and hard to work with. —
- Skip Over-Kneading: Once the dough comes together, stop mixing—overworking it develops too much elasticity, making the noodles tough instead of tender. —
- Oil the Surface: Brush your rolling surface and pin with neutral oil to prevent sticking; rice dough clings like nothing else and tears easily if not properly lubricated.
Make-Ahead Tips for This homemade rice noodles recipe gluten free
Batch Prep Strategy
I always make double batches of this dough since the effort is the same for 8 servings as for 4 servings. The dough balls keep beautifully in the fridge for 24 hours before rolling and steaming. Just wrap them tightly in plastic wrap. 💪
Uncooked Dough Storage
Unrolled dough portions can sit covered at room temperature for up to 2 hours while you work in batches. Dust with extra cornstarch if they start to stick. I learned this the hard way in my tiny Boston kitchen—space is precious!
Fresh Noodle Storage
After steaming and cooling, toss noodles with a bit of neutral oil to prevent clumping. Store in airtight containers with parchment between layers. They’ll keep in the fridge for 2-3 days—perfect for quick weeknight meals. ❄️
Freezing for Longer Storage
Spread freshly steamed noodles on a baking sheet and freeze until solid (1-2 hours). Then transfer to freezer bags—they’ll keep for 1 month. No need to thaw before cooking; just add directly to hot broth or stir-fry.
Reheating Method
For fridge-stored noodles, blanching in boiling water for 30-60 seconds revives them perfectly. Frozen noodles need 1-2 minutes in boiling water. Test one first—rice noodles cook quickly when pre-steamed!
Pro Tip for Meal Kits
Portion uncooked dough into 4 equal balls and freeze. Thaw overnight in the fridge before rolling. This lets me make fresh noodles for dinner without starting from scratch each time.
Nutrition Facts
Frequently Asked Questions
What makes these noodles chewy?
The tapioca starch is key for that signature bounce. Combined with xanthan gum, it mimics the elasticity of wheat-based pasta. Without it, the noodles may turn brittle.
Can I use a pasta machine to roll the dough?
Yes, but set it to the thinnest setting. Rice dough is delicate, so handle it gently. If it tears, patch it with extra dough and re-roll.
Why did my noodles turn out gummy?
Over-steaming or under-kneading are common causes. Steam for 2-3 minutes max and knead the dough for 5-7 minutes until smooth. Kneading develops the structure.
Can I air-fry the noodles instead of steaming?
Not recommended. Steaming keeps them tender, while air-frying can dry them out. Stick to the traditional method for the best texture.

- Ground Beef Rice and Beans Recipe: Slow-Simmered Savory Harmony - October 17, 2026
- Guyanese Fried Rice Recipe: Caribbean Spice With Wok-Charred Aromatics - October 17, 2026
- Hakka Thunder Tea Rice Recipe: Wok-Charred Herbal Infusion - October 17, 2026