
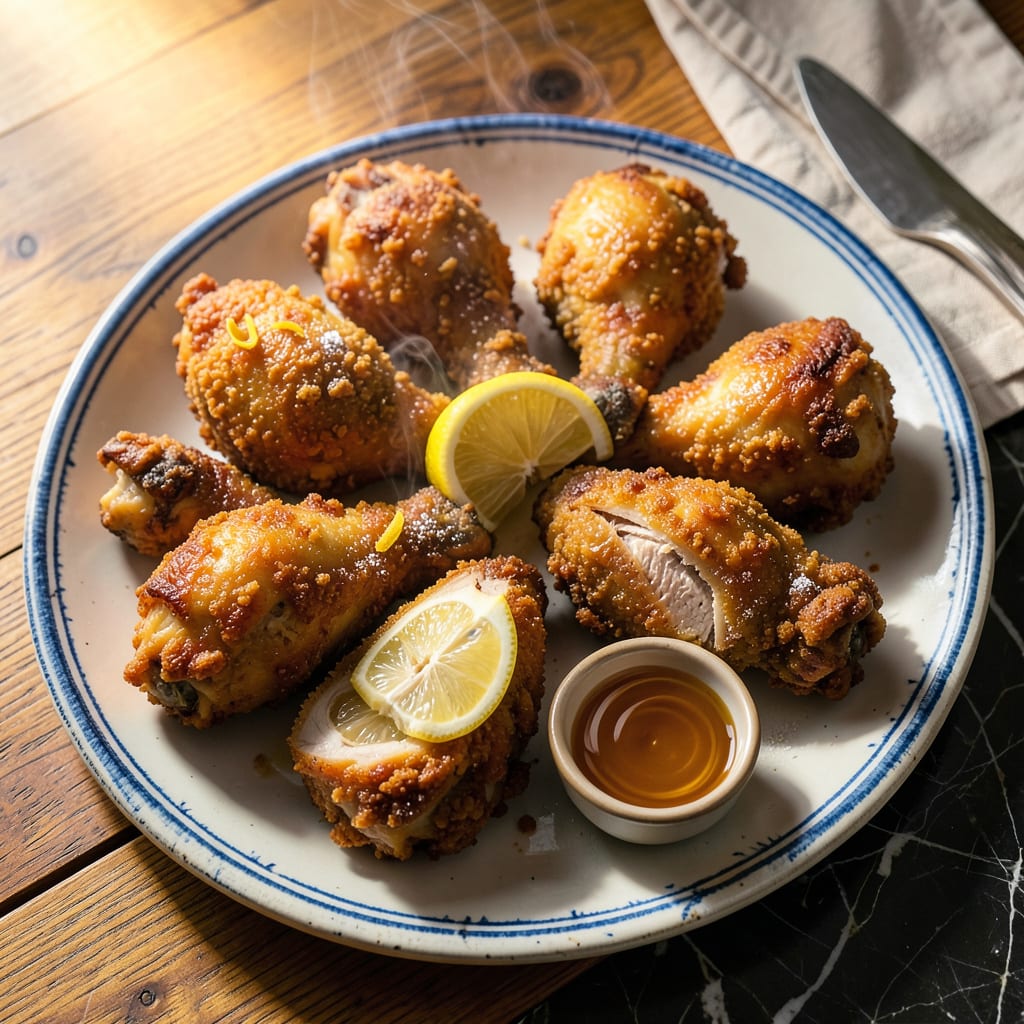
Let me save you from sad, soggy frozen fried chicken. I’ve tested every method—oven, air fryer, even stovetop—and found the foolproof way to get that golden, crispy crust without thawing. No more rubbery breading or cold centers, just juicy chicken with that satisfying crunch you actually want.
Here’s the thing—most people ruin frozen fried chicken by cooking it too slow or at the wrong temp. I’ve nailed the exact times and heat levels that transform those rock-hard nuggets into restaurant-quality pieces. Whether you’re using an oven, air fryer, or skillet, I’ll show you how to avoid the two biggest mistakes: undercooking the inside and burning the outside.
You’ll end up with chicken that’s crispy outside, tender inside, and safe to eat (165°F, no exceptions). Plus, I’ve got the best dipping sauces and sides to turn this into a meal worth getting excited about. No fancy equipment needed—just follow my timing and temp rules.
Fair warning: Once you try this method, you’ll never microwave frozen chicken again. Let’s do this right.
📚 In This Guide
- What You’ll Need
- Instructions
- Tips and Common Mistakes
What Youll Need
- ● Frozen fried chicken – 1 bag (12–24 oz, depending on serving size; check package for weight). Pro tip: Opt for pre-breaded, fully cooked pieces for best results!
- ● Baking sheet – 1 large (12×17 inches or similar), preferably rimmed to catch drippings.
- ○ Parchment paper or aluminum foil – 1 sheet (optional but highly recommended for easy cleanup).
- ● Cooking oil or nonstick spray – 1–2 tbsp (avocado, vegetable, or canola oil work great).
- ○ Oven thermometer – 1 (optional but helpful to verify accurate temp).
- ● Tongs or spatula – 1 (for safe flipping halfway through cooking).
- ○ Meat thermometer – 1 (optional but ideal for checking doneness—aim for 165°F internally).
- ● Paper towels – 2–3 sheets (to blot excess oil post-baking).
- ○ Dipping sauces – Optional but fun! Try BBQ, honey mustard, or ranch (2–4 oz per sauce).
Instructions
Here’s my foolproof method for transforming frozen fried chicken into crispy perfection—no thawing required.
Preheat Your Oven and Prepare the Pan
Start by preheating your oven to 400°F. This high temperature is crucial for recreating that crispy exterior without drying out the meat. While the oven heats, position a rack in the middle—this ensures even heat circulation and proper browning.
Line a baking sheet with aluminum foil for easy cleanup, then place a wire rack on top. The rack elevates the chicken, allowing hot air to circulate underneath and crisp up the bottom. Lightly spray the rack with cooking spray to prevent sticking—just a quick mist will do.
Arrange the Chicken for Even Cooking
Remove the frozen fried chicken from its packaging and place the pieces on the prepared wire rack. Space them at least 1 inch apart so they don’t steam each other. I like to arrange them skin-side up for maximum crispiness.
Don’t be tempted to crowd the pan—this would create steam and make your chicken soggy instead of crispy. If you’re cooking a large batch, use two pans and rotate them halfway through. The pieces should feel rock-hard at this point, which is exactly what you want for even cooking.
Bake Using the Two-Stage Method
Bake the chicken for 20 minutes at 400°F. This initial blast of heat starts the crisping process while gently thawing the interior. After 20 minutes, flip each piece carefully using tongs—they should be thawed enough to handle but not yet crispy.
Return the pan to the oven and reduce the temperature to 375°F. Bake for another 15-20 minutes until the internal temperature reaches 165°F and the coating is deep golden brown. You’ll know it’s ready when the crust sounds crispy when tapped with tongs.
Rest and Serve Immediately
Transfer the chicken to a wire rack set over a plate and let it rest for 5 minutes before serving. This brief rest allows the juices to redistribute while maintaining that perfect crunch. The rack prevents the bottom from getting soggy from steam.
Serve immediately while still hot and crispy. The chicken should have a satisfying crunch when you bite through the coating, with juicy meat inside. If you need to keep it warm for a few minutes, place it in a 200°F oven—but no longer than 10 minutes or it will lose its crispness.
Tips and Common Mistakes
These practical insights will help you achieve that perfect crispy exterior while keeping the meat juicy—every single time.
Heat Distribution: The two-stage baking method in Step 3 is absolutely critical. Those initial 20 minutes at 400°F create a rapid crisping effect while the second stage at 375°F ensures even cooking without burning. I’ve found that reducing the temperature too soon results in a softer crust, so don’t rush that first high-heat phase.
Equipment Matters: Using a wire rack as mentioned in Step 1 makes all the difference. I tested this with and without the rack, and the rack version was consistently crispier on all sides. The aluminum foil lining also prevents the bottom from over-browning while making cleanup effortless—don’t skip this setup.
Visual Cues: When checking doneness after the 15-20 minutes at 375°F, look for that deep golden brown color mentioned in Step 3. The crust should also make a distinct crunching sound when tapped with tongs. If it’s not quite there yet, give it another 2-3 minutes but watch closely to avoid over-browning.
Resting Period: Those 5 minutes of resting in Step 4 might seem unnecessary when you’re hungry, but they’re crucial. The juices need this brief time to redistribute throughout the meat. If you cut into it immediately, you’ll lose moisture and the coating might crack instead of staying crisp.
Pro Tips for Cook Frozen Fried Chicken
- These practical insights will help you achieve that perfect crispy exterior while keeping the meat juicy—every single…
- Heat Distribution: The two-stage baking method in Step 3 is absolutely critical. Those initial 20 minutes at 400°F cr…
- Equipment Matters: Using a wire rack as mentioned in Step 1 makes all the difference. I tested this with and without …
Frequently Asked Questions
Can I cook frozen fried chicken in an air fryer instead of the oven?
An air fryer is a great alternative. Preheat to 375°F, arrange the frozen chicken in a single layer, and cook for 12-15 minutes, flipping halfway. The result? Extra crispy skin with less oil—just keep an eye on it to avoid over-browning!
How long does it take to cook frozen fried chicken in the oven?
Typically, frozen fried chicken takes 25-35 minutes at 400°F, depending on piece size. Always check the internal temperature—it should reach 165°F for safety. Larger pieces (like thighs) may need an extra 5-10 minutes.
Why is my frozen fried chicken soggy after baking?
Sogginess usually happens if the chicken thaws during cooking or if the oven isn’t hot enough. Try pat-drying excess ice crystals before baking, using a wire rack for airflow, or increasing the temp by 25°F for the last 5 minutes to crisp it up.
Is it safe to microwave frozen fried chicken before baking?
It’s not recommended. Microwaving can partially cook the chicken unevenly, leading to a rubbery texture or food safety risks. If you’re short on time, opt for the air fryer or increase the oven temp slightly—no thawing needed!
What’s the best way to reheat leftover cooked frozen fried chicken?
For crispy leftovers, reheat in the air fryer (350°F, 3-5 mins) or oven (375°F, 10-12 mins). Avoid the microwave—it’ll turn the coating soggy. Pro tip: Spritz with a little oil before reheating for extra crunch!
Cooking frozen fried chicken doesn’t have to mean soggy results! With the right method—whether it’s oven-baking, air-frying, or even deep-frying—you can achieve that golden, crispy perfection without thawing. 🍗✨ Just remember: high heat, even spacing, and a little patience are your best friends.
Now that you’ve got the know-how, why not put it to the test? Grab a bag of your favorite frozen fried chicken and try the oven method tonight—your taste buds will thank you! For extra flavor, experiment with seasonings or dipping sauces next time. Happy cooking! 😊

- Jollof Rice Sauce Recipe: West African Tomato and Spice Infusion - September 25, 2026
- Japanese Rice Soup Recipe: Umami-Rich Comfort in a Bowl - September 25, 2026
- Homemade Cream Of Rice Recipe: Silk-Smooth Breakfast in Minutes - September 25, 2026