
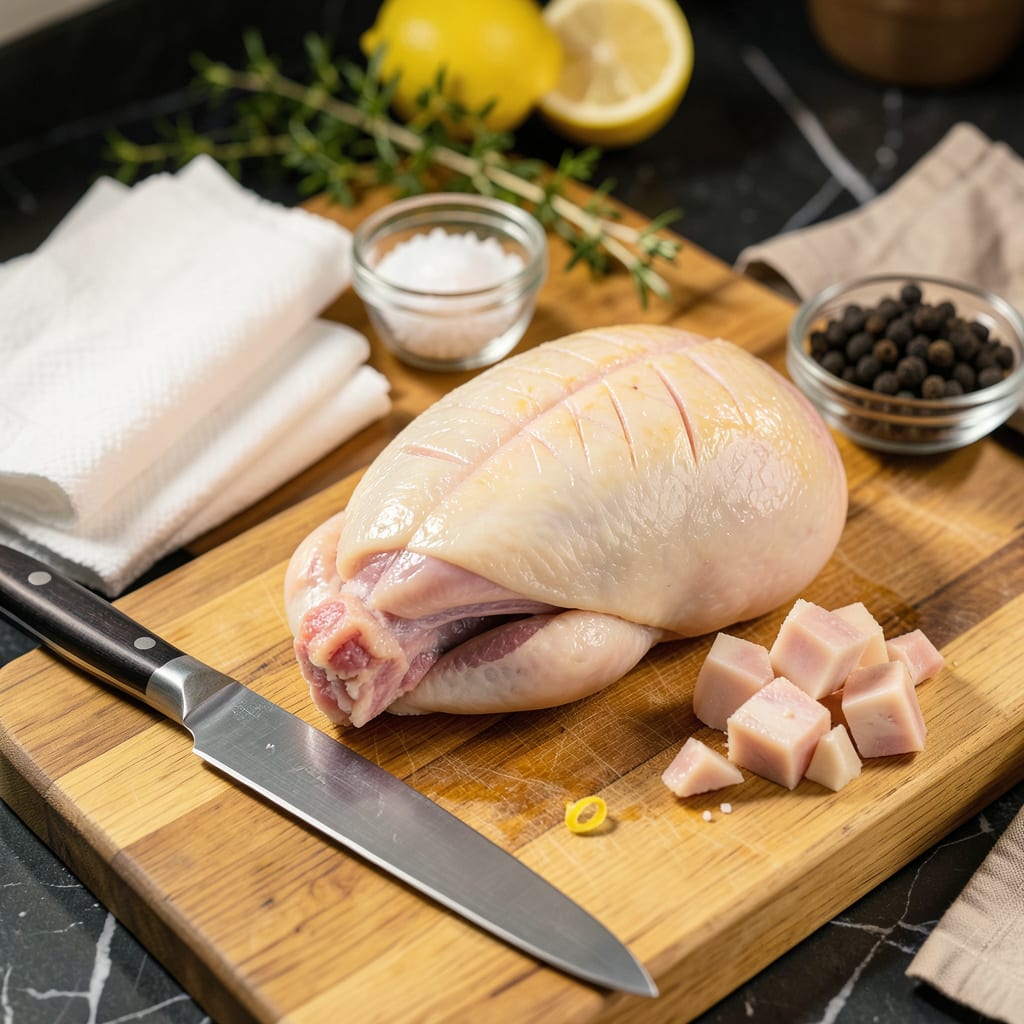
Dicing chicken thighs properly is one of those kitchen skills that makes every recipe better. I used to hack at chicken like it was a punishment, until I learned the right way—now I get perfect, even pieces every time. This technique is all about control, not strength, and it works whether you’re making stir-fry, curry, or skewers.
The secret starts with choosing the right knife (a sharp chef’s knife is my go-to) and setting up your workspace properly. I’ll show you exactly where to cut, how to hold the chicken steady, and why removing that pesky bone first makes everything easier. No more rubbery bits or uneven cooking—just consistent, restaurant-quality pieces that cook through perfectly.
What you’ll end up with is chicken that cooks evenly, absorbs flavors better, and looks as good as it tastes. I use this method at least twice a week for everything from quick weeknight stir-fries to slow-cooked curries. Once you master this, you’ll never go back to guessing where to cut.
We’ll cover safety tips too—because nobody wants to lose a fingertip to dinner prep. Let’s break down this technique step by step, so you can dice chicken thighs like a pro every single time.
📚 In This Guide
- What You’ll Need
- Instructions
- Tips and Common Mistakes
What Youll Need
- ● Chicken thighs: 1–2 lbs (boneless, skinless for easiest dicing, or bone-in if preferred)
- ● Cutting board: Large (at least 12″ x 18″) with a non-slip base or damp towel underneath
- ● Chef’s knife: 8–10″ sharp blade (a Santoku works too!)
- ○ Kitchen shears (optional): For trimming excess fat or skin
- ○ Boning knife (optional): If deboning thighs yourself
- ○ Measuring ruler (optional): For precise, uniform cubes (aim for ½”–1″ pieces)
- ● Bowl: Medium-sized, to hold diced chicken
- ● Paper towels: 2–3 sheets to pat thighs dry for better grip
- ○ Disposable gloves (optional): For hygiene or sensitive hands
- ● Sharpener or honing steel (recommended): To keep your knife razor-sharp mid-task
Instructions
Here’s the method I use to get perfectly even chicken pieces every time—no special skills required.
Prepare Your Workspace and Chicken
Start by clearing a clean, stable cutting surface. I like to place a damp kitchen towel under my cutting board to prevent slipping. Remove the chicken thighs from their packaging and pat them completely dry with paper towels. This step is crucial—moisture makes the chicken slippery and harder to handle.
Take a moment to examine each thigh. You’ll notice one side has smooth skin (if skin-on) and the other has visible muscle fibers. Place the thigh skin-side down on your cutting board. This orientation gives you better stability as you work. I always work with one thigh at a time to maintain focus and precision.
Remove Excess Fat and Bone (If Needed)
Before dicing, check for any large pockets of fat or remaining bone fragments. Use your chef’s knife to trim away any visible fat—this prevents chewy bits in your final dish. If your thighs are bone-in, you’ll need to remove the bone first. Slide your knife along the bone to separate the meat, then pull the bone away with your free hand.
For skin-on thighs, decide whether to keep the skin based on your recipe. If removing, slide your knife between the skin and meat, then pull the skin away in one piece. I often leave the skin on for extra flavor, but remove it if I want cleaner diced pieces. The key is making this decision before you start cutting.
Create Uniform Strips for Consistent Pieces
Position your knife parallel to the cutting board and make your first cut along the long side of the thigh, creating strips about ½-inch wide. Use your non-dominant hand to hold the chicken steady—curl your fingers under so your knuckles act as a guide for your knife. This “claw grip” protects your fingertips while giving you control.
Make 2-3 parallel cuts to create even strips. The exact number depends on the thigh size, but aim for strips that are roughly equal in width. I find that most standard thighs yield 3-4 good strips. Don’t worry if the ends are uneven—you’ll trim those in the next step. The goal here is creating uniform strips that will become uniform cubes.
Cut Crosswise for Perfect Cubes
Rotate your cutting board 90 degrees so the strips run horizontally in front of you. Now make perpendicular cuts across the strips, again aiming for ½-inch pieces. Use the same claw grip to stabilize the meat as you cut. You’ll notice the chicken naturally wants to compress—let it, and adjust your knife angle slightly to compensate.
Work methodically from one end to the other. I like to line up the first few cuts to establish a rhythm. You should end up with neat cubes that are consistent in size. For the final pieces near the edge, you might need to adjust slightly to maintain uniformity. These cubes will cook evenly and look beautiful in your finished dish.
Final Check and Prep for Cooking
Gather all your diced pieces and give them a quick inspection. Separate any pieces that are significantly larger or smaller than the rest. You can quickly trim the oversized pieces with one or two additional cuts. This attention to detail ensures everything cooks at the same rate.
At this point, you can pat the pieces dry again if they’ve released any moisture during cutting. I often transfer them to a plate lined with paper towels to absorb any excess liquid. Your chicken is now perfectly prepped for whatever recipe you’re making—whether it’s stir-fry, skewers, or a hearty stew. The uniform size means no more overcooked edges or undercooked centers.
Tips and Common Mistakes
Mastering the technique of dicing chicken thighs comes down to a few key details that make all the difference in your final dish.
Knife Skills Matter: The ½-inch measurement in Steps 3 and 4 isn’t arbitrary—it’s the sweet spot for even cooking. I’ve found that using a ruler as a guide for your first few cuts helps train your eye. Once you get the rhythm, you’ll be able to eyeball it perfectly. Remember to let the knife do the work; don’t force it through the meat. A sharp chef’s knife will glide through with minimal effort when you use proper technique.
Stability is Everything: That damp towel under your cutting board in Step 1 might seem like overkill, but it’s a game-changer. I learned this the hard way after nearly sending a chicken thigh flying across my kitchen. The towel prevents any micro-movements that throw off your cuts. Also, don’t underestimate the power of the claw grip mentioned in Step 3—it protects your fingers while giving you better control over each slice.
The Moisture Factor: Patting the chicken dry in Step 1 and again in Step 5 isn’t just about cleanliness—it’s about safety and texture. Wet chicken slides around on the cutting board, making precise cuts difficult. I always keep a stack of paper towels nearby to re-pat as needed during the process. This also helps your diced pieces brown better when cooking, rather than steaming in their own moisture.
Uniformity Check: The final inspection in Step 5 is where most people cut corners, but it’s crucial. I like to sort my diced pieces into three piles: perfect cubes, slightly large pieces that need trimming, and small end pieces. The small pieces can be used in stocks or quick-cooking dishes where size doesn’t matter. This extra minute of sorting ensures every piece in your main dish cooks at exactly the same rate.
Pro Tips for Dice Chicken Thighs
- Mastering the technique of dicing chicken thighs comes down to a few key details that make all the difference in your…
- Knife Skills Matter: The ½-inch measurement in Steps 3 and 4 isn’t arbitrary—it’s the sweet spot for even cooking. I’…
- Stability is Everything: That damp towel under your cutting board in Step 1 might seem like overkill, but it’s a game…
Frequently Asked Questions
How long does it take to dice chicken thighs?
For a beginner, dicing 1 lb of boneless chicken thighs takes about 5–7 minutes with a sharp knife. Speed improves with practice! If using skin-on thighs, add 2–3 extra minutes for trimming. Pro tip: Chill thighs for 20 minutes first—firmer meat cuts cleaner!
Can I dice frozen chicken thighs?
No! Partially thawed chicken is slippery and dangerous to cut. Always thaw thighs in the fridge overnight (or use the cold-water method). For safety, never dice frozen meat—it risks uneven cooking and knife accidents.
What’s the best knife for dicing chicken?
A 7–8-inch chef’s knife is ideal—sharp enough for precision but sturdy for bones (if present). Avoid serrated knives! For boneless thighs, a utility knife (5–6 inches) also works. Pro move: Hone your knife before starting for effortless cuts!
How do I keep chicken from sticking to the knife?
Wipe your knife with a damp paper towel between cuts, or lightly coat the blade with neutral oil (like avocado oil). Also, avoid pressing down too hard—let the knife’s sharpness do the work! If meat sticks, your knife likely needs sharpening.
What’s a good alternative if I don’t have chicken thighs?
Boneless, skinless chicken breasts work but dry out faster—dice them slightly larger. For richer flavor, try duck thighs (trim excess fat) or turkey thighs (soak in brine first). Budget pick? Pork shoulder, diced small, mimics texture in stews!
Now you’ve got the skills to dice chicken thighs like a pro—uniform pieces, minimal waste, and maximum flavor! 🎯 Whether you’re prepping for stir-fries, skewers, or hearty stews, consistent cuts mean even cooking and better texture in every bite.
Ready to put your new technique to work? Try dicing a batch for tonight’s dinner—maybe a sizzling honey garlic chicken stir-fry or juicy grilled kebabs. Happy cooking, and enjoy those perfectly prepped thighs! 🍗✨

- Jollof Rice Sauce Recipe: West African Tomato and Spice Infusion - September 25, 2026
- Japanese Rice Soup Recipe: Umami-Rich Comfort in a Bowl - September 25, 2026
- Homemade Cream Of Rice Recipe: Silk-Smooth Breakfast in Minutes - September 25, 2026