
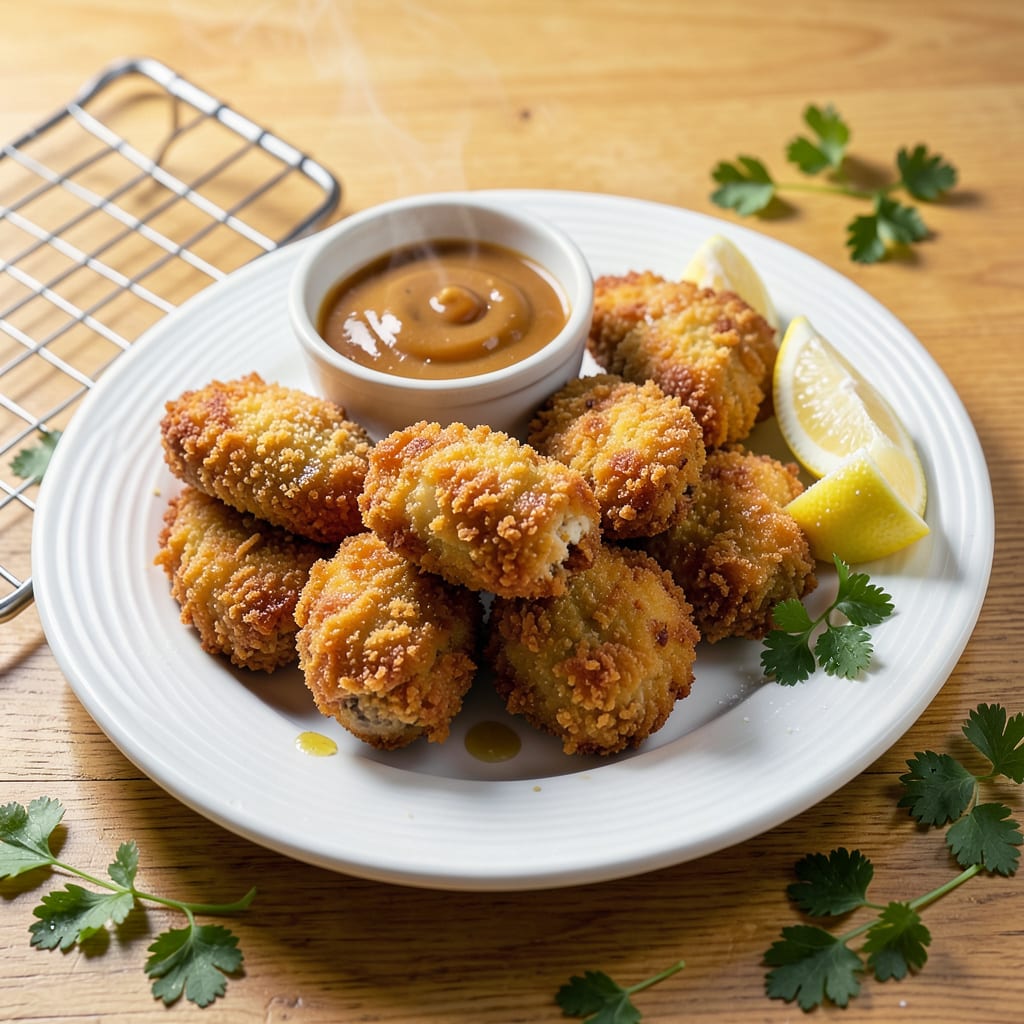
Let me tell you about the easiest way to get crispy frozen chicken tenders without deep frying. I’ve burned through more bags than I’d like to admit trying to perfect this, and the oven-baked method is the real winner. No soggy breading, no greasy mess—just that perfect crunch you’re after.
The secret is all in the prep. Skip the thawing (seriously, it makes them mushy) and go straight from freezer to oven. A quick spray of oil before baking transforms that breading into something golden and shatteringly crisp. I use the top rack for maximum heat exposure—this ensures every tender gets evenly crispy without flipping.
What you end up with is chicken that’s tender inside with that satisfying crunch outside. The kind that actually stays crispy even after dipping in sauce. I’ve tested this with every brand of frozen tenders, and it works every time. No special equipment needed, just your oven and about 20 minutes.
Perfect for quick dinners, game day snacks, or when you need something the kids will actually eat. The method’s foolproof once you know these simple tricks. Here’s exactly how to do it right.
📚 In This Guide
- What You’ll Need
- Instructions
- Tips and Common Mistakes
What Youll Need
- ● 1 bag (12–16 oz) frozen chicken tenders (unbreaded or lightly breaded for best results)
- ● 2–3 tbsp cooking oil (avocado, vegetable, or olive oil—high smoke point preferred)
- ○ 1–2 tbsp cornstarch or all-purpose flour (for extra crispiness—optional but recommended)
- ● ½ tsp salt (or to taste)
- ○ ½ tsp garlic powder, paprika, or Cajun seasoning (optional for flavor boost)
- ● Cooking spray (for even coating)
- ● Baking sheet (half-sheet pan ideal)
- ○ Wire cooling rack (optional but helps air circulate for crunch)
- ● Mixing bowl (medium-sized)
- ● Tongs or spatula (for flipping)
- ○ Meat thermometer (optional but handy for perfect doneness)
- ● Paper towels (to pat dry if thawing slightly)
Instructions for Crispy Frozen Chicken Tenders
This foolproof method transforms ordinary frozen tenders into restaurant-quality crispy perfection—let’s get started!
Preheat and Prepare for Maximum Crispiness
Crank your oven to 425°F—this high heat is the secret to achieving that golden crunch without frying. While it preheats, line a baking sheet with parchment paper or use a wire rack set inside a rimmed baking sheet. The wire rack is my personal favorite because it allows hot air to circulate underneath, crisping the tenders on all sides.
Don’t skip this step! The parchment or rack prevents the tenders from steaming on the pan, which would leave you with soggy bottoms instead of that satisfying crunch we’re after. I’ve found that a dark metal baking sheet works best for even browning and crispiness.
Arrange the Tenders for Even Cooking
Spread the frozen chicken tenders in a single layer on your prepared baking sheet, making sure they don’t touch each other. This spacing is crucial—it allows the hot air to circulate around each piece, ensuring they crisp up evenly instead of steaming. I like to leave about 1 inch between each tender for optimal results.
Here’s the thing—don’t thaw the tenders first! Starting from frozen actually helps create that perfect contrast between the crispy exterior and tender interior. The cold center cooks gently while the outside gets beautifully browned. If you’re using a wire rack, you might hear a satisfying sizzle when the tenders hit the hot metal—that’s the sound of crispiness beginning!
Bake and Flip for Perfect Browning
Bake the tenders for 12 minutes, then carefully flip each piece using tongs. This is when you’ll start to see that gorgeous golden color developing on the underside. Return them to the oven for another 8-10 minutes until they’re deep golden brown and crispy all over.
The flip is essential for even cooking and browning. You’ll know they’re ready when the coating looks crispy and you can hear a slight crackle when you press gently with the tongs. For extra crispiness, I sometimes broil for the last 1-2 minutes, watching closely to prevent burning. The internal temperature should reach 165°F when checked with a meat thermometer.
Rest Briefly and Serve Immediately
Transfer the crispy tenders to a wire rack or paper towel-lined plate to cool for just 2-3 minutes. This brief rest allows the coating to set completely while keeping the interior perfectly tender. Serve them immediately while they’re at their crispiest—they’re at their absolute best right out of the oven!
I love serving these with my favorite dipping sauces, but honestly, they’re so flavorful and crispy that they’re delicious all on their own. If you need to keep them warm for a few minutes, place them on a wire rack in a 200°F oven—but don’t cover them or you’ll lose that precious crispiness we worked so hard to achieve!
Tips and Common Mistakes for Perfect Crispy Chicken Tenders
Let me share the game-changing secrets that will take your tenders from good to absolutely irresistible—every single time!
Heat Distribution Secret: That 425°F temperature in Step 1 isn’t just hot—it’s the perfect balance for achieving maximum crispiness without burning. I’ve tested this with multiple brands of frozen tenders, and this temperature consistently delivers that golden, crunchy exterior while keeping the inside perfectly tender. The high heat creates what chefs call the Maillard reaction, which gives you that deep, savory flavor and beautiful color we all love.
Equipment That Makes All the Difference: In Step 2, using a wire rack instead of just parchment paper is what separates good tenders from extraordinary ones. The rack allows hot air to circulate completely around each piece, crisping them evenly on all sides. I learned this the hard way after years of soggy-bottomed tenders! If you don’t have a wire rack, you can use the oven’s middle rack position and flip the tenders more carefully during baking.
Timing Precision: Those 12 minutes plus 8-10 minutes in Step 3 are absolutely critical. The first 12 minutes start the crisping process on the bottom, while the second interval finishes the top. Don’t be tempted to skip the flip—it’s what gives you that perfect, even golden-brown color on both sides. I set a timer for both intervals to ensure I don’t overcook or undercook.
Final Crispiness Boost: The optional 1-2 minutes under the broiler at the end of Step 3 is my secret weapon for that extra crunch. Watch it like a hawk though—broilers can go from perfect to burned in seconds! I position my oven rack about 6 inches from the broiler element and stay right there watching until I see that perfect golden sheen develop.
Pro Tips for Make Frozen Chicken Tenders Crispy
- Let me share the game-changing secrets that will take your tenders from good to absolutely irresistible—every single …
- Heat Distribution Secret: That 425°F temperature in Step 1 isn’t just hot—it’s the perfect balance for achieving maxi…
- Equipment That Makes All the Difference: In Step 2, using a wire rack instead of just parchment paper is what separat…
Frequently Asked Questions
How long should I bake frozen chicken tenders to get them crispy?
Bake at 425°F (220°C) for 18-22 minutes, flipping halfway. For extra crispiness, broil for 1-2 minutes at the end—but watch closely to avoid burning! Pro tip: Preheat your baking sheet for a head start on that crunch.
Can I make frozen chicken tenders crispy in an air fryer instead?
Air fry at 400°F (200°C) for 10-12 minutes, shaking the basket halfway. Spray lightly with oil for a golden finish. Air fryers cut time and boost crispiness—no preheating needed!
Why are my frozen chicken tenders still soggy after baking?
Sogginess usually means too much moisture or crowding. Pat tenders dry before baking, space them out on the tray, and avoid covering with foil. For a rescue hack: Pop them back in the oven at 450°F (230°C) for 3-5 minutes!
Do I need to thaw frozen chicken tenders before baking for crispiness?
Nope! Baking from frozen actually helps retain moisture inside while crisping the outside. Skip thawing to avoid a mushy texture. If you must thaw, pat super dry and add 2-3 extra minutes of baking time.
What’s the best oil or spray to use for extra-crispy tenders?
Use avocado, vegetable, or canola oil (high smoke point) for baking. For spraying, olive oil spray adds flavor, but butter-flavored cooking spray gives that classic golden crunch. Lightly coat both sides right before baking!
With the right techniques—like high heat, proper spacing, and a quick oil spray—you can turn frozen chicken tenders into a golden, crispy masterpiece every time! 🎉 No more soggy disappointments—just juicy, crunchy perfection in minutes. Ready to put your new skills to the test? Grab a bag of tenders and preheat that oven—your taste buds will thank you!

- Jollof Rice Sauce Recipe: West African Tomato and Spice Infusion - September 25, 2026
- Japanese Rice Soup Recipe: Umami-Rich Comfort in a Bowl - September 25, 2026
- Homemade Cream Of Rice Recipe: Silk-Smooth Breakfast in Minutes - September 25, 2026