
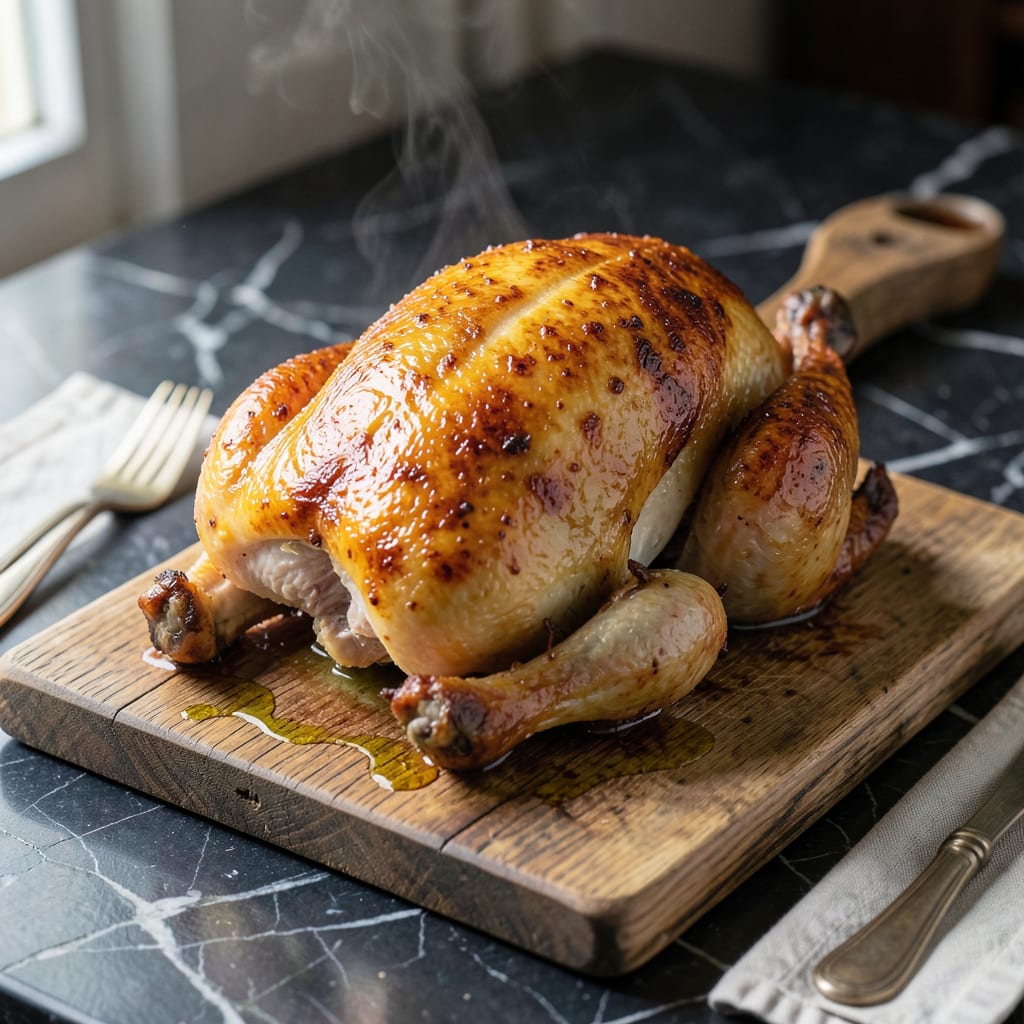
I’ll be real with you—trussing a chicken without string changed my whole approach to roasting. No more fumbling with knots or worrying about twine burning in the oven. This method uses just your hands and the chicken’s own legs to create a tight, even package that cooks perfectly every time.
The reason chefs obsess over trussing isn’t just for looks. A properly trussed chicken cooks more evenly, with juicier breast meat and crispier skin. Without that tight bundle, the legs and wings dry out while the breast stays undercooked. I learned this the hard way after ruining more Sunday dinners than I’d like to admit.
Here’s where it gets interesting—you don’t need any special tools. The technique relies on tucking the wings back and securing the legs by crossing them and locking the skin. It takes about 30 seconds once you get the hang of it, and the results are game-changing. No more lopsided birds or dry meat.
Master this simple skill, and you’ll never look at whole chicken recipes the same way. The difference in moisture and even cooking is that noticeable. Ready to try the method that’ll make your roast chicken the star of the table?
📚 In This Guide
- What You’ll Need
- Instructions
- Tips and Common Mistakes
What Youll Need
- ● 1 whole chicken (3–6 lbs, patted dry with paper towels)
- ● Sharp kitchen shears (or a sturdy chef’s knife for trimming excess skin)
- ● Cutting board (preferably with a groove to catch juices)
- ● Paper towels (for drying the chicken and gripping slippery skin)
- ○ Optional: Kitchen twine (only if you want backup—we’re going string-free!)
- ○ Optional: Poultry seasoning or oil (for prepping the bird post-truss)
- ● Bonus: Instant-read thermometer (to check doneness later—safety first!)
Step-by-Step Instructions for Trussing a Chicken Without String
This method delivers even cooking and beautiful presentation without a single piece of twine.
Position the Chicken for Trussing
Place your whole chicken breast-side up on a clean work surface. Pat it completely dry with paper towels first—this helps with grip and prevents slipping. I always start with the chicken at room temperature, which makes the wings and legs more pliable for tucking.
Locate the wings and legs. Your goal is to secure the wings under the body and tie the legs together, but we’ll do it without any string. The key is working with the chicken’s natural structure rather than against it.
Tuck the Wings Under the Body
Gently bend each wing backward so the tip points toward the tail. Slide the wing under the body, tucking it between the breast and the leg. Press down firmly so it stays in place. This keeps the wings from burning and helps the breast cook evenly.
If the wings pop back out, try bending them at a sharper angle. The joint should lock into place once it’s positioned correctly. This might feel awkward at first, but it becomes second nature with practice.
Secure the Legs with a Simple Tuck
Hold the chicken steady with one hand and lift one leg up toward the breast. Now, take the other leg and cross it over the first, tucking the ankle of the top leg into the gap between the thigh and body of the bottom leg. It should feel snug but not forced.
Flip the chicken breast-side down to check your work. The legs should stay crossed without any string. If they start to separate, adjust the angle of the tuck until they lock together. The tension from the crossed legs will keep everything in place during cooking.
Test the Stability Before Cooking
Pick up the chicken and gently shake it. If the wings stay tucked and the legs remain crossed, you’ve trussed it correctly. If anything comes loose, set it back down and adjust the tucking until it holds. The chicken should feel compact and secure in your hands.
Place the chicken breast-side up in your roasting pan or on your cooking surface. The trussing will help it cook evenly and maintain its shape. This method works especially well for roasting, as it prevents the legs from splaying and the wings from overcooking.
Cook as Normal and Serve
Roast or cook your chicken using your preferred method. Without string, you’ll notice the skin browns more evenly, and the meat stays moist because the shape remains consistent. The trussing also makes for a more attractive presentation when you bring it to the table.
Once cooked, let the chicken rest for 10-15 minutes before carving. The trussing will keep it intact during this time, allowing the juices to redistribute. When you’re ready to serve, simply untuck the wings and separate the legs—they’ll come apart easily.
Tips and Common Mistakes for Perfect Chicken Trussing
Small adjustments make this technique foolproof and elegant every time.
The Room Temperature Advantage: Always start with chicken at room temperature as mentioned in Step 1—this makes the joints more flexible. Cold chicken resists tucking and can crack, while room temp meat bends smoothly into place without tearing. I’ve ruined the skin on cold birds trying to force the tuck.
Locking the Wings: In Step 2, if wings keep popping out, bend them at a sharper angle until the joint clicks into position. Press down firmly between the breast and leg to create a secure pocket. The natural tension holds better than any string once you find the right angle.
Leg Tuck Verification: After Step 3, flip the chicken breast-side down to confirm the legs stay crossed. If they separate, adjust the top leg’s ankle deeper into the gap. The crossed legs should create just enough tension to hold everything together without feeling strained.
Resting Time: That 10-15 minutes rest in Step 5 isn’t just for juices—it lets the trussing set completely. The chicken stays compact during this time, making it easier to carve and ensuring the shape holds through serving.
Pro Tips for Truss A Chicken Without String
- Small adjustments make this technique foolproof and elegant every time.
- The Room Temperature Advantage: Always start with chicken at room temperature as mentioned in Step 1—this makes the j…
- Locking the Wings: In Step 2, if wings keep popping out, bend them at a sharper angle until the joint clicks into pos…
Frequently Asked Questions
Can I truss a chicken without any string or twine?
Yes! Use the chicken’s own legs and wings. Tuck the wings under the body and tie the legs together with a small loop made from the skin or a silicone band. No extra tools needed!
What’s the easiest alternative to string for trussing?
Silicone bands or even a strip of aluminum foil work well. These hold the legs securely without burning in the oven. Just remove them before serving.
Will my chicken cook evenly if I don’t truss it?
Not trussing can lead to uneven cooking, as the legs and wings may cook faster than the breast. Trussing ensures consistent heat distribution for perfect results every time.
How tight should the truss be?
Firm but not too tight—just enough to hold the shape. Over-trussing can tear the skin. Aim for a snug fit to keep the bird compact and even.
Can I use skewers to truss a chicken?
Yes! Thread a metal or wooden skewer through the legs and wings to hold them in place. Soak wooden skewers in water first to prevent burning.
Mastering the art of trussing a chicken without string ensures juicier, more even cooking every time—no fancy tools required! With just a few simple folds and tucks, you’re ready to roast like a pro. Now, grab your bird, preheat that oven, and put your new skills to the test with your next perfectly cooked meal! 🍗

- Jollof Rice Sauce Recipe: West African Tomato and Spice Infusion - September 25, 2026
- Japanese Rice Soup Recipe: Umami-Rich Comfort in a Bowl - September 25, 2026
- Homemade Cream Of Rice Recipe: Silk-Smooth Breakfast in Minutes - September 25, 2026