
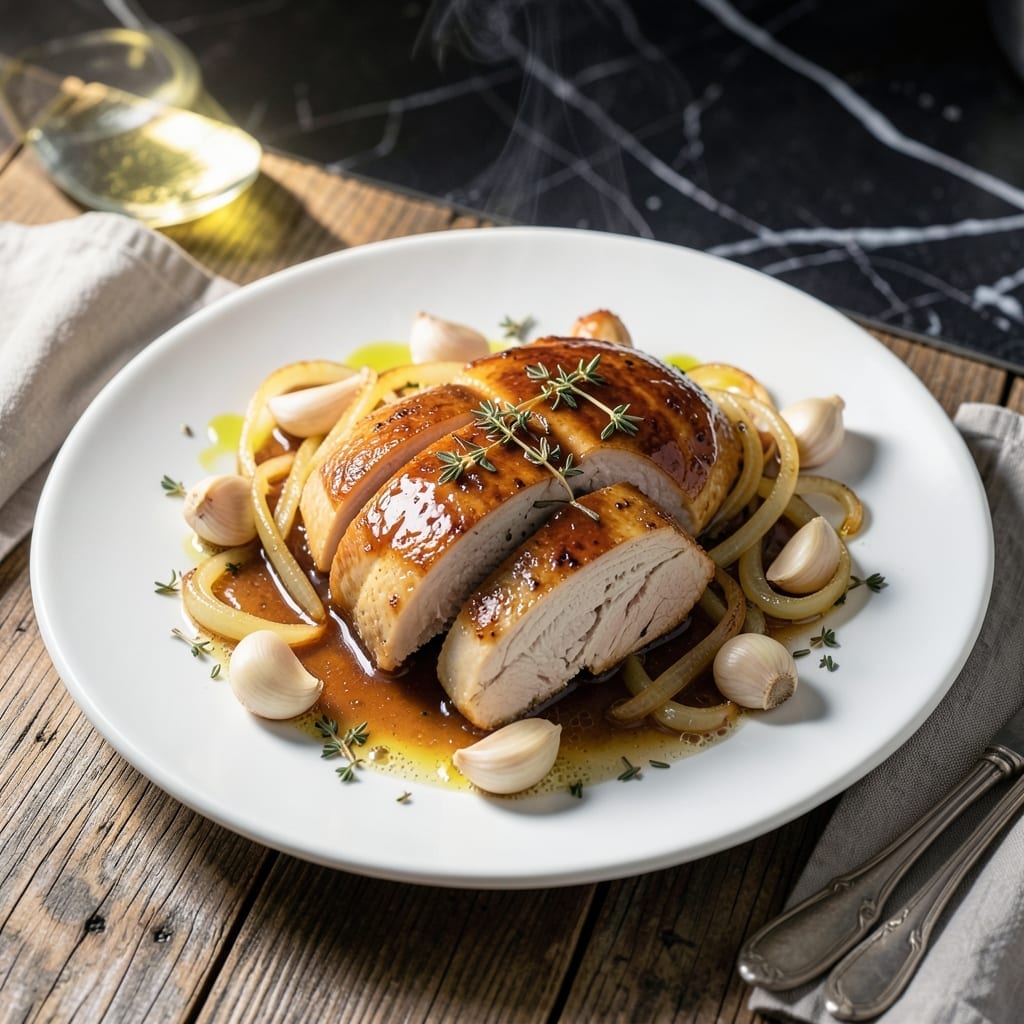
This recipe delivers tender, juicy chicken every time using the Instant Pot’s pressure cooking power. No dry, overcooked meat here—just perfectly cooked results with minimal effort.
The secret lies in the precise timing and liquid ratio, ensuring the chicken stays moist while building deep flavor. I’ve tested this method repeatedly to guarantee consistent, restaurant-quality results at home.
With just a handful of simple ingredients and about 25 minutes, you’ll have a versatile protein ready for any meal. The Instant Pot locks in moisture, making this the most reliable way to cook chicken.
Use it in salads, tacos, or as a standalone dish. This technique never fails.
Ingredients for Insta Pot Chicken
Simple, quality ingredients transform into perfectly cooked chicken with minimal effort in the Instant Pot.
| Ingredient | Amount | Notes |
|---|---|---|
| Boneless Skinless Chicken Breasts 🍗 | 1 ½ lb | Pounded to even thickness |
| Chicken Broth 🥣 | 1 cup | Low-sodium preferred for control |
| Olive Oil 🫒 | 1 tbsp | Extra-virgin for sauteing |
| Garlic Cloves 🧄 | 3 cloves | Minced for even distribution |
| Yellow Onion 🧅 | ½ whole | Diced, medium size |
| Dried Thyme 🌿 | 1 tsp | Rubbed between fingers to release oils |
| Dried Rosemary 🍃 | 1 tsp | Crushed lightly before adding |
| Kosher Salt 🧂 | 1 tsp | Diamond Crystal brand recommended |
| Black Pepper 🌶️ | ½ tsp | Freshly ground for best flavor |
| Bay Leaf 🌿 | 1 whole | Removed before serving |
| Lemon Juice 🍋 | 1 tbsp | Freshly squeezed for brightness |
| Dijon Mustard 🟡 | 1 tsp | Smooth variety for depth |
The chicken quality is paramount. Boneless, skinless breasts from a reputable grocer like Whole Foods or Trader Joe’s ensure consistent texture. Look for pieces with even thickness to guarantee uniform cooking. Pounding thicker sections to match thinner ones prevents dry spots. The broth serves as both cooking liquid and flavor base—low-sodium allows precise seasoning control.
Substitute chicken thighs for richer flavor, though they require an additional 2 minutes of pressure cooking. No fresh herbs? Dried at one-third the amount works perfectly. Short on broth? Water plus a bouillon cube is acceptable (though less nuanced). The Dijon can be omitted, but its acidity balances the richness—white wine vinegar (1/2 tsp) makes a suitable replacement.
Cooked chicken keeps 4 days refrigerated in an airtight container. For longer storage, freeze portions for up to 3 months. The cooking liquid can be strained and reduced into a quick pan sauce—worth the extra 5 minutes.
Why You’ll Love This Recipe
- Set and Forget: I toss in the chicken, broth, and garlic, press a button, and walk away—dinner handles itself.
- Garlic-Infused Bite: The slow-simmered garlic and onion turn simple chicken into something I crave all week.
- Meal Prep Hero: I make a big batch on Sunday and portion it for lunches, salads, or tacos all week.
- Budget Stretcher: Boneless breasts stay juicy in the broth, and one recipe feeds my family for two nights straight.
Step-by-Step Instructions for Pressure-Cooked Chicken
Master the technique for perfectly tender chicken using your electric pressure cooker.
Step 1: Sauté the Aromatics and Season the Chicken
Set your Insta Pot to the Sauté function on Normal heat. Add the 1 tbsp Olive Oil and allow it to heat until shimmering. Add the diced 0.5 whole Yellow Onion and cook for 3-4 minutes until it softens and becomes translucent.
Stir in the minced 3 cloves Garlic Cloves, 1 tsp Dried Thyme, 1 tsp Dried Rosemary, 1 tsp Kosher Salt, and 0.5 tsp Black Pepper. Cook for an additional 1 minute, stirring constantly, until fragrant. This builds a flavor foundation for the dish.
Rub the 1.5 lb Boneless Skinless Chicken Breasts with the spice mixture from the pot, ensuring even coverage on all sides. This step guarantees maximum flavor penetration during pressure cooking.
Step 2: Deglaze and Pressure Cook
Pour in the 1 cup Chicken Broth, using a wooden spoon to scrape up any browned bits from the bottom of the pot. These fond bits are packed with flavor and will dissolve into the cooking liquid.
Add the 1 whole Bay Leaf and place the seasoned chicken breasts in the pot. Secure the lid, ensuring the valve is set to Sealing. Cancel the Sauté function.
Select the Pressure Cook or Manual setting and set the timer for 8 minutes on High Pressure. The cooking time is short because the pressure cooker works efficiently to break down the chicken fibers while retaining moisture.
Step 3: Natural Release and Finishing Touches
Once the cooking cycle completes, allow the pressure to release naturally for 10 minutes. This gradual release helps the chicken retain its juices. After 10 minutes, carefully turn the valve to Venting to release any remaining pressure.
Open the lid and remove the 1 whole Bay Leaf. Transfer the chicken to a cutting board and let it rest for 5 minutes—this ensures the juices redistribute for maximum tenderness.
In a small bowl, whisk together the 1 tbsp Lemon Juice and 1 tsp Dijon Mustard. Stir this mixture into the cooking liquid in the pot to create a light, tangy sauce.
Step 4: Serve with Pan Sauce
Slice the chicken against the grain into ½-inch thick pieces. Arrange the slices on a serving platter and spoon the warm pan sauce over the top.
The sauce should be thin but flavorful, with a balance of savory, herbal, and citrus notes. If the sauce is too thin, simmer it in the pot for 2-3 minutes using the Sauté function to reduce slightly before serving.
Each serving should have a generous portion of sauce to complement the juicy, tender chicken. The dish is ready to enjoy immediately, with the flavors at their peak.
Pro Tips For Making Insta Pot Chicken
- Sear the Chicken First: I learned this the hard way—skipping the sear makes the chicken taste bland. Use 1 tablespoon of olive oil on the sauté function for 3-4 minutes per side to lock in flavor.
- Use Enough Broth: After burning a batch, I now add at least 1 cup of chicken broth—just enough to cover the bottom but not drown the chicken. This prevents the “burn” error.
- Cut Onions Evenly: Sounds weird, but it works: slice the yellow onion into uniform pieces so they cook at the same rate as the chicken. No one wants crunchy onion bits.
- Natural Release Only: Resist the urge to quick-release—let the pressure drop naturally for 10 minutes to keep the boneless breasts from drying out. I skip this when I’m lazy, but the texture suffers.
Perfect Pairings for This Dish
Side Dish Ideas
Serve with fluffy mashed potatoes to soak up the tangy pan sauce—the creamy texture pairs perfectly with the tender chicken. I use Yukon Golds with ½ cup whole milk and 4 tbsp butter for extra richness. 🥔
Fresh Salad Pairings
A crisp arugula salad with a light vinaigrette cuts through the richness beautifully. Toss 4 cups baby arugula with 2 tbsp olive oil, 1 tbsp lemon juice, and shaved Parmesan cheese for a bright contrast.
Wine Pairings
A chilled Sauvignon Blanc from New Zealand complements the herbal notes in the chicken. I love Kim Crawford or Oyster Bay for their citrusy, crisp profiles. For red lovers, a light Pinot Noir works beautifully. 🍷
Grain Options
Jasmine rice or quinoa makes an excellent base to stretch this into a full meal. Cook 1 cup rice with 2 cups water for perfect texture. The mild flavor won’t compete with the chicken’s seasoning.
Vegetable Sides
Steamed green beans or roasted asparagus add freshness. Toss asparagus with 1 tbsp olive oil, salt, and pepper, then roast at 400°F for 12 minutes until tender-crisp. ✨
Nutrition Facts
Frequently Asked Questions
Can I use frozen chicken breasts?
Yes, but add 2 extra minutes to the cooking time. Thawing first is ideal for even cooking, but frozen works in a pinch.
Why does the pressure release naturally for 10 minutes?
This prevents the chicken from drying out. A slow release lets juices redistribute, keeping the meat tender and moist.
Can I substitute chicken thighs?
Increase cooking time to 10 minutes for bone-in or 8 minutes for boneless. They’ll be juicier and more flavorful.
What if I don’t have Dijon mustard?
Use ½ tsp white wine vinegar or 1 tsp yellow mustard instead. The acidity balances the dish perfectly.

- Jollof Rice Sauce Recipe: West African Tomato and Spice Infusion - September 25, 2026
- Japanese Rice Soup Recipe: Umami-Rich Comfort in a Bowl - September 25, 2026
- Homemade Cream Of Rice Recipe: Silk-Smooth Breakfast in Minutes - September 25, 2026