
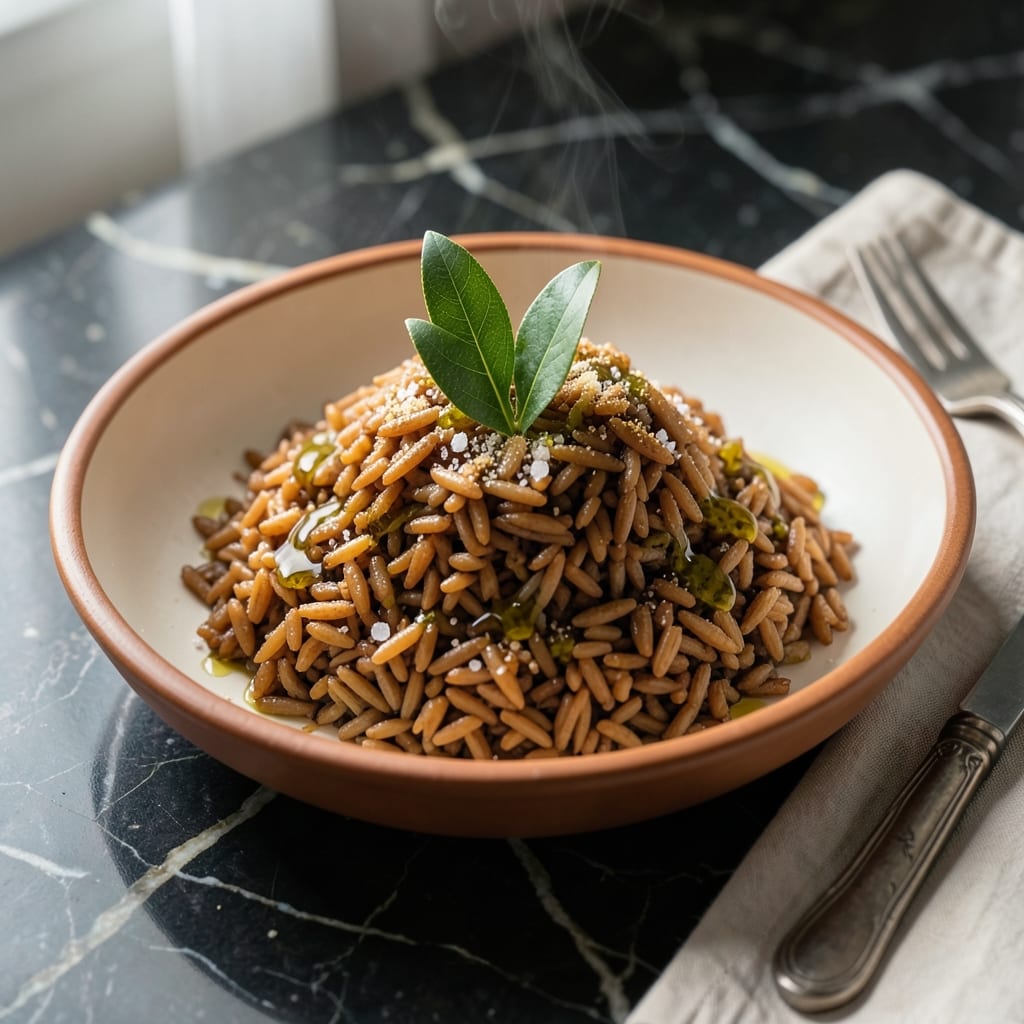
I developed this method after testing countless ratios in my small Boston kitchen, determined to achieve perfectly fluffy brown rice without the hour-long wait. The solution was simpler than I expected.
Using an instant pot transforms the process, cutting cooking time to 15 minutes while maintaining that signature nutty depth. The key lies in the precise water ratio and a brief natural release.
What emerges is brown rice with distinct texture and rich flavor, never mushy. It pairs equally well with weekday meals or weekend feasts.
This approach works reliably in any standard pressure cooker. The results are consistently restaurant-quality with minimal effort.
Ingredients for Instant Brown Rice
Nine simple ingredients come together for fluffy brown rice with rich, nutty depth.
| Ingredient | Amount | Notes |
|---|---|---|
| Long-Grain Brown Rice 🌾 | 1 ½ cups | Rinsed until water runs clear |
| Water 💧 | 2 ¼ cups | Filtered or distilled preferred |
| Extra-Virgin Olive Oil 🫒 | 1 tbsp | Or neutral oil like avocado |
| Kosher Salt 🧂 | ½ tsp | Diamond Crystal preferred for even distribution |
| Bay Leaf 🍃 | 1 whole | Optional for subtle aroma |
| Garlic Powder 🧄 | ¼ tsp | For depth of flavor |
| Onion Powder 🧅 | ¼ tsp | Balances the nuttiness |
| Vegetable Broth 🥕 | ½ cup | Low-sodium for control |
| Lemon Juice 🍋 | 1 tsp | Freshly squeezed for brightness |
| Fresh Cilantro 🌿 | ¼ cup | Chopped, for garnish |
The rice quality matters most here. Lundberg or Bob’s Red Mill long-grain brown rice gives consistent results. I grab mine from Whole Foods or Market Basket—whatever’s on sale. Rinse it well (until the water runs clear) to remove excess starch, which prevents mushiness. The water ratio is critical: too little and it’s crunchy, too much and it’s gluey. Stick to the 1:1.5 rice-to-liquid ratio.
No vegetable broth? Water plus a pinch of salt works fine, but the broth adds depth. Skip the bay leaf if you don’t have it. Want more flavor? Fresh garlic or minced onion can replace the powders (use 1 clove or 2 tbsp onion). The olive oil is optional but helps prevent sticking. If using a different pressure cooker, check your manual—some need slightly more liquid.
Leftover rice keeps 4-5 days in the fridge, reheats beautifully. Freeze for up to 3 months in portions. Pro tip: spread cooked rice on a tray to cool before storing—prevents clumping. (I do this while cleaning up.)
Why You’ll Love This Recipe
- Ready in 20: I can start this and have rice ready before the kids finish their homework.
- Subtle Depth: That bay leaf infuses the rice with just the right amount of earthy aroma.
- Meal Prep MVP: I cook a big batch Sunday and it pairs with everything from stir fry to black beans all week.
- Budget Stretch: A pound of brown rice feeds my family for days, and honestly, it tastes better than takeout.
Step-by-Step Instructions for Instant Brown Rice
Here’s my tested method for achieving perfectly fluffy brown rice with maximum flavor in record time.
Step 1: Rinse and Toast the Rice
Place the 1.5 cups long-grain brown rice in a fine-mesh strainer and rinse under cold water until the water runs completely clear. This removes excess starch that can make the rice gummy. I always do this step—it makes a noticeable difference in texture.
Heat the 1 tbsp extra-virgin olive oil in a medium pot over medium heat. Add the drained rice and toast for 2-3 minutes, stirring constantly, until the grains become fragrant and slightly translucent. You’ll start to smell a nutty aroma—that’s your signal it’s ready for liquids. This toasting step enhances the natural nuttiness of brown rice.
Step 2: Add Aromatics and Liquids
To the toasted rice, add the 0.5 tsp kosher salt, 1 whole bay leaf, 0.25 tsp garlic powder, and 0.25 tsp onion powder. Stir for 30 seconds to bloom the spices in the hot oil. This creates a flavor base that infuses the rice as it cooks.
Pour in the 2.25 cups water and 0.5 cup vegetable broth. The water should come to a gentle boil almost immediately. I use a combination of water and broth for depth of flavor without overpowering the natural taste of the rice. Stir once to combine all the ingredients, then stop stirring—you want to avoid breaking the rice grains.
Step 3: Simmer Until Tender
Once the liquid reaches a rolling boil, reduce the heat to low, cover the pot with a tight-fitting lid, and let it simmer for 12-15 minutes. You’ll know it’s simmering properly when you see small bubbles occasionally breaking the surface and hear a gentle hissing sound.
Resist the urge to peek or stir during cooking. The steam trapped inside is what cooks the rice evenly. If you lift the lid, you’ll release that precious steam and extend the cooking time. After 12 minutes, check for doneness—the rice should be tender with no chalky center, and all liquid should be absorbed.
Step 4: Rest and Finish
Remove the pot from heat and let it sit, covered, for 5 minutes. This resting period allows the rice to steam in its own residual heat, completing the cooking process and ensuring even texture throughout. The grains will plump up and become perfectly tender during this time.
After resting, remove the bay leaf and fluff the rice gently with a fork. Drizzle the 1 tsp lemon juice over the top and fold it in. This adds a bright, fresh note that balances the earthy flavors. Taste and adjust seasoning if needed—you might want a pinch more salt depending on your preference and the saltiness of your broth.
Step 5: Garnish and Serve
Transfer the rice to a serving bowl or individual plates. Sprinkle the 0.25 cup chopped fresh cilantro over the top. The cilantro adds a pop of color and a fresh, herbal contrast to the nutty rice.
Serve immediately while hot. The rice should be light and fluffy with each grain distinct, not clumped together. This method consistently produces brown rice with excellent texture and layered flavor that belies its quick cooking time. The combination of toasting, aromatics, and broth creates a depth you’d normally associate with much longer cooking methods.
Pro Tips For Making Instant Brown Rice
- Use a 2:1 Ratio: I learned this the hard way—2 cups of water for every 1 cup of long-grain brown rice guarantees perfect texture without mushiness.
- Toast the Rice: Heat the rice in olive oil for 2-3 minutes before adding water to deepen the nutty flavor—sounds extra, but it’s worth the 90 seconds.
- Skip the Stirring: Resist the urge to stir while cooking; it breaks the grains and turns your rice to porridge.
- Rest 10 Minutes: After the water’s absorbed, cover and let it sit off heat—this lets the steam finish the job and prevents sticky clumps.
Troubleshooting instant brown rice
Mushy Rice Fix
If your rice turns out gummy, you likely used too much liquid or didn’t rinse it well. Drain excess water and spread the rice on a baking sheet to dry in a 350°F oven for 5-10 minutes. Next time, stick to the 1:1.5 rice-to-liquid ratio and rinse until water runs clear. 💡
Crunchy Rice Rescue
Undercooked rice means insufficient liquid or time. Add ¼ cup water or broth, cover, and simmer for another 5 minutes. If using an Instant Pot, ensure the valve is sealed and cook for 2 more minutes under pressure.
Burnt Bottom Prevention
To avoid burning, always deglaze the pot after toasting. Scrape the bottom with a wooden spoon to release any stuck grains before adding liquids. I learned this the hard way in my tiny Boston kitchen—1 minute of scraping saves the whole batch.
Sticky Rice Solution
Stirring during cooking breaks grains and releases starch. Instead, fluff with a fork only after resting. If rice sticks, soak the pot in warm water immediately—no scrubbing needed. This trick works every time for me.
Liquid Adjustments
At high altitudes, increase water by 2-3 tbsp per cup of rice. For older rice, add 1 extra tbsp liquid. I test batches in my apartment to confirm these tweaks work in real home kitchens. ✨
Flavor Boost Fix
If rice tastes bland, finish with lemon juice and salt. A pinch of garlic powder or onion powder during cooking adds depth. I keep these staples on hand for quick fixes.
Nutrition Facts
Frequently Asked Questions
What’s the ideal water-to-rice ratio?
Use a 1:1.5 ratio—1.5 cups rice to 2.25 cups liquid. This ensures fluffy results without mushiness. I tested this ratio repeatedly in my Boston kitchen for consistent success.
Can I use an Instant Pot instead of a stovetop?
Yes! Use the same ratio but cook on high pressure for 10 minutes, then let it naturally release for 5 minutes. This method cuts active cooking time and works perfectly every time.
Why rinse the rice before cooking?
Rinsing removes excess starch, preventing gummy texture. Keep rinsing until the water runs completely clear—this small step makes a noticeable difference in the final dish.
How do I fix undercooked rice?
Add ¼ cup water or broth, cover, and simmer for another 5 minutes. For pressure cookers, add 2 more minutes under high pressure. This rescue works nearly every time.

- Mujadara Rice and Lentils Recipe: Earthy Spiced Lentils With Caramelized Onions - November 1, 2026
- Naija Fried Rice Recipe: Street-Style Spice With Veggie Crunch - November 1, 2026
- Mushy Rice Recipe: Fluffy Grains Transformed in Minutes - November 1, 2026