
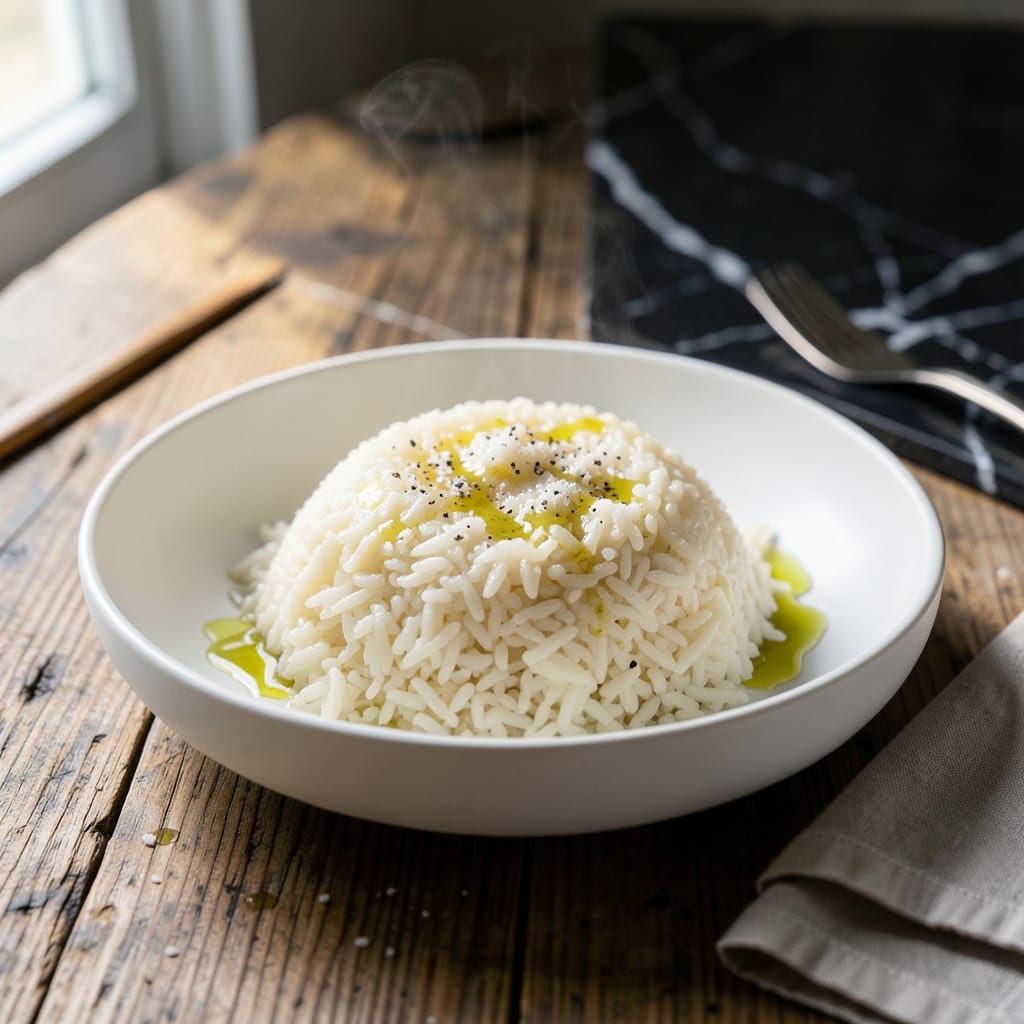
This method delivers perfectly sticky Calrose rice every time, with no guesswork or babysitting required. The Instant Pot handles the entire process with precision timing and consistent heat.
With the right water ratio and pressure cooking time, you’ll achieve tender grains that cling together just enough for sushi or bowls. This foolproof approach eliminates common rice cooking problems like burning or uneven doneness.
Ingredients for Instant Pot Calrose Rice
Simple ingredients yield perfectly sticky Calrose rice with minimal effort and maximum consistency.
| Ingredient | Amount | Notes |
|---|---|---|
| Calrose Rice 🍚 | 2 cups | Rinsed until water runs clear |
| Water 💧 | 2 ½ cups | Filtered for best results |
| Sea Salt 🧂 | ½ tsp | Fine grain preferred |
| Rice Vinegar 🍶 | 1 tbsp | Optional, for sushi preparation |
| Granulated Sugar 🍚 | 1 tsp | Optional, balances vinegar |
| Vegetable Oil 🫒 | 1 tsp | For coating pot, prevents sticking |
| Nori Seaweed Sheets 🌊 | 2 sheets | Optional, for serving |
| Sesame Seeds 🌰 | 1 tbsp | Toasted, for garnish |
| Green Onions 🧅 | 2 whole | Thinly sliced, for garnish |
| Soy Sauce 🥢 | 1 tbsp | Optional, for serving |
The rice quality matters most. Calrose is essential for that sticky texture—Nishiki or Koshihikari work too. Find these at Asian markets or the international aisle. Rinse until the water runs clear (this removes excess starch, preventing gummy rice). The water ratio is critical: 1:1.25 rice to water ensures perfect doneness without mush.
No rice vinegar? Apple cider vinegar works in a pinch (use half the amount). Skip the sugar if avoiding sweetness—just add a pinch of salt to balance. For extra flavor, swap water for vegetable broth. The oil prevents sticking, but a non-stick pot might let you skip it entirely.
Cooked rice keeps 3-4 days in the fridge, 3 months frozen. Store in airtight containers with a damp paper towel on top to retain moisture. Reheat with a splash of water to revive texture.
Why You’ll Love This Recipe
- Set and Forget: I toss everything in the Instant Pot, press a button, and walk away—no stirring, no watching, just perfect rice every time.
- Sweet-Tangy Balance: That hint of rice vinegar and sugar gives it a subtle sweetness that pairs perfectly with savory dishes.
- Meal Prep Hero: I make a big batch on Sunday and it stays fluffy all week for lunches or quick dinners.
- Budget Stretch: Calrose rice is affordable, and a single batch feeds my family for days without breaking the bank.
Step-by-Step Instructions for Instant Pot Calrose Rice
Master the technique for consistently perfect texture with this reliable pressure cooking method.
Step 1: Prepare and Rinse the Rice
Place the 2 cups Calrose Rice in a fine-mesh strainer and rinse thoroughly under cold water. I agitate the grains gently with my fingers while rinsing, watching as the water transitions from cloudy to clear. This step removes excess starch, preventing the finished rice from becoming gummy.
Continue rinsing until the runoff is completely transparent—this typically takes 4-5 rinses. Real talk: skipping this step will result in a sticky, paste-like texture rather than the distinct, tender grains you want. Shake the strainer gently to remove all excess water before proceeding.
Step 2: Season and Combine in the Instant Pot
Transfer the rinsed rice to the Instant Pot insert. Add the 2.5 cups Water, 0.5 tsp Sea Salt, 1 tbsp Rice Vinegar, 1 tsp Granulated Sugar, and 1 tsp Vegetable Oil. The vinegar and sugar aren’t just for flavor—they create the perfect balance for sushi-style rice, though they work beautifully for everyday meals too.
Stir gently to distribute the seasonings evenly, ensuring the rice is fully submerged in the liquid. I use a wooden spoon for this to avoid scratching the pot. The water should appear slightly cloudy from the rice starch, but the grains should be evenly dispersed, not clumped together.
Step 3: Pressure Cook with Precision
Secure the lid on your Instant Pot, ensuring the sealing ring is properly in place. Set the valve to the sealing position and select the high pressure cook setting for 3 minutes. I know it seems brief, but the pressure cooking process combined with the natural release will perfectly cook the rice without making it mushy.
The Instant Pot will take about 8-10 minutes to come to pressure before the cooking time begins. You’ll hear a slight hiss as the pressure builds—this is normal. Once the cooking cycle completes, allow the pressure to release naturally for 10 minutes before quick-releasing any remaining pressure.
Step 4: Rest and Fluff the Rice
After releasing the pressure, let the rice sit covered for an additional 5 minutes. This resting period allows the grains to absorb any remaining liquid and steam to redistribute evenly. I set a timer for this—rushing this step can result in uneven texture.
Gently fluff the rice with a rice paddle or fork, starting from the bottom and working your way up. The grains should be sticky but still distinct, with a glossy sheen from the cooking liquid. If any liquid remains in the bottom, simply fold it in—the rice will absorb it as you fluff.
Step 5: Garnish and Serve
Transfer the rice to a serving bowl or individual plates. For presentation, I sprinkle the 1 tbsp Sesame Seeds and thinly sliced 2 whole Green Onions over the top. The nori, sesame, and green onions aren’t just garnishes—they add texture and visual appeal that elevate the dish.
Serve immediately with 2 sheets Nori Seaweed Sheets and 1 tbsp Soy Sauce on the side if desired. The rice should hold its shape when scooped but stick together slightly when pressed. Each grain should be tender with a subtle sweetness from the vinegar and sugar combination.
Pro Tips For Making Instant Pot Calrose Rice
- Rinse the Rice: I learned this the hard way—skipping the rinse leaves your Calrose rice gummy. Use a fine-mesh strainer and cold water until it runs clear.
- Use Equal Water: For Instant Pot Calrose, the ratio is non-negotiable: 1:1 rice to water. Any more and you’ll get mush instead of fluffy grains.
- Natural Release Only: Resist the urge to quick-release—let the pressure drop naturally for at least 10 minutes, or the rice will turn out uneven and sticky.
- Add Vinegar Last: Mix the rice vinegar and sugar into the cooked rice after cooking, not before. It keeps the grains separate and brightens the flavor.
Wine and Beer Pairings for This Recipe
Asian Beer Pairings
I love serving this rice with crisp Asian lagers like Sapporo or Asahi. Their light, clean profiles complement the subtle sweetness without overpowering it. The carbonation helps cleanse your palate between bites of sticky rice. 🍺
Sake Selections
For a traditional match, try a dry junmai sake such as Dassai 39. Its smooth, slightly fruity notes enhance the rice’s natural flavors. Serve chilled in small cups to sip alongside your meal.
White Wine Choices
A lightly oaked Chardonnay from California works beautifully, offering buttery notes that pair well with the rice’s mild sweetness. Avoid overly acidic whites, as they can clash with the vinegar in the dish.
Sparkling Options
For a refreshing twist, prosecco or a dry sparkling wine adds effervescence that lifts the dish. The bubbles contrast nicely with the rice’s sticky texture. I prefer La Marca Prosecco for its balance of fruit and crispness. ✨
Non-Alcoholic Pairings
Serve with green tea (hot or iced) for a classic pairing that enhances the rice’s subtle flavors. For a sweeter option, lychee juice or ramune soda adds a fun, light contrast to the meal.
Nutrition Facts
Frequently Asked Questions
Why rinse the rice before cooking?
Rinsing removes excess starch that can make rice gummy. For Calrose, it ensures distinct yet sticky grains. Stop when water runs clear—this typically takes 4-5 rinses.
Can I use a different rice variety?
Stick with short-grain types like Nishiki or Koshihikari for similar results. Long-grain rice won’t achieve the same sticky texture, even with identical cooking times and ratios.
What if my rice is undercooked?
Add 2-3 tablespoons hot water, seal the lid, and pressure cook for another 1-2 minutes. Let it rest 5 minutes before checking again.

- Jeera Rice Recipe by VahChef: Cumin-Infused Basmati Perfection - October 20, 2026
- Jollof Rice Recipe Instant Pot: West African Flavor in a Fraction of the Time - October 20, 2026
- Keema Fried Rice Recipe: Spiced Minced Meat and Fluffy Grains - October 20, 2026