
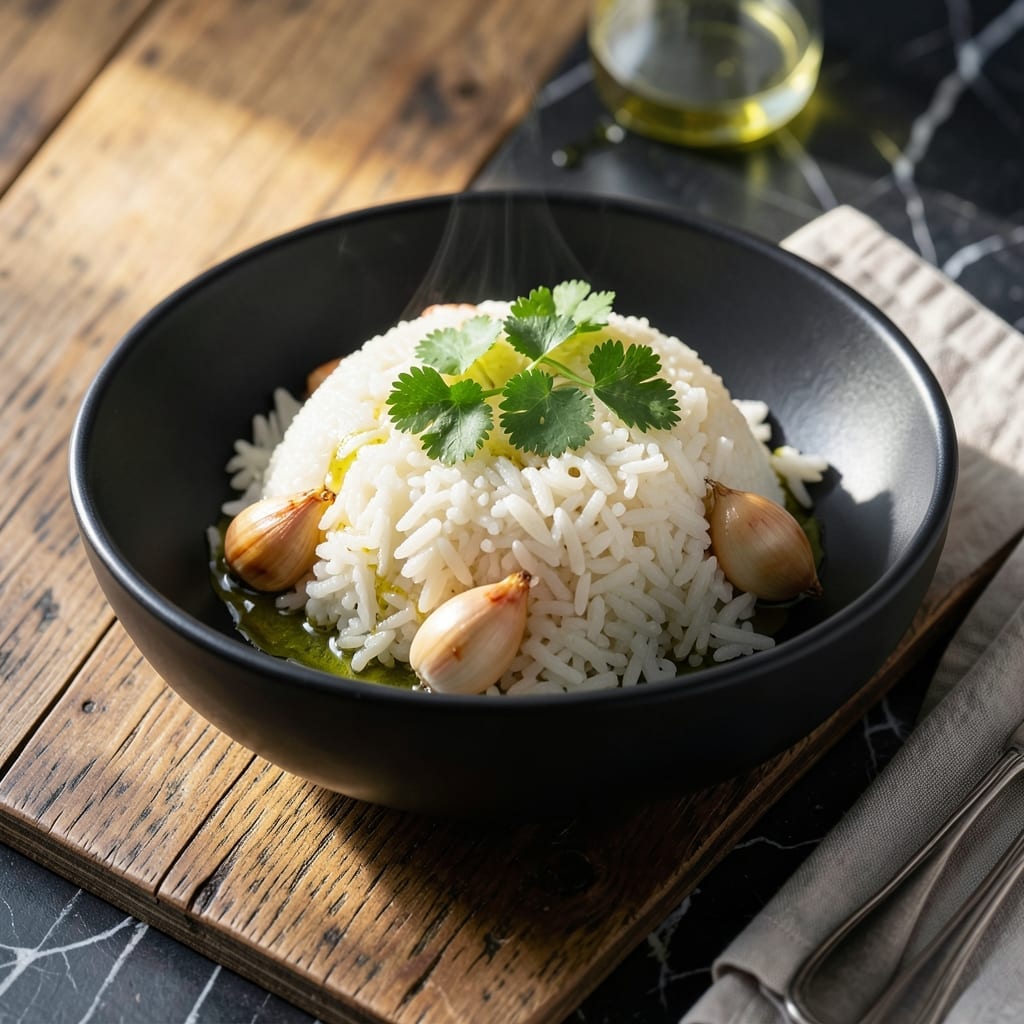
Achieving perfectly fluffy jasmine rice is easier than you think with an Instant Pot. This method delivers consistent results every time, with grains that are tender, separate, and fragrant.
The key is the right water-to-rice ratio and precise pressure cooking. I’ve tested this technique repeatedly to ensure the rice cooks evenly without turning mushy or dry.
You’ll end up with light, aromatic rice that pairs beautifully with any dish. The Instant Pot locks in moisture, so the grains stay distinct and never clump together.
Ready in under 20 minutes, this is the simplest way to make restaurant-quality jasmine rice at home.
Ingredients for Instant Pot Jasmine Rice
Fluffy, fragrant jasmine rice comes from just these few simple ingredients.
| Ingredient | Amount | Notes |
|---|---|---|
| Jasmine Rice 🌾 | 2 cups | Rinsed until water runs clear |
| Water 💧 | 2 ½ cups | Filtered or distilled preferred |
| Sea Salt 🧂 | ½ tsp | Fine grain, optional |
| Neutral Oil 🫒 | 1 tsp | Avocado or vegetable oil |
| Garlic Cloves 🧄 | 2 cloves | Minced, optional for aroma |
| Fresh Cilantro 🌿 | ¼ cup | Chopped, for garnish |
| Lime 🍋 | 1 whole | Cut into wedges |
The rice quality matters most. Look for Thai jasmine rice—brands like Elephant or Dynasty are widely available in the Asian aisle or at Whole Foods. The grains should be long and unbroken, with a pure white color. Rinsing removes excess starch, which is critical for achieving separate grains. Avoid pre-rinsed or minute rice varieties as they won’t hold up to pressure cooking.
No jasmine rice? Basmati works at a 1:1.25 ratio (rice to water), but the texture will be less fragrant. Skip the oil if avoiding added fat, though it does help prevent sticking. For extra flavor, swap water for vegetable broth. The garlic and cilantro are optional but add wonderful freshness—use what you have on hand.
Uncooked rice stores indefinitely in a cool, dry place. Once cooked, it keeps 4-5 days refrigerated in an airtight container, or 6 months frozen. Reheat with a splash of water in the microwave or Instant Pot to restore moisture.
Why You’ll Love This Recipe
- Set and Forget: I toss everything in the Instant Pot, press a button, and walk away—no stirring, no watching, just perfect rice 20 minutes later.
- Garlicky Aroma: The garlic cloves infuse the jasmine rice with a subtle, savory depth that makes the whole kitchen smell incredible.
- Meal Prep Hero: It pairs with everything from stir-fries to grilled chicken, so I make a big batch and use it all week.
- Budget Stretch: A pound of jasmine rice costs pennies and feeds my family for days, especially with leftovers tasting just as good.
Step-by-Step Instructions for Instant Pot Jasmine Rice
Master these precise steps and you will achieve perfectly fluffy, separate grains every time.
Step 1: Rinse and Prepare the Jasmine Rice
Place the 2 cups Jasmine Rice in a fine-mesh strainer and rinse under cold running water. Continue rinsing until the water runs completely clear—this removes excess starch that would otherwise make the rice gummy.
I always rinse for at least 30 seconds on each side of the strainer. The water should look transparent, not cloudy. Once rinsed, let the rice drain completely while you prepare the other ingredients. This step is non-negotiable for achieving separate, fluffy grains.
Step 2: Sauté Aromatics in the Instant Pot
Select the Sauté function on your Instant Pot and add the 1 tsp Neutral Oil. When the oil shimmers, add the 2 cloves Garlic Cloves and sauté for 30-45 seconds until fragrant but not browned.
Be attentive here—garlic burns quickly. The moment you smell its aroma, add the drained rice to the pot and stir to coat the grains with the oil and garlic. Toast the rice for 1-2 minutes, stirring constantly, until the edges appear slightly translucent. This step enhances the rice’s natural nutty flavor.
Step 3: Add Liquid and Pressure Cook
Pour in the 2.5 cups Water and add the 0.5 tsp Sea Salt. Stir well to distribute the rice evenly and ensure no grains are sticking to the bottom of the pot. This prevents the dreaded “burn” error on your Instant Pot.
Secure the lid, set the valve to Sealing, and cook on high pressure for 3 minutes. The Instant Pot will take about 10 minutes to come to pressure before the cooking time begins. Once the timer beeps, let the pressure release naturally for 10 minutes, then quick-release any remaining pressure.
Step 4: Fluff and Rest the Rice
Carefully open the lid and use a fork to fluff the rice gently. You will see perfectly cooked, separate grains. If any rice sticks to the bottom, leave it—disturbing it may break the grains.
Let the rice rest, covered, for 5-10 minutes off heat. This final rest allows steam to redistribute, ensuring even texture throughout. The rice should be tender with no hard centers and a slight sheen from the absorbed moisture.
Step 5: Garnish and Serve
Transfer the rice to a serving dish and garnish with the 0.25 cup Fresh Cilantro. Serve immediately with the 1 whole Lime cut into wedges on the side for a bright, citrusy finish.
The lime’s acidity balances the rice’s natural sweetness, while the cilantro adds a fresh herbal note. Each serving should have distinct, non-sticky grains that hold their shape beautifully on the plate.
Pro Tips For Making Instant Pot Jasmine Rice
- Rinse the Rice: I learned this the hard way—skipping the rinse leaves starch that turns your rice gummy. Two washes in cold water until it runs clear does the trick.
- Use the 1:1 Ratio: For Instant Pot jasmine rice, equal parts rice and water by volume is the sweet spot. Any more and you’ll get mush; any less and it’ll be underdone.
- Sauté the Garlic: After the oil heats, toss in the garlic for 30 seconds before adding rice and water—it deepens the flavor without burning.
- Natural Release Only: Resist the urge to quick-release. Letting the pressure drop naturally for 10 minutes keeps the grains fluffy and intact.
Essential Equipment for This Dish
Instant Pot Essentials
Your 6-quart Instant Pot is the star here—I use the Duo Crisp model for its versatility. Any 6 or 8-quart pressure cooker works, but avoid 3-quart versions as they lack capacity for proper rice expansion. 💡
Fine-Mesh Strainer
A fine-mesh strainer is non-negotiable for rinsing rice thoroughly. I prefer the OXO Good Grips version because it fits perfectly over my sink and has a sturdy handle. Look for one with a 1.5-2 quart capacity to handle 2 cups rice easily.
Wooden Spoon
Use a wooden spoon for stirring rice during sautéing to prevent scratching your pot’s non-stick coating. A bamboo spoon works well too. Avoid metal utensils that can damage the inner pot over time.
Liquid Measuring Cup
Precision matters with water ratios. I use a glass measuring cup with clear markings for 2.5 cups. Pyrex is my go-to brand—it’s durable and the measurements won’t fade. Double-check your levels at eye level for accuracy.
Fork for Fluffing
A regular dinner fork is perfect for fluffing cooked rice. Gently lift and separate the grains to maintain their distinct texture. Avoid a rice paddle, which can compress the rice. Fluff just before serving for the best presentation.
Backup Equipment
Keep a paper towel handy to wipe the Instant Pot rim before sealing the lid. Also, a timer helps track the 10-minute natural release. These small tools prevent common mistakes like improper sealing or overcooking. ⏰
Nutrition Facts
Frequently Asked Questions
What’s the ideal water-to-rice ratio?
Use a 1:1.25 ratio—2 cups rice to 2.5 cups water. This ensures perfect texture without mushiness.
Why do I need to rinse the rice first?
Rinsing removes excess starch, preventing sticky or gummy grains. Continue until the water runs clear for best results.
Can I cook more than 2 cups at once?
Yes, but don’t exceed half the pot’s capacity. For a 6-quart, max is 3 cups rice with 3.75 cups water.
How do I fix undercooked rice?
Add 2-3 tablespoons water, seal the lid, and pressure cook for another 1-2 minutes. Let it rest 5 minutes before checking.

- Mujadara Rice and Lentils Recipe: Earthy Spiced Lentils With Caramelized Onions - November 1, 2026
- Naija Fried Rice Recipe: Street-Style Spice With Veggie Crunch - November 1, 2026
- Mushy Rice Recipe: Fluffy Grains Transformed in Minutes - November 1, 2026