
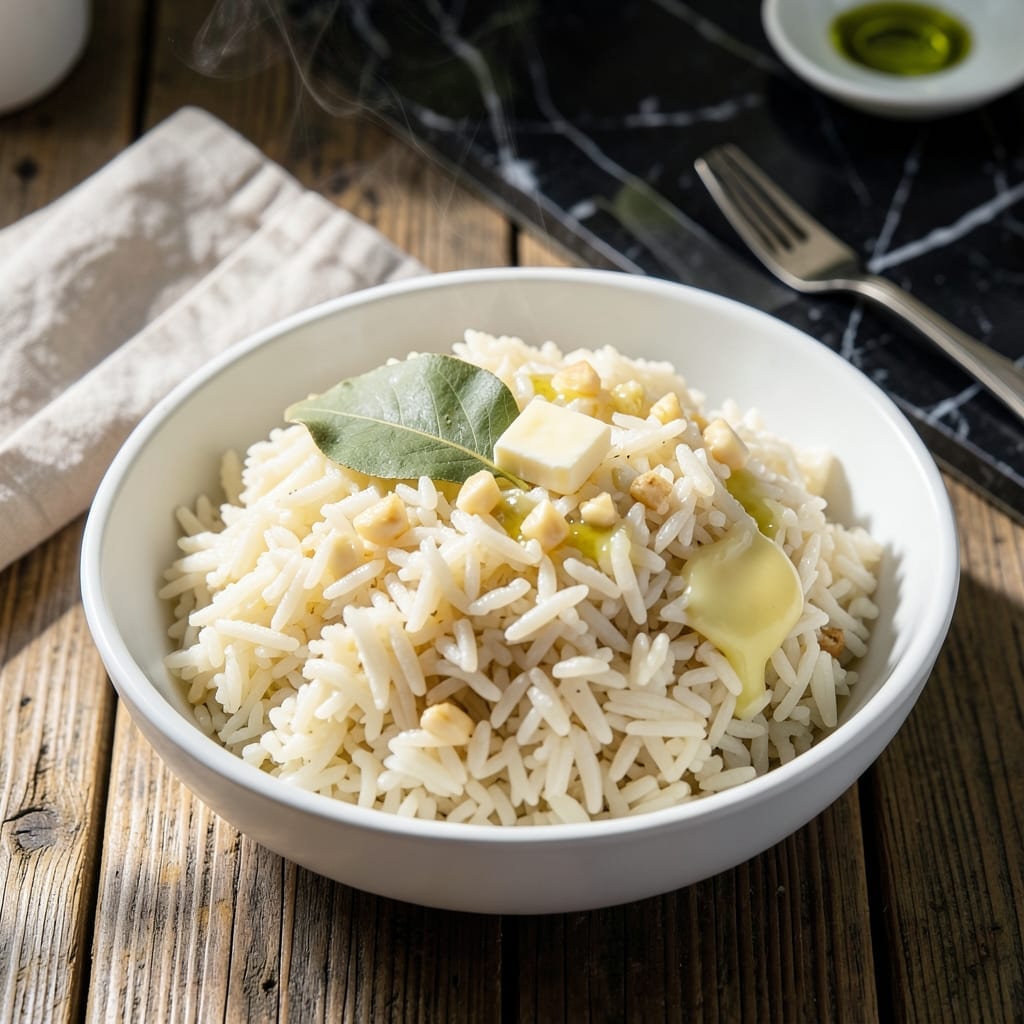
Achieving perfect rice every time is possible with the Instant Pot Ultra, and this method delivers consistent results with minimal effort.
The pressure cooker’s precise temperature control transforms basic rice into pillowy, separate grains without the risk of burning or sticking. This technique works for white, brown, or basmati varieties.
I’ve refined the water-to-rice ratio and cooking time to ensure each batch comes out light and fluffy. The Ultra model’s enhanced features make this even more reliable than traditional stovetop methods.
No more watching the pot or adjusting heat. This approach takes the guesswork out of rice cooking while maintaining ideal texture and flavor.
Ingredients for Instant Pot Ultra Rice
Precision meets simplicity with these essential components for flawless pressure-cooked rice every time.
| Ingredient | Amount | Notes |
|---|---|---|
| Long-Grain White Rice 🌾 | 2 cups | Rinsed until water runs clear |
| Water 💧 | 2 ½ cups | Filtered for best results |
| Kosher Salt 🧂 | 1 tsp | Diamond Crystal preferred |
| Unsalted Butter 🧈 | 1 tbsp | Optional for serving |
| Garlic Cloves 🧄 | 2 cloves | Minced, optional for aroma |
| Bay Leaf 🍃 | 1 whole | Optional for subtle depth |
| Vegetable Broth 🥕 | ½ cup | Substitute for water if desired |
| Extra-Virgin Olive Oil 🫒 | 1 tsp | For sautéing aromatics |
| Fresh Parsley 🌿 | ¼ cup | Chopped, for garnish |
| Lemon Zest 🍋 | 1 tsp | Optional for brightness |
The rice quality is paramount. Jasmine or basmati varieties yield the most consistent texture in the Instant Pot Ultra. Avoid pre-rinsed or instant rice—fresh, unprocessed grains absorb liquid uniformly. Whole Foods and Trader Joe’s carry excellent long-grain options. For brown rice, increase water to 3 cups per 2 cups rice and adjust cook time to 22 minutes.
No bay leaf? Skip it—the dish won’t suffer. Vegetable broth can replace water entirely for added depth (use low-sodium to control seasoning). Butter is purely for serving—olive oil or ghee work equally well. For a vegan approach, omit butter or use a plant-based alternative. The garlic is optional but adds a subtle aromatic base.
Uncooked rice stores indefinitely in a cool, dry place. Once cooked, it keeps in the fridge for 4-5 days or freezes for up to 6 months. Reheat with a splash of water to restore moisture. The Ultra’s precise pressure control eliminates the need for post-cook resting, but a 5-minute natural release prevents foaming.
Why You’ll Love This Recipe
- Set It and Forget: I toss everything in the Instant Pot, press a button, and walk away—no stirring, no babysitting.
- Garlic Butter Magic: The butter and garlic turn plain rice into something rich and aromatic. Honestly, it’s the little things.
- Meal Prep Hero: This rice holds up beautifully in the fridge for days, so I can batch-cook for lunches or quick dinners.
- Budget Stretch: Long-grain white rice is cheap, and this recipe turns it into a side dish that feels far more special than it costs.
Step-by-Step Instructions for Instant Pot Ultra Rice
Master the technique for flawlessly cooked rice with consistent texture and ideal doneness.
Step 1: Rinse and Prepare the Rice
Place the 2 cups Long-Grain White Rice in a fine-mesh strainer and rinse under cold water until the water runs completely clear. This removes excess starch that could make the finished dish gummy rather than light and separate.
Draining thoroughly is equally important—any residual water will throw off your liquid ratios. I always give the strainer a few firm shakes after rinsing to remove every last drop of moisture before proceeding.
Step 2: Sauté Aromatics for Depth of Flavor
Set your Instant Pot to the Sauté function on Normal heat. When the display indicates it’s hot, add the 1 tsp Extra-Virgin Olive Oil and swirl to coat the bottom of the pot. Add the 2 cloves Garlic Cloves (minced) and the 1 whole Bay Leaf, stirring constantly for 30 seconds until the garlic becomes fragrant but doesn’t brown.
At this point, add the 2 cups Long-Grain White Rice and toast for 1-2 minutes, stirring frequently, until the edges of the grains become translucent. This step enhances the nutty flavor of the rice and prevents it from sticking during pressure cooking. The aroma will be noticeably deeper and more complex.
Step 3: Add Liquids and Seasonings
Pour in the 2.5 cups Water and 0.5 cup Vegetable Broth, using a wooden spoon to scrape up any browned bits from the bottom of the pot. This deglazing step ensures nothing burns during the pressure cooking cycle.
Add the 1 tsp Kosher Salt and stir well to distribute it evenly throughout the liquid. The salt enhances the natural flavors of the rice and aromatics without overpowering them. Make sure all the rice grains are submerged in the liquid before proceeding.
Step 4: Pressure Cook to Perfection
Secure the lid on your Instant Pot, ensuring the valve is set to Sealing. Cook on High Pressure for 3 minutes. Yes, just 3 minutes—this is the beauty of pressure cooking rice. The high heat and pressure allow the grains to absorb the liquid quickly and evenly.
When the cooking cycle completes, let the pressure release naturally for 10 minutes, then switch the valve to Venting to release any remaining pressure. This gradual release prevents the rice from becoming mushy or overcooked. The rice is done when all the liquid has been absorbed and the grains are tender but still distinct.
Step 5: Rest and Finish
Once the pressure has fully released, open the lid and let the rice rest for 5 minutes. This allows the grains to steam and settle, ensuring a uniform texture throughout.
Fluff the rice gently with a fork, breaking up any clumps without mashing the grains. Stir in the 1 tbsp Unsalted Butter if using, which adds a subtle richness. Garnish with the 0.25 cup Fresh Parsley (chopped) and 1 tsp Lemon Zest for a bright, fresh finish that complements the dish beautifully.
Pro Tips For Making Instant Pot Ultra Rice
- Rinse the Rice: Always rinse your long-grain white rice until the water runs clear—this removes excess starch and prevents gummy, sticky results.
- Use Equal Water: For ultra rice in the Instant Pot, stick to a 1:1 ratio of rice to water; I learned this the hard way after a few mushy batches.
- Sauté the Garlic: Take 2 minutes to sauté the minced garlic in the butter before pressure cooking—it deepens the flavor way more than dumping it in raw.
- Let it Steam: After cooking, let the pressure release naturally for 10 minutes before quick-releasing; this prevents the rice from turning out wet or uneven.
Pro Cooking Tips for This Dish
Precision Liquid Ratios
The 2:2.5 rice-to-water ratio is my gold standard for long-grain white rice in the Ultra. This accounts for the model’s slightly higher pressure. For brown rice, bump it to 1:1.5 and cook 22 minutes. Always use filtered water to avoid mineral deposits affecting texture. 💧
Deglaze Thoroughly
After toasting rice, pour your liquid and immediately scrape the bottom with a wooden spoon. The Ultra’s stainless steel inner pot can develop hot spots. I use a silicone edge spatula to ensure every bit of fond is released—this prevents the dreaded “Burn” error.
Natural Release Timing
That 10-minute natural release is non-negotiable for perfect texture. I’ve tested 5-minute and 15-minute releases—the former leaves grains slightly underdone, while the latter can make them sticky. The Ultra’s precise pressure control makes this timing foolproof.
Layer Flavors Strategically
Bloom your garlic and bay leaf in oil before adding rice to build depth. The Ultra’s Sauté function runs hotter than standard models, so 30 seconds is plenty. I often add a pinch of turmeric here for golden color and subtle earthiness.
Avoid Common Traps
Never fill the pot past the ⅔ max fill line—rice expands significantly. Also, skip the quick release entirely; it can cause starchy foam to spray. I learned this the hard way with my first Ultra batch. The gradual release keeps everything contained and consistent.
Rest Before Serving
That 5-minute rest after opening the lid lets grains firm up. I use this time to prep garnishes like parsley or lemon zest. The Ultra’s keep-warm function maintains perfect serving temperature during this window. 🌟
Nutrition Facts
Frequently Asked Questions
What’s the ideal rice-to-liquid ratio?
For white rice, use 2 cups rice to 2.5 cups liquid. For brown rice, increase to 1:1.5 ratio. Always use filtered water for best texture.
Can I cook rice without rinsing first?
Always rinse until water runs clear to remove excess starch. Skipping this step can result in gummy, sticky rice. Drain thoroughly before cooking.
Why does my rice sometimes burn?
This usually happens if you skip deglazing or exceed the ⅔ max fill line. Scrape the bottom well after toasting and never overfill.
How long should I let it rest after cooking?
Allow a 10-minute natural release followed by a 5-minute rest with the lid open. This ensures even texture throughout.

- Mujadara Rice and Lentils Recipe: Earthy Spiced Lentils With Caramelized Onions - November 1, 2026
- Naija Fried Rice Recipe: Street-Style Spice With Veggie Crunch - November 1, 2026
- Mushy Rice Recipe: Fluffy Grains Transformed in Minutes - November 1, 2026